
You’ve put in the work to set up your WordPress site. Now you are focused on creating content.
But as you publish more, you’ll inevitably face situations where a post is credited to the wrong person.
Whether you’re adding a guest contributor or just fixing an error, this guide shows you how to change author in WordPress. It’s an essential skill for managing a growing website.
Change a single post author with Quick Edit or many at once with Bulk Edit; to just change the byline, edit the user’s display name. Always use a backup plugin first, as it creates a safe restore point to instantly reverse any mistakes made during bulk changes.
What you need before starting
Before making any changes, ensure you have the following in place. This will prevent common errors and potential data loss.
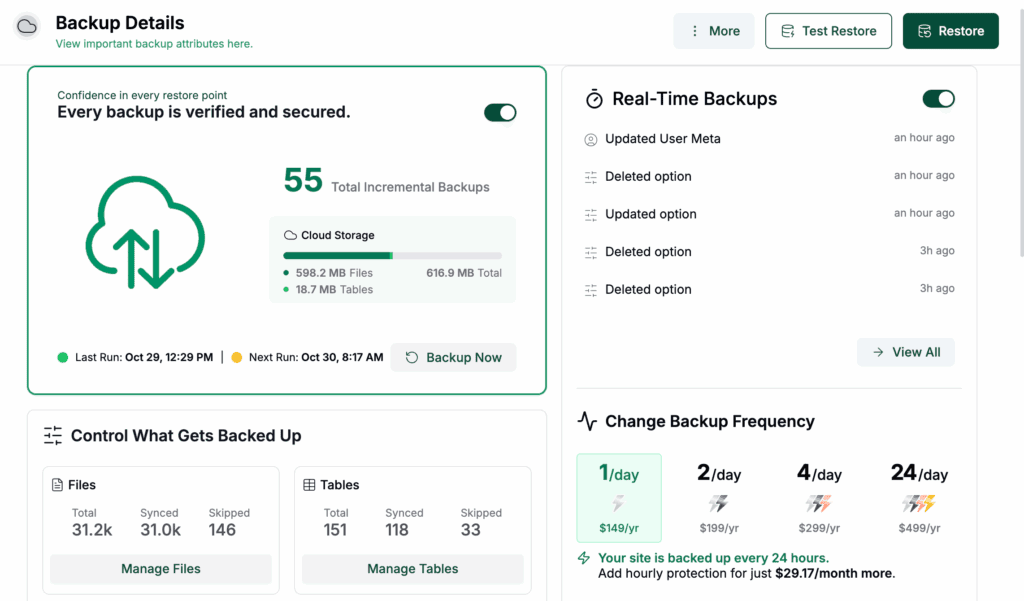
- A current site backup: This is your safety net. Before performing any changes, especially bulk updates, use a reliable backup plugin to create a full backup. It ensures you can restore your site if something goes wrong.
- Administrator or editor access: Your user account must have one of these roles. Lower-level roles like Author or Contributor do not have the required permissions to change post ownership.
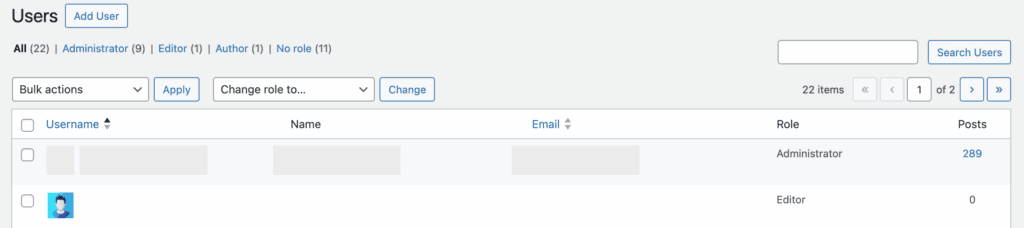
- An existing user account: The person you want to assign as the new author must already have a user account on your WordPress site. You cannot assign a post to a user who does not exist in the system.
How to change author in WordPress
Whether you’re fixing one post or updating an entire archive, here are four methods to change the author in WordPress.
Method 1: Quick edit (the fastest individual fix)
This is the most efficient method for changing the author of a single post without opening the full editor.
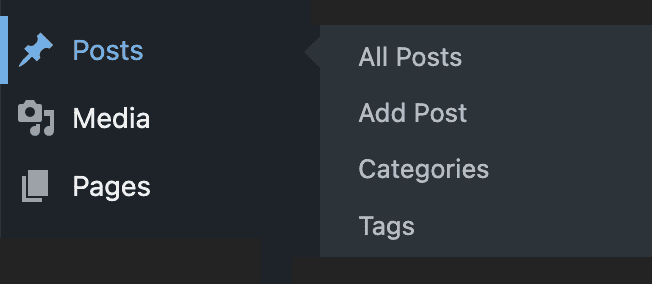
Navigate to posts: Go to Posts > All Posts in your WordPress dashboard.
Find the post and Quick Edit: Hover your mouse over the post title you wish to change to reveal the action links. Click on the Quick Edit link that appears.

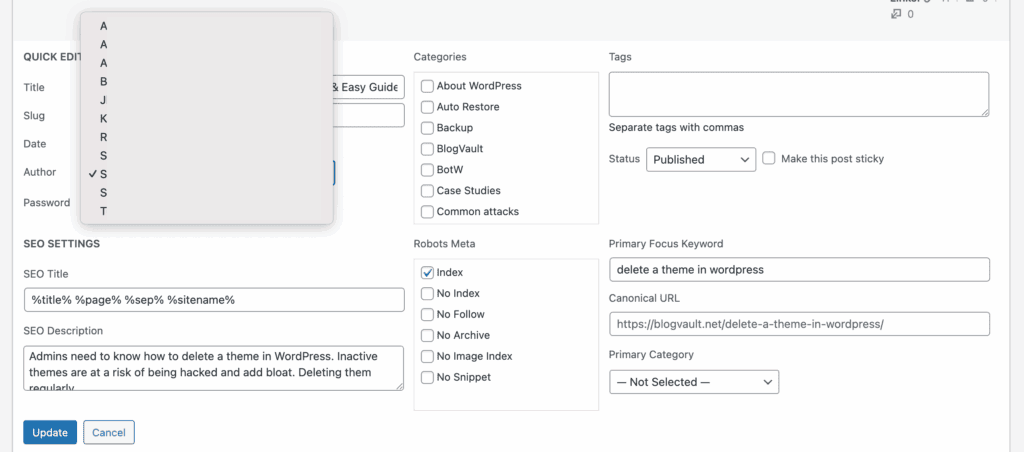
Reassign the author: In the new window, find the Author dropdown menu and choose the correct user from the list. Click the blue Update button to save instantly.
Method 2: Block editor
his method fits naturally into the standard Gutenberg editing workflow, making it ideal if you’re already making other changes to a post.
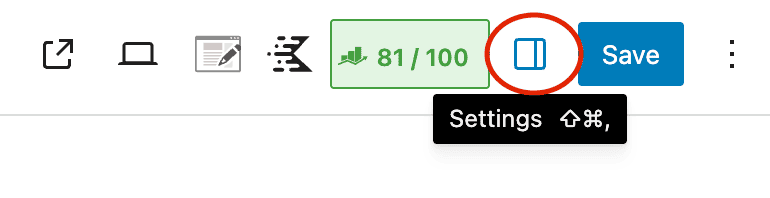
Open the post editor and access post settings: Start by opening the specific post you need to modify. Click the post icon in the top-right corner to open the settings sidebar.
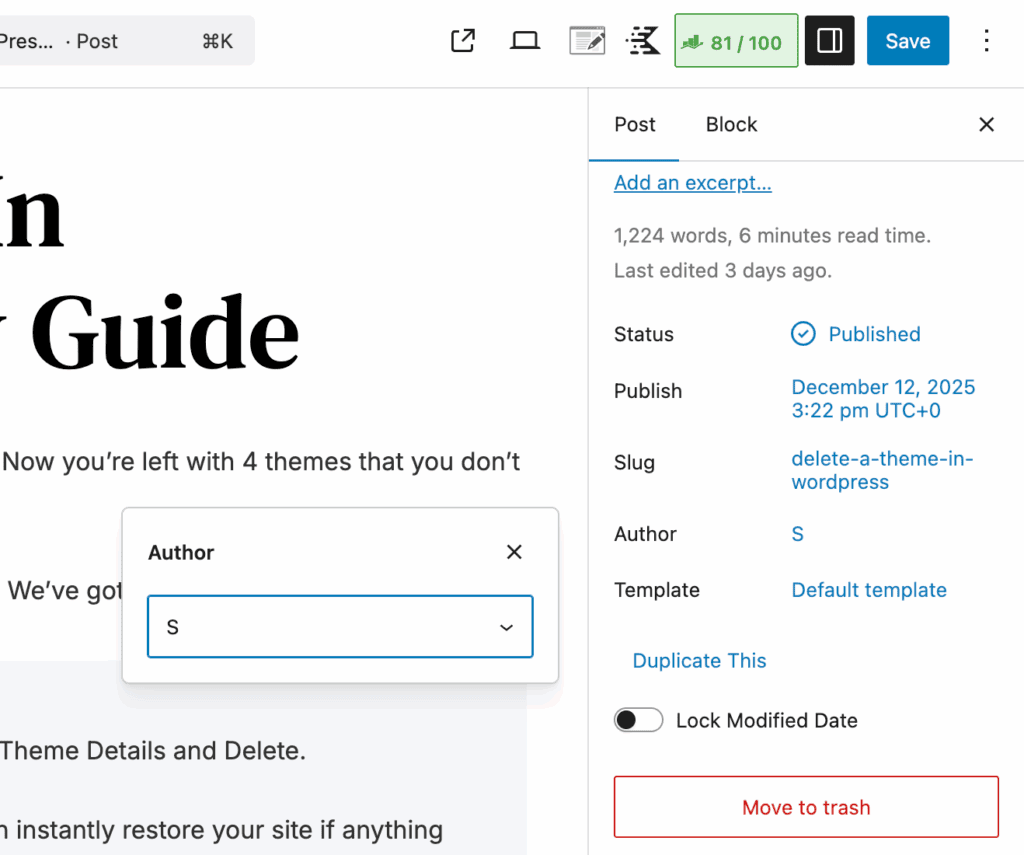
Locate the author field: Under the Post tab, find the Author dropdown. Next, choose the correct author from the list provided. Click the blue Save button to publish your changes.
Method 3: Bulk editing
When you need to reassign multiple posts at once, bulk editing is the correct tool.
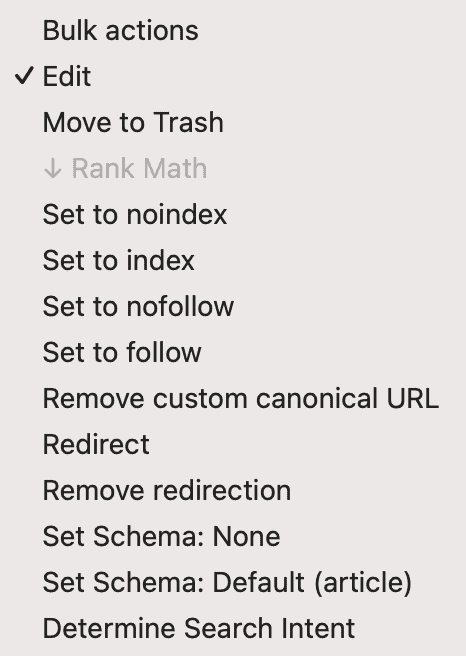
Select multiple posts and edit action: In the All Posts screen, use the checkboxes to select all the posts you want to reassign. From the Bulk Actions dropdown menu at the top of the list, select Edit. Click the Apply button to open the multi-post editing panel.
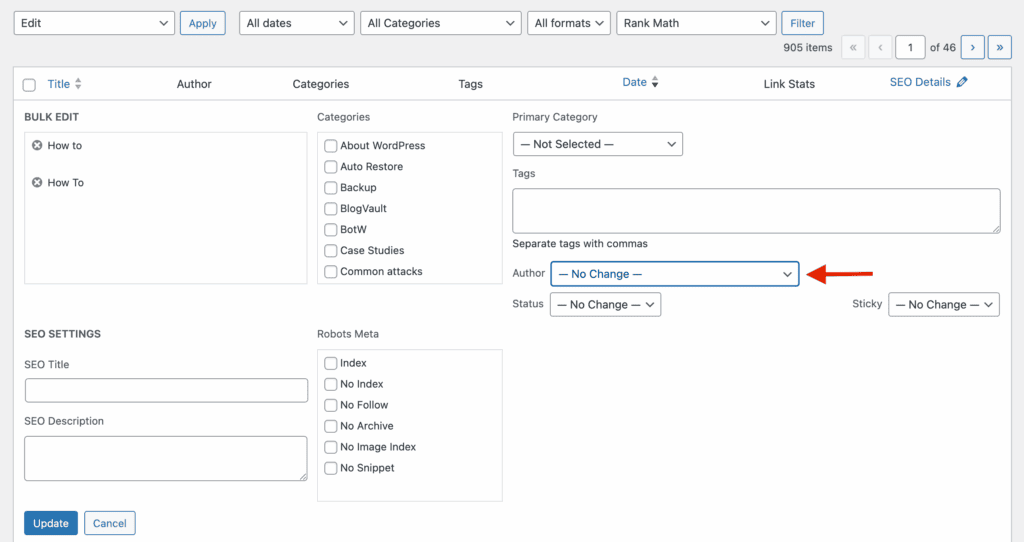
Reassign the author: Find the Author dropdown menu and select the new user. Click Update to apply the change to all selected posts at once.
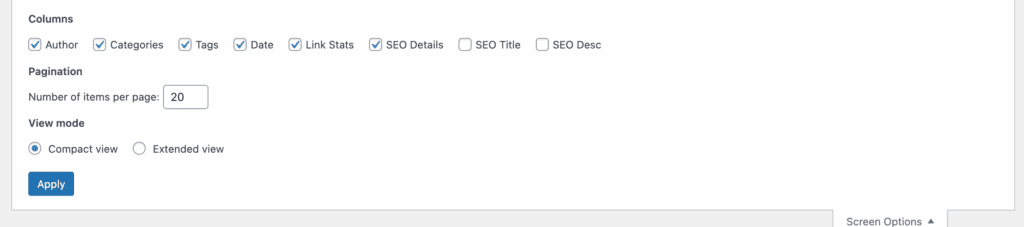
To manage a large number of posts, click Screen Options in the top-right corner and increase the number of posts displayed per page.
Method 4: Changing public display names
This method changes the author’s displayed name across all their posts without changing post ownership. It is useful for authors who change their names or wish to use a pseudonym.
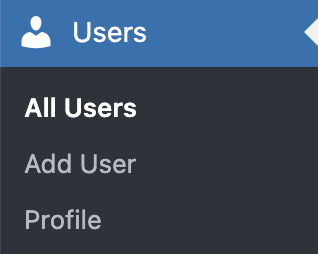
Navigate to the user profile: Go to Users > Profile (to edit your own) or All Users (to edit another user’s profile). Hover over the user and click on Edit.
Set a new nickname: Scroll down and enter the desired name into the Nickname field. This step is required. From the Display name publicly as dropdown, select the new nickname you just created.

Update the profile: Click the Update User button at the bottom of the page to save your changes.
Troubleshooting common issues
Even a simple task can have roadblocks. This section covers the most common issues you might face and provides clear solutions for each.
The author is not in the dropdown list
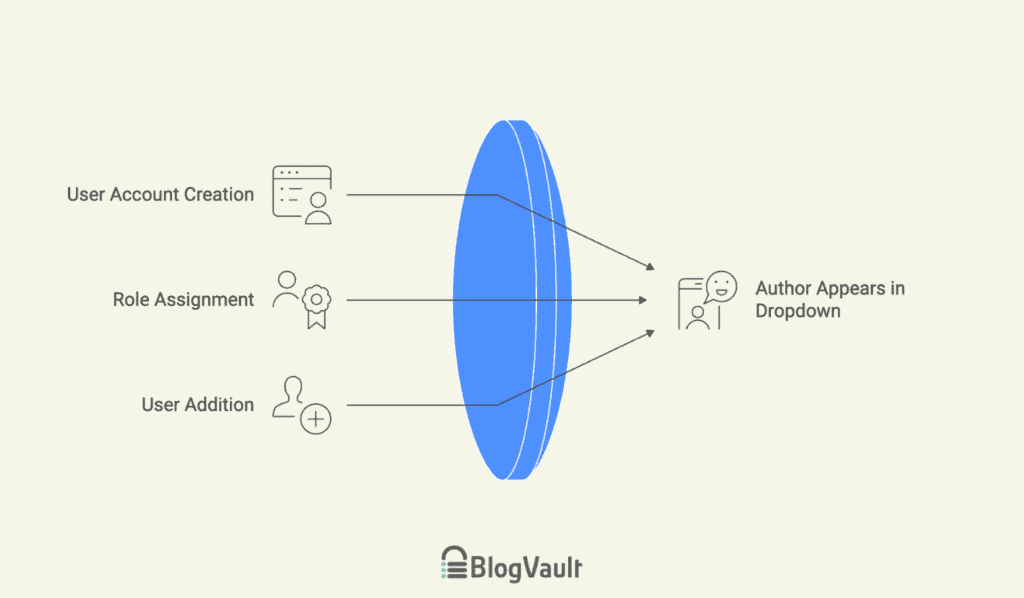
Why it happens: This is the most common issue. It occurs because WordPress can only assign posts to users who have an existing account on your site. The system is designed this way for security and content integrity.
How to fix it: You must first create a user account for the new author. Navigate to Users > Add New in your dashboard. Fill out their username and email, assign them a role (typically Author or Contributor), and click Add New User. Once the user is created, they will immediately appear in the author dropdown list.
The author dropdown is missing entirely
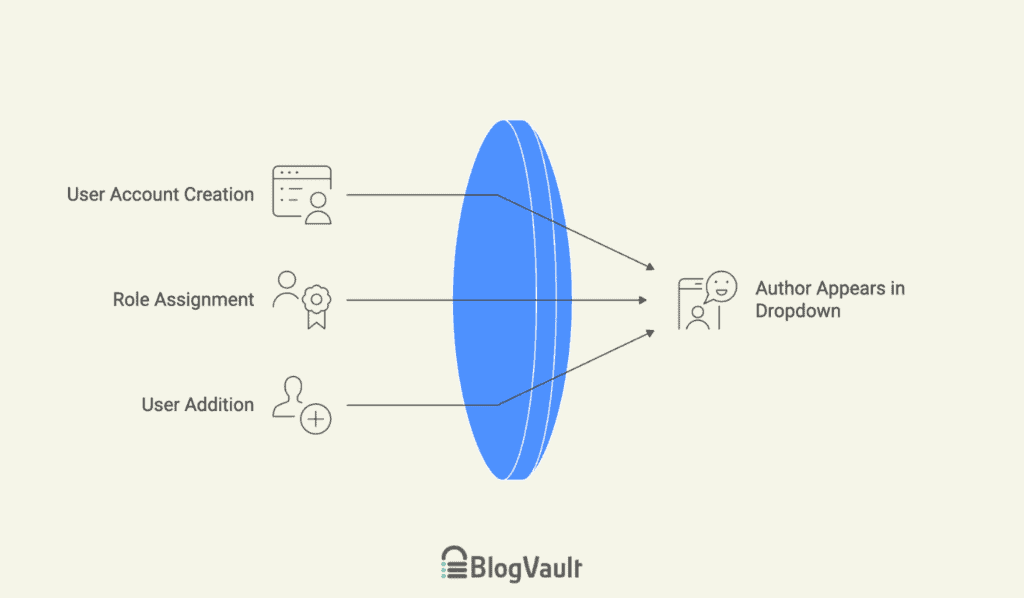
Why it happens: In the Block Editor (Gutenberg), the author dropdown will not appear if there is only one user on the entire website with publishing privileges (Administrator or Editor). Since there are no other authors to choose from, WordPress hides the option.
How to fix it: The dropdown will automatically appear as soon as you add a second user who can publish posts. Follow the steps above to create a new user with an Editor or Author role.
The old author’s name still appears after updating
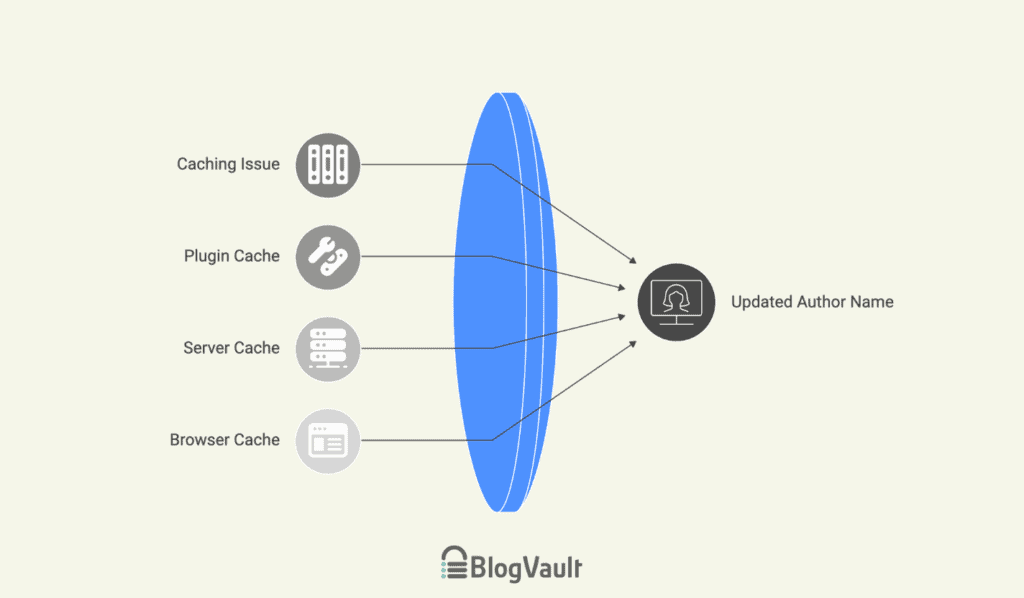
Why it happens: This is almost always a caching issue. Your website uses caching to store static versions of your pages, which helps them load faster. Sometimes, you’re just seeing an old, saved version of the page.
How to fix it: You need to clear your site’s cache. This usually involves clearing your caching plugin’s cache, your server cache (via your hosting provider), and your browser cache.
Best practices for managing WordPress authors
Maintaining a clean and secure author list is good site management.
- Always backup your site before any major author or content changes.
- Conduct periodic audits of your author archives and user roles.
- Establish a consistent naming convention for display names.
- Ensure all author-level users have strong passwords.
- Create a generic user like “Editorial Team” for content published by multiple contributors.
- Avoid publishing content under the default “admin” username for security reasons.
- Document your authorship workflow for new team members.
Parting thoughts
Maintaining your site’s credibility comes down to getting details like authorship right. You now have the right method for any scale, whether using Quick Edit for speed or Bulk Edit for volume.
By always starting with a robust backup strategy, you ensure every change you make keeps your site’s integrity intact.
FAQs
How do I edit my author bio on WordPress?
You can edit your author bio by navigating to Users > Your Profile in your WordPress dashboard. Scroll down to the “Biographical Info” text box to write or update your description.
How do I change the author name in existing comments?
You can change a commenter’s name by going to the Comments section of your dashboard. Hover over the comment, click “Edit,” and then modify the name in the provided field.
How do I add an author to WordPress?
To add a new author, go to Users > Add New and fill out the required information. Be sure to assign them the “Author” role from the dropdown menu before creating the account.
What is the difference between author and editor in WordPress?
An Author can only publish and manage their own posts, while an Editor can publish and manage posts created by any user on the site. Editors also have control over pages, categories, and comments.
How do I change my user role?
Only a site Administrator can change a user’s role. An Administrator can do this by editing a user’s profile in the Users section and selecting a new role from the dropdown.
How do I manage Users in WordPress?
You can manage all users from the Users section in your dashboard, where you can add new accounts, delete old ones, or edit existing profiles. This includes changing roles, passwords, and user information.

Shivani enjoys crafting guides that make every aspect of using WordPress simple and easy to follow. When she's not glued to her laptop, you can find her buried in a good book or occasionally, painting.