
Moving a WordPress staging to live means deploying tested changes from a private copy to the public site. The safe method depends on what changed and what live has received since staging was created.
Backup your live site first. Then deploy the smallest scope that contains the change: files for isolated code work, selected database data for known content or settings, or both only after reconciling newer live activity.
A full database push can replace orders, users, comments, form submissions, posts, and settings that do not exist on staging.
Create and verify a complete, restorable backup before you deploy.Compare staging with live and move only the files or database records required for the tested change, especially on sites that receive orders, registrations, or form submissions.
Decide what staging should replace
A staging website is a private copy used to test site to test updates, designs, code, and content. Learn more about a WordPress staging environment before choosing how to build yours. Files hold themes, plugins, and media; the database holds posts, users, orders, comments, settings, and other records.
The labels Push, Deploy, Launch, Copy, and Merge do not define the scope by themselves. A merge may still overwrite selected live files or database tables. It does not necessarily reconcile two changing sites record by record.
Use this table as a starting point, then check exactly what your tool will replace:
| Change tested on staging | Safer starting scope | Main warning |
|---|---|---|
| Plugin, theme, style, or custom code | Files only | Plugin or theme settings may still be stored in the database. |
| Known pages, menus, or settings | Selected database content | Selected tables can still replace live records. |
| Complete redesign on a quiet site | Files and database | Confirm that live has no newer content or settings. |
| WooCommerce staging, membership, community, or form changes | Files only or repeat the change on live | A full database push can replace active customer or user data. |
The smallest safe deployment is the one that contains the tested change and leaves unrelated live data untouched. A broader push is reasonable only when you know what live will lose and have a working restore plan.
Backup live before deploying
The backup is your recovery path, not a substitute for choosing the right scope. It must include the files and database, finish successfully, remain accessible away from the live server, and be recent enough to cover the latest important activity.
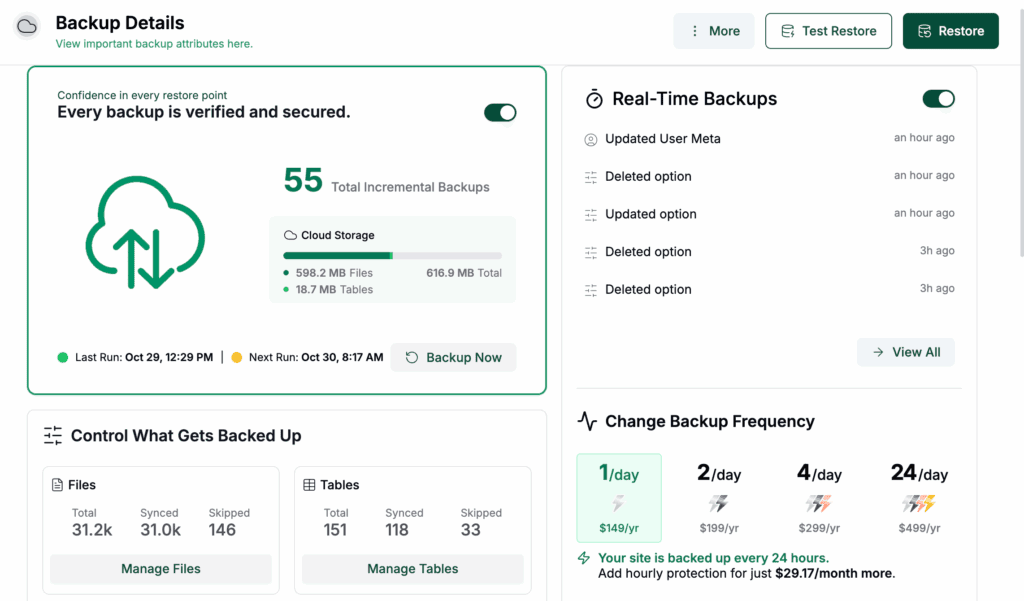
- Create a complete live backup: Save the site files and database before opening the final push or merge screen. A backup service or plugin such as BlogVault can provide the backup and restore workflow.
- Confirm that the backup is usable: Check that it finished, includes both files and database data, and is newer than the last important live change. Review which files belong in a WordPress backup before you need to restore it.
- List the tested changes: Record the plugin update, design edit, code fix, pages, settings, and uploaded files that must reach live. Use this list to review the deployment scope.
- Check for newer live activity: Look for orders, accounts, comments, form entries, posts, pages, menu changes, and settings added after staging was created.
- Plan a short freeze when needed: If a broad push is unavoidable on an active store or membership site, pause checkouts, registrations, or content changes during the move. This reduces concurrent writes but creates downtime and cannot correct a wrong scope.
Use a staging plugin
If a WordPress staging plugin created the copy, use its comparison and deployment controls. Avoid exporting the whole site when the tool supports a narrower scope.
- Open the comparison screen after checking live: Confirm the backup is complete and note when live last changed.
- Review files first: Select only the plugin, theme, style, or code files that contain the tested change. Include generated assets when the tool identifies them as dependencies.
- Choose database data only when needed: A database table is a group of related records. Select the tables or records required for a content or settings change instead of selecting the whole database for a design change.
- Read the overwrite summary: Stop if the selected files or tables include orders, users, forms, or other live data that must remain.
- Deploy during a quiet period: Apply the approved scope when traffic and live editing are low, then complete the post-deployment checks.
BlogVault’s documented workflow uses Merge to Source to start a comparison. It lets you review files, choose database tables, inspect a merge summary, and execute the selected changes. The selected live content is overwritten, so the comparison screen is a safety check rather than a conflict resolver. Confirm the labels and controls in your account before following an older screenshot.
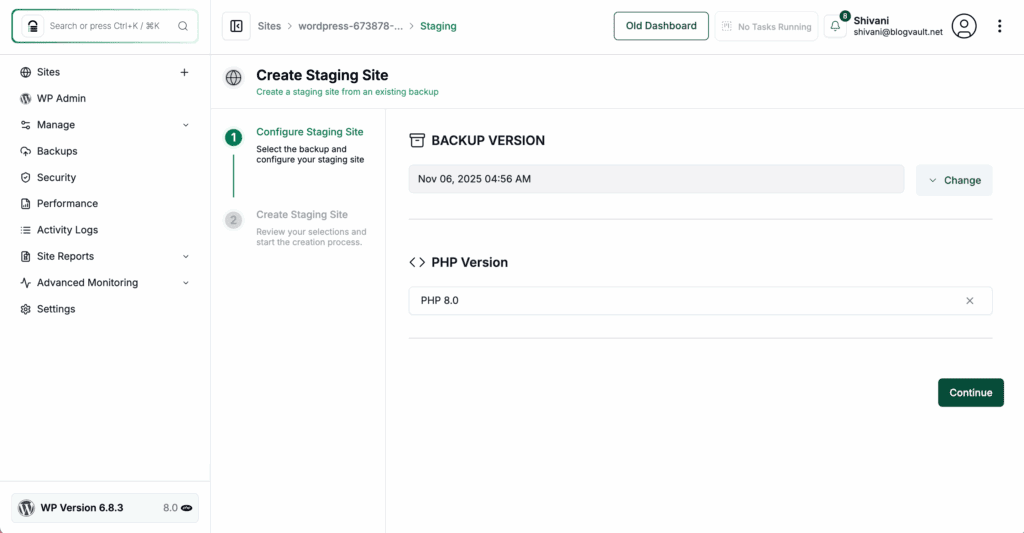
BlogVault can also create a staging copy from a selected backup. That reduces manual setup, but live-activity checks still come before merging. Its useful combination is private staging, a backup and restore path, and reviewable file or table selection.
For a simple blog or portfolio with no important live changes, a broader deployment may be reasonable after the backup and comparison. For an active site, repeat safe changes on live when possible. If a complex design cannot be repeated manually, use a selective merge and plan a short maintenance window.
Use staging from your host
Many WordPress hosts provide staging inside the hosting dashboard. Their controls may be called Push, Deploy, Copy, or Sync, and they may move files, database content, or both.
- Open the current staging controls: Select the staging site and confirm that the destination is live, not another staging environment.
- Check the available scope: Confirm whether you can exclude files, uploads, database tables, or other content. If the host offers only a full replacement, complete the live-data checks before continuing.
- Create the final backup: Take a full live backup even if the host offers its own restore point.
- Follow the host’s current instructions: Host interfaces and labels change. Use the documentation for the exact host and confirm the destination, scope, and overwrite warning in the dashboard.
- Verify the affected functions immediately: Check the live pages and actions before closing the hosting dashboard.
Host staging is convenient because the copy and live site may already share compatible server settings. It is still an overwrite operation when the host pushes the database or replaces files. One-click controls reduce manual work, not deployment risk.
Move staging from another host
When staging and live are on different hosts, the task is closer to a WordPress site migration than a normal merge. A migration tool such as Migrate Guru may copy the site, but it does not decide which live records should survive.
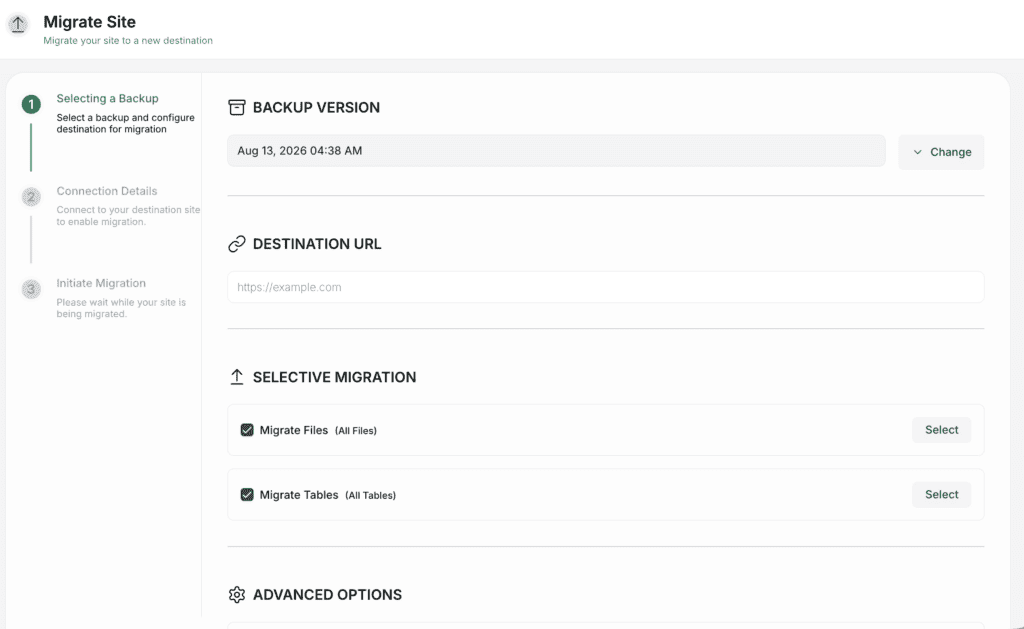
- Check the destination: Confirm that WordPress, the required PHP version, database support, storage, and file permissions are ready. PHP is the server language WordPress uses to build pages.
- Protect live before copying: Create and verify the full backup. Do not let a migration tool replace live content before you know how to restore it.
- Review the replacement scope: Check whether the tool copies files, the full database, uploads, settings, and users. Treat the tool as a copier, not a conflict resolver.
- Verify before changing the domain: Check the homepage, key pages, login, media, HTTPS, page addresses, email, scheduled tasks, webhooks, and connected services.
- Keep the pre-migration backup: Do not delete it until the site has worked through its next important activity cycle. If staging is part of a host change, check domain and email settings too.
Verify the migration tool’s current support for your source, destination, site size, and multisite setup before starting.
Move local staging manually
Local staging runs on your computer. You must transfer the files, database, live configuration, and local addresses yourself, which creates more opportunities for configuration and data errors.
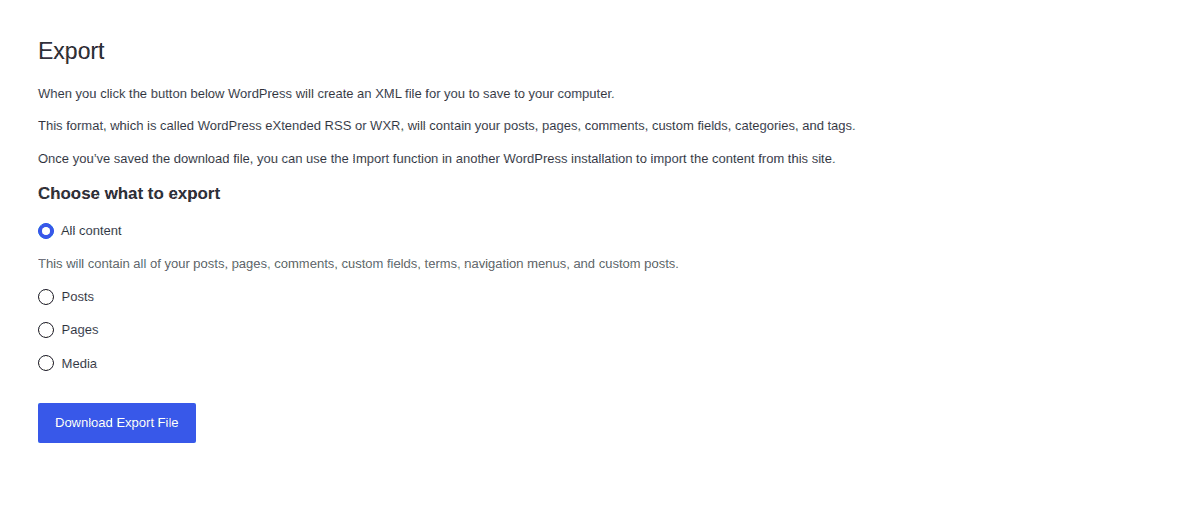
- Archive the required files: Include the plugin and theme folders, uploaded media, and any other files changed during testing. The wp-content folder usually contains the site-specific themes, plugins, and uploads.
- Export the database only when required: Use a database tool such as phpMyAdmin to create an SQL export containing database instructions and records. A local database may contain test users, old settings, local addresses, and disabled services.
- Upload only the required files: Use the host’s file manager or an FTP client. If only code changed, do not replace the live database.
- Import database content carefully: Import it only when the tested change needs it and you have planned how to preserve newer live records.
- Restore live connection settings: Check the live wp-config.php file, which tells WordPress which live database, username, password, and server to use. Do not copy local credentials into the live file.
- Replace local addresses safely: Use a WordPress-aware tool to replace the local web address with the live address. Some WordPress values use serialized data, which stores length markers that a basic text replacement can break.
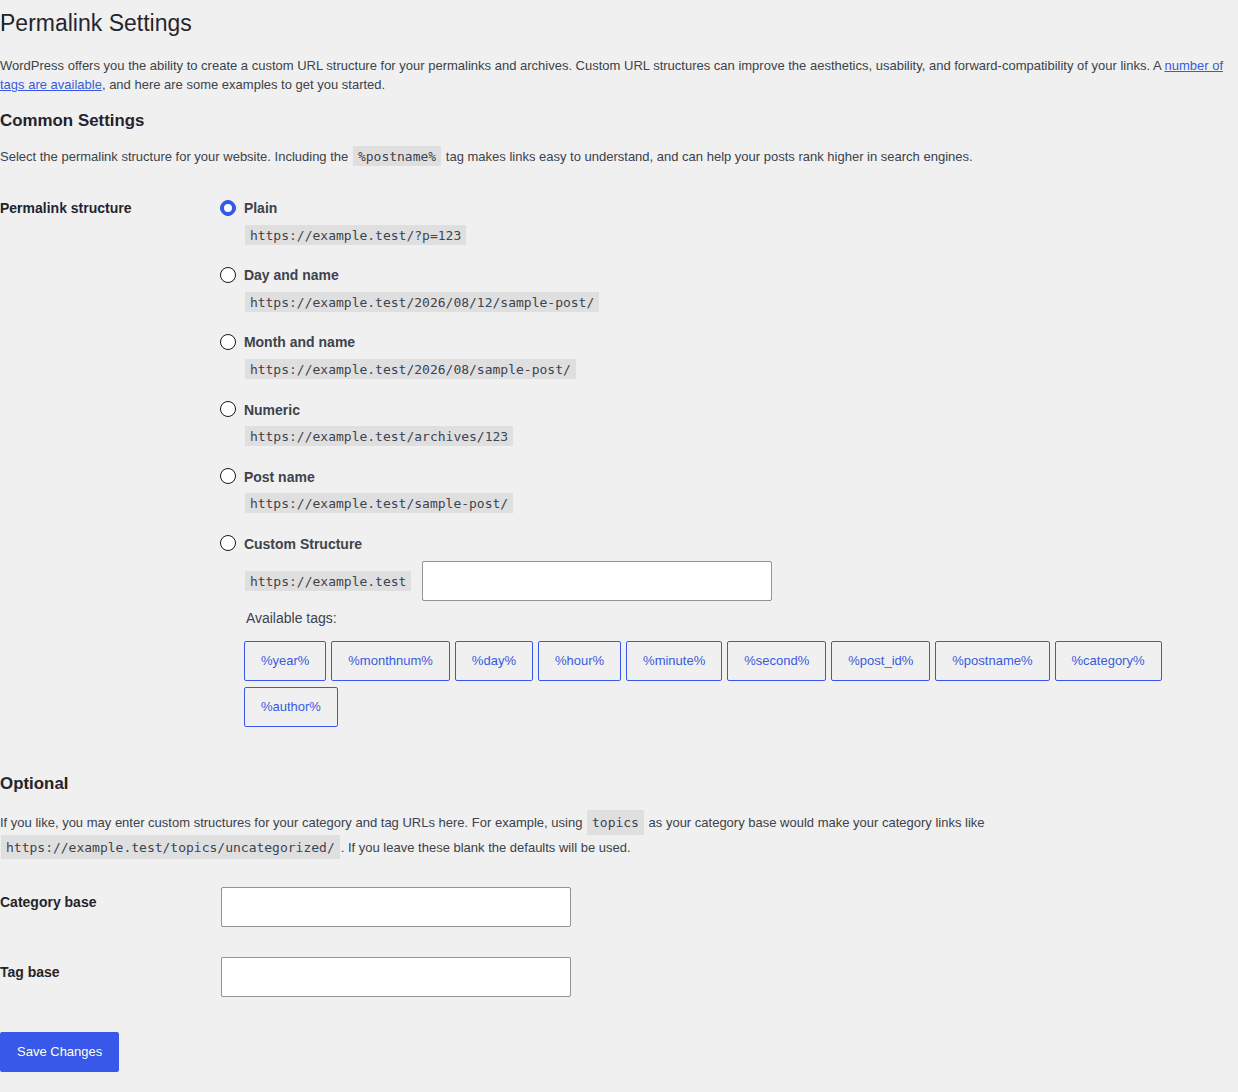
- Refresh permalinks and caches: Save the permalink settings, which control page URLs, then clear WordPress, server, browser, and content delivery network caches. Cache clearing cannot repair a wrong URL or missing database record.
- Run the final check: Test pages, images, forms, logins, email, payments, redirects, HTTPS, and connected services.
Verify the live site
Do not stop after opening the page you edited. A deployment can leave the homepage working while breaking a form, login, API route, scheduled task, cache, or payment flow.
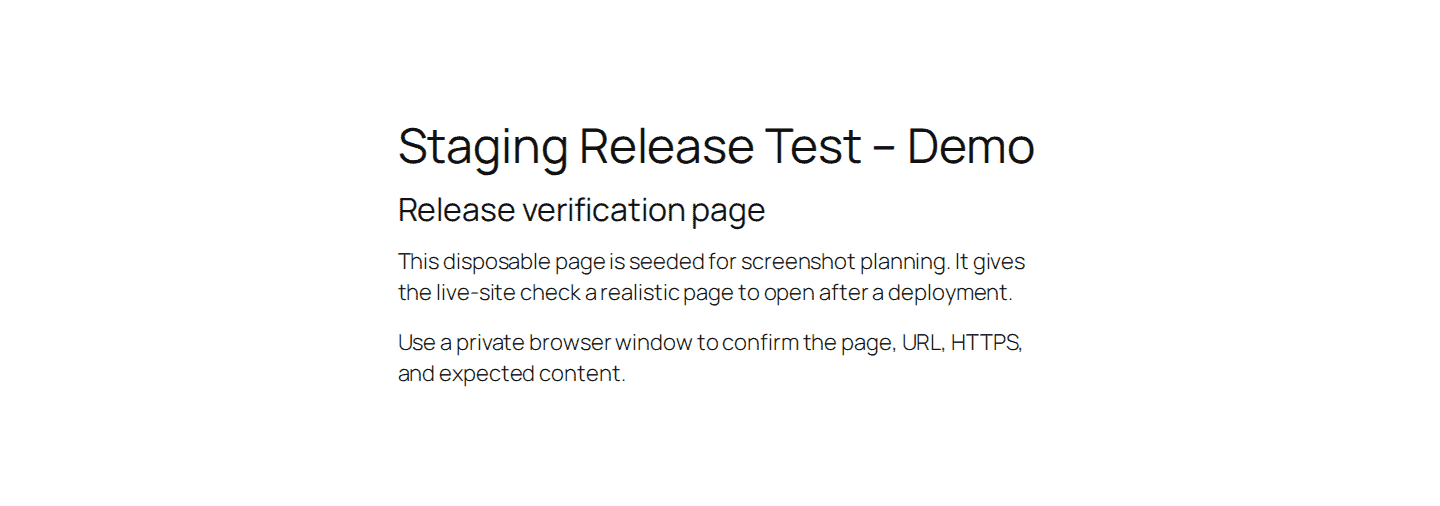
- Open the site privately: Check the homepage, representative posts or pages, images, downloads, redirects, HTTPS, and the changed feature in a private browser window.
- Complete visitor actions: Submit forms, test form email delivery, sign in, test membership actions, and run a test checkout when relevant. Use safe test data and payment settings.
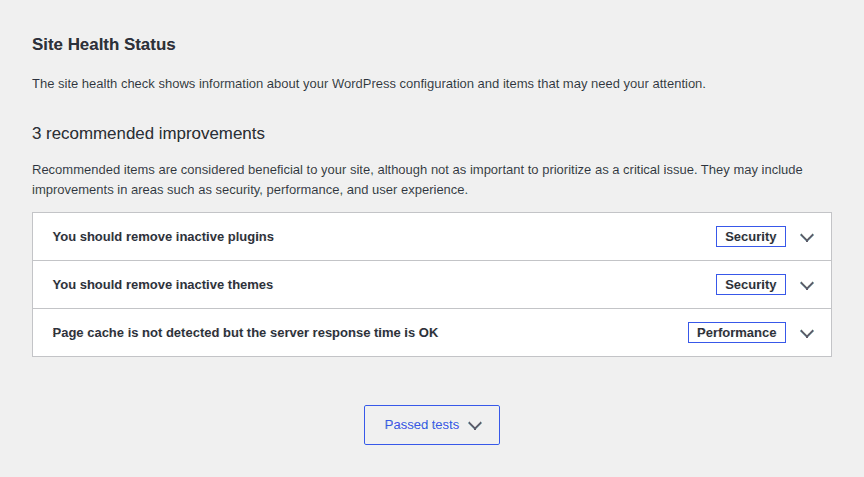
- Check connected services: Review scheduled tasks, webhooks, analytics, payment settings, staging-only plugins, and server or PHP error logs.
- Test the actual data endpoint: An endpoint is an address another tool uses to request site data. In a clean WordPress 6.9.4 environment with PHP 8.4 and MySQL 8.0, the homepage returned HTTP 200 with 66,770 bytes. The pretty /wp-json/ path also returned HTTP 200, but its body was HTML. The REST index returned JSON through index.php?rest_route=/ in a 193,522-byte response. The result shows why a successful status code is not enough; inspect the response content.

- Stop when a critical check fails: Do not make unrelated edits. Inspect the server and PHP logs, disable the recent change only when safe, and restore the complete backup if the cause is unclear.
- Keep the backup during review: Retain the pre-push backup until the live site remains stable through the next order cycle, publishing cycle, or other activity that matters to the business.
Keep staging safe between releases
Staging should resemble live closely enough to expose real problems while remaining isolated enough not to cause them.
- Restrict access: Use a password and give access only to people who need it.
- Block search indexing: Prevent search engines from listing staging pages or treating them as duplicate content.

- Match important live settings: Keep WordPress, PHP, plugins, themes, and server resources close enough to live for test results to mean something.
- Disable real side effects: Send test email to a safe address, use test payment settings, block external webhooks, and prevent scheduled tasks from running twice.
- Keep staging separate and current: Never let staging and live share a database. Start major tests from a recent live backup, and record what you tested, moved, and checked afterward.
Conclusion
Moving a WordPress staging site to live is safest when you treat it as a scope decision. Back up live, compare the two copies, protect newer activity, and move only the files or stored records required for the tested change.
Use a staging plugin or host workflow when it provides a clear comparison. Use manual migration only when you can manage the files, database, URLs, and configuration. Keep the backup until live has passed its important checks.
FAQs
What does moving a WordPress staging to live mean?
It means deploying tested changes from a private staging copy to the public WordPress site. Files, database content, or both may move, and a full copy can overwrite newer live records.
How do I choose whether to push files, database content, or both?
Push files for isolated code or design changes when no database settings are required. Use selected database content for known posts, menus, or settings. Push both only with a plan to preserve newer live activity.
Can I move staging to live without losing WooCommerce orders?
Yes, if you avoid replacing the live database. Repeat file changes on live or use a selective workflow; if a wider push is unavoidable, reconcile orders first and use a short freeze.
What is the safest way to move local or other-host staging?
Create a full live backup, confirm destination settings, move only the required files and database content, replace local addresses safely, and test key functions. A migration tool still requires a scope review.
What should I do if the live site breaks after the push?
Stop unrelated changes, check the server and PHP logs, and use the complete pre-push backup to restore the site. If the problem becomes a broader WordPress technical difficulty, document the exact error before asking for help. After recovery, narrow the scope and test again before retrying.

Shivani enjoys crafting guides that make every aspect of using WordPress simple and easy to follow. When she's not glued to her laptop, you can find her buried in a good book or occasionally, painting.