Whether you’re migrating to WordPress or starting fresh with your first site, you’ve made a great choice.
The only thing standing between you and a functioning website is the installation.
If terms like ‘web hosting’ sound confusing, don’t worry. This guide is your simple, no-jargon map to install WordPress stress-free.
Choose from a simple one-click install, a manual setup for more control, or a private local installation to get WordPress running. Once it’s live, the priority is installing plugins to handle backups, security, and add important site functionality.
What you’ll need before starting
Before we begin, you need to have a few things ready. This makes the entire process much smoother.

- Get a domain name: This will be your website’s unique address on the internet, such as www.yoursite.com. It is what users type into their browser to find you. You can usually purchase this directly from your web host when you sign up, which is often the easiest option.
- Choose a good web host: This is a paid service that stores all your website’s files and makes them accessible to visitors on the internet. Your hosting provider’s control panel is where you will perform the WordPress installation.

- Download an FTP client: For the manual method, you will upload files by using WordPress FTP. To do this, you must download a free tool like FileZilla and learn how to connect it to your web host’s server to complete the file transfer. You do not need this for the one-click install.
Method 1: One-click install via your web host
This is the fastest and easiest way to get going. For nearly all beginners, this is the best method. It is handled entirely by your web host through their dashboard, who also automatically sets up your WordPress database, and you do not need to touch a single line of code. It usually takes less than five minutes and is ideal for your first website.
Login and find the installer: First, log in to your web hosting control panel using the details from your welcome email. Look for a section named Software, Website, or App Installer, and click the WordPress icon to start the process.
Choose your domain and directory: Select your domain name from the dropdown menu. To install WordPress on your main domain (e.g., yoursite.com), make sure the “In Directory” field is left empty. This is a critical step that is easy to miss.
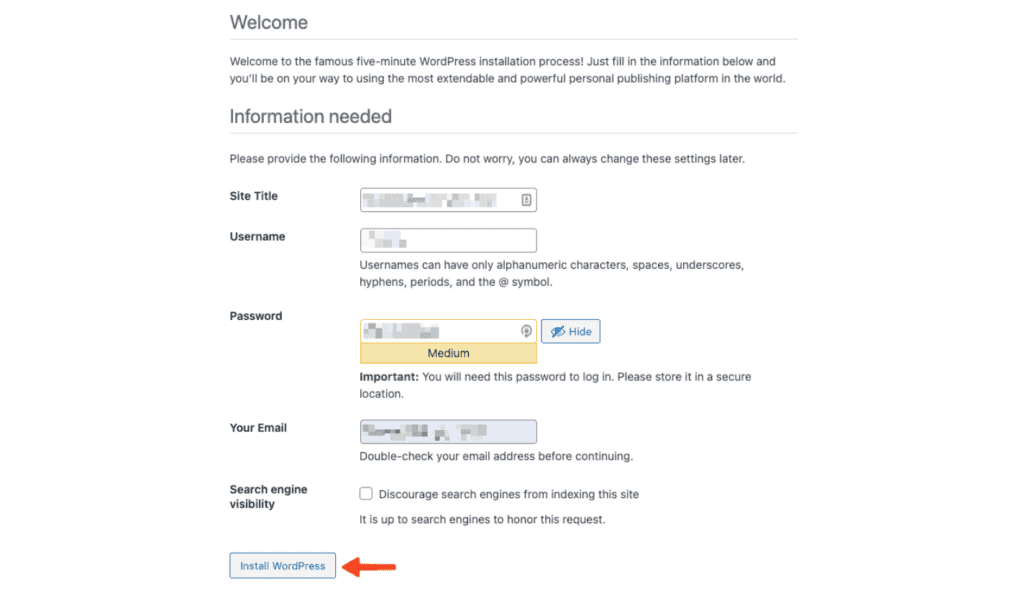
Complete the site and admin details: Fill in your site title and tagline (you can change these later). Next, create a strong password and a unique username for your administrator account. Do not use “admin” as your username. Finally, enter your email address for notifications.
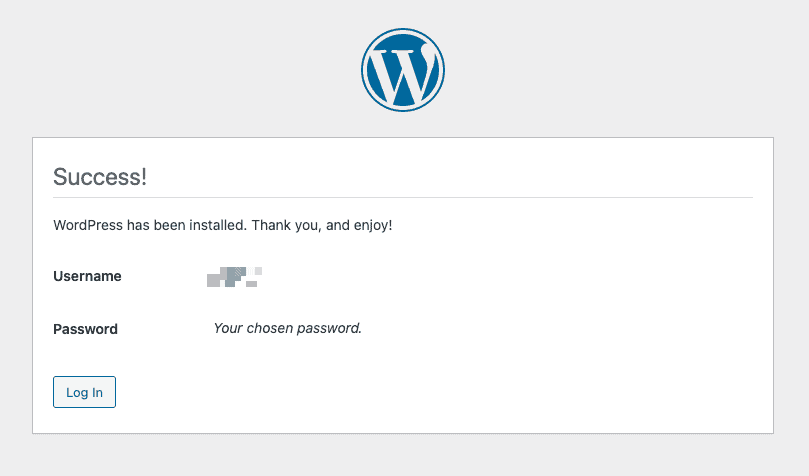
Click install and wait: The system will handle all the technical work, including the automatic setup of your WordPress database. Once complete, you will be given a link to your new website and your login page URL. Save these details in a secure place.
Method 2: Manual installation
This method takes longer and has more steps, but it gives you a much better understanding of how WordPress works. It offers more control and is a great learning experience.
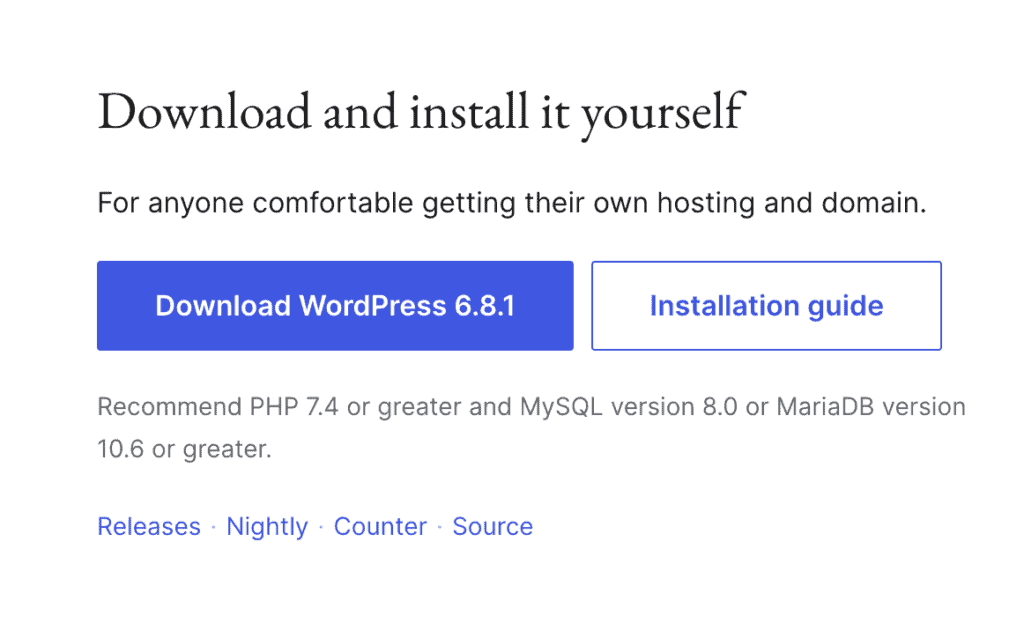
Download the latest WordPress: Go to the official wordpress.org website and get the newest version as a ZIP file.

Unzip the WordPress files: Extract the contents of the ZIP file on your computer. You will have a folder named wordpress.
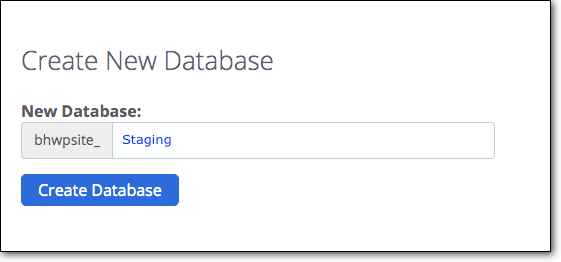
Create a Database and User: In your hosting control panel, find a section for your database. Create a new database, then create a new database user with a strong password. Finally, add the user to the database and grant it All Privileges.

Upload WordPress files via FTP: Use your FTP client to connect to your host and upload the contents of the wordpress folder to your root directory (often public_html or www) this gives you direct access to the WordPress file structure.

Configure wp-config.php and run the installer: Rename wp-config-sample.php to wp-config.php and edit it to add your database name, username, and password. When you navigate to your domain, the installer will detect this file and take you directly to the final setup screen.
Run the installer and connect the database: Navigate to your domain in your web browser, where the WordPress installation wizard will start automatically. Follow the on-screen prompts, and when asked, provide the database name, along with the username and password you created specifically for the database user in the previous steps.
Method 3: Install WordPress locally
A local installation lets you build your entire WordPress site on your computer for free. It’s a private sandbox to test everything safely before moving the finished site to a live web host. We’ll use a free tool called Local, which makes this process easy.
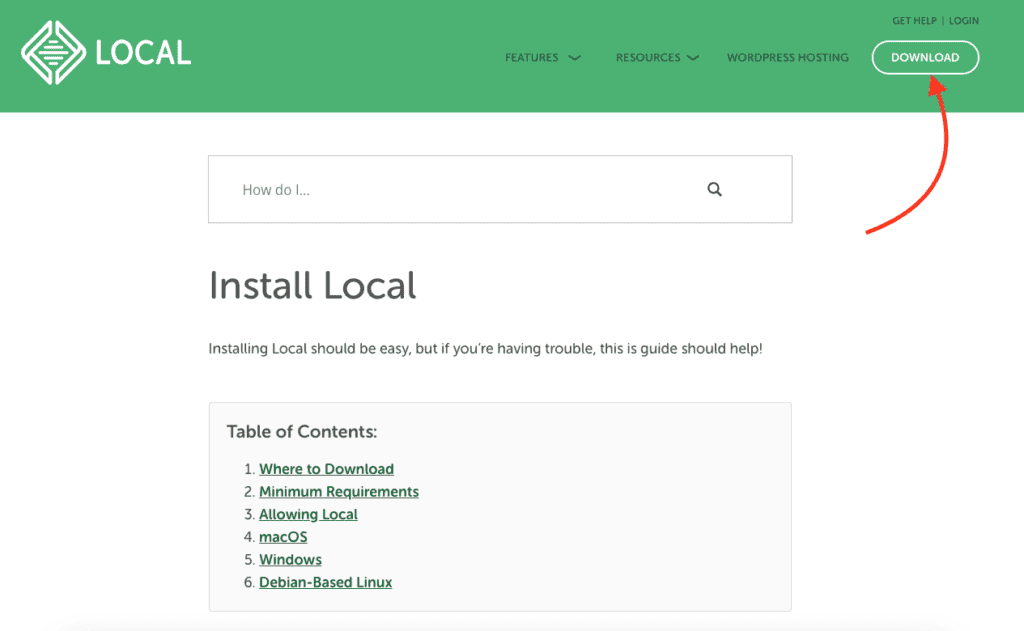
Download and install Local: First, get the application from the localwp.com website and install it on your computer.
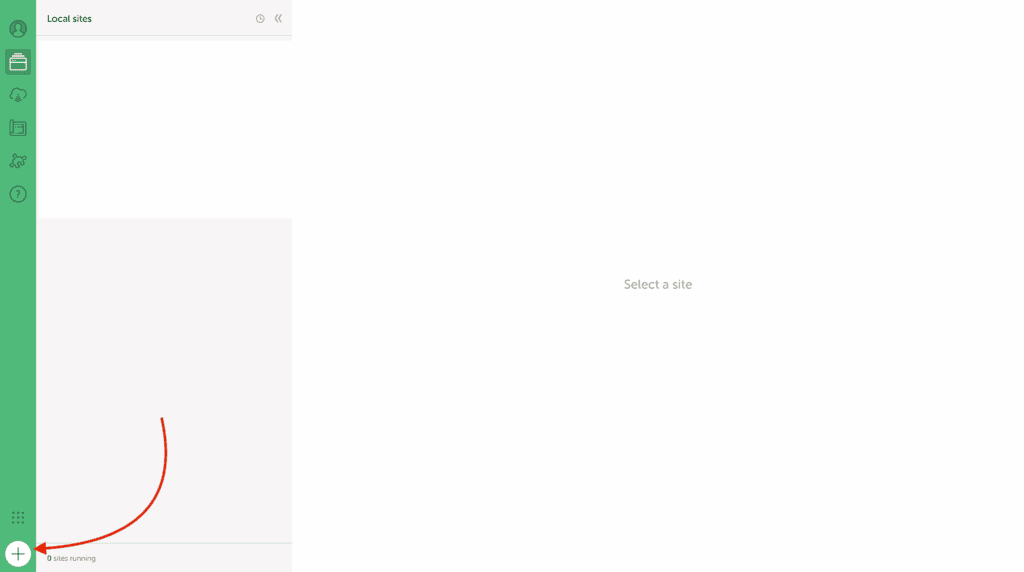
Start the new site process: Open the Local application, click the + button in the bottom left corner, select Create a new site, and then click Continue.
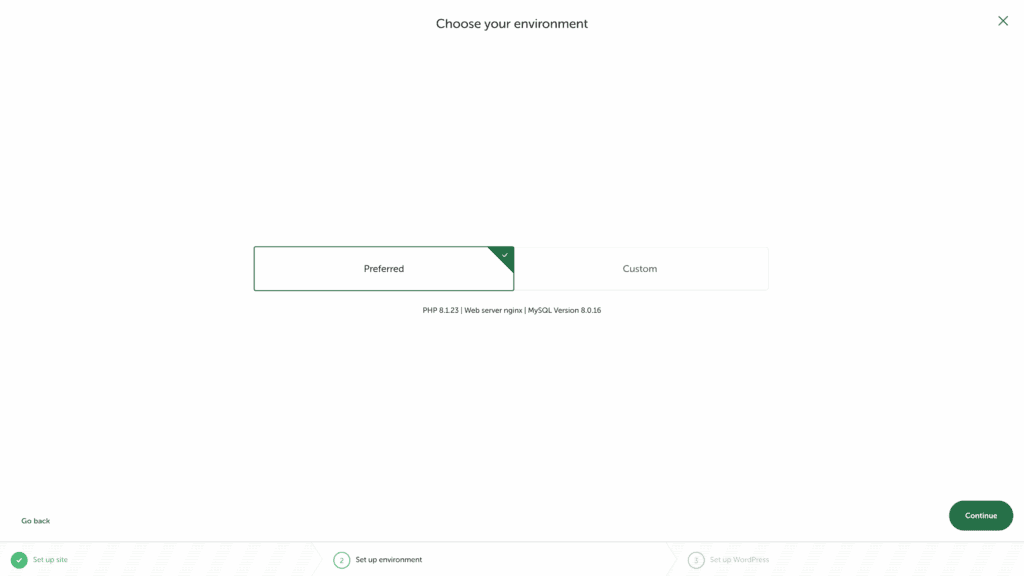
Configure your new site: Specify a name for your local project, and choose the Preferred environment settings (this is the simplest option). Next, create a WordPress username and a strong password for your admin account.
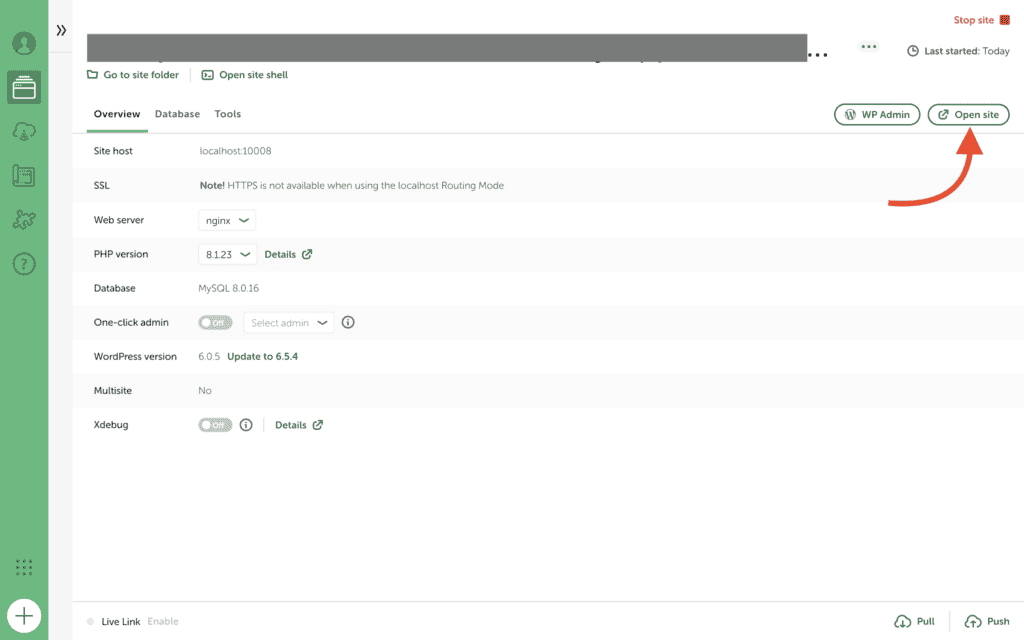
Add the site and access your dashboard: Click “Add Site” and wait for the process to finish. Once it’s done, you can click “Open Site” to view your new local website or “Admin” to go directly to the login page. You can now develop your site offline and move it to a live server anytime.
What to do after you install WordPress
The technical part is over. Now, let’s turn this fresh installation into your website. Here are the first few steps you should take in a logical order to set a strong foundation.
Step 1: Clean up the default content
Your first action should be to remove the placeholder content that comes with every new installation. This gives you a clean slate to work from.
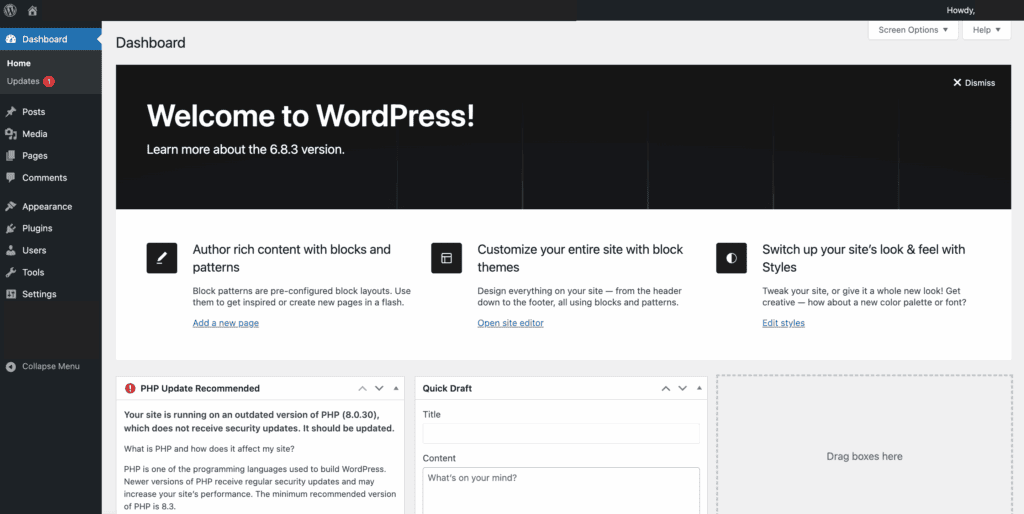
- Log in to your dashboard: Use the username and password you just created to access your site’s administration area.
- Delete the sample post and page: Head to Posts and delete the Hello World post. Then, navigate to Pages and delete the Sample Page.
Step 2: Configure your core settings
Before you add any content, it is crucial to adjust a few key settings that affect your entire site.

- Configure WordPress permalinks: Go to Settings > Permalinks and select the Post name option. This creates clean, SEO-friendly URLs for all your future content.

- Set your timezone: Navigate to Settings > General and set your correct timezone to ensure your posts are published at the right time.
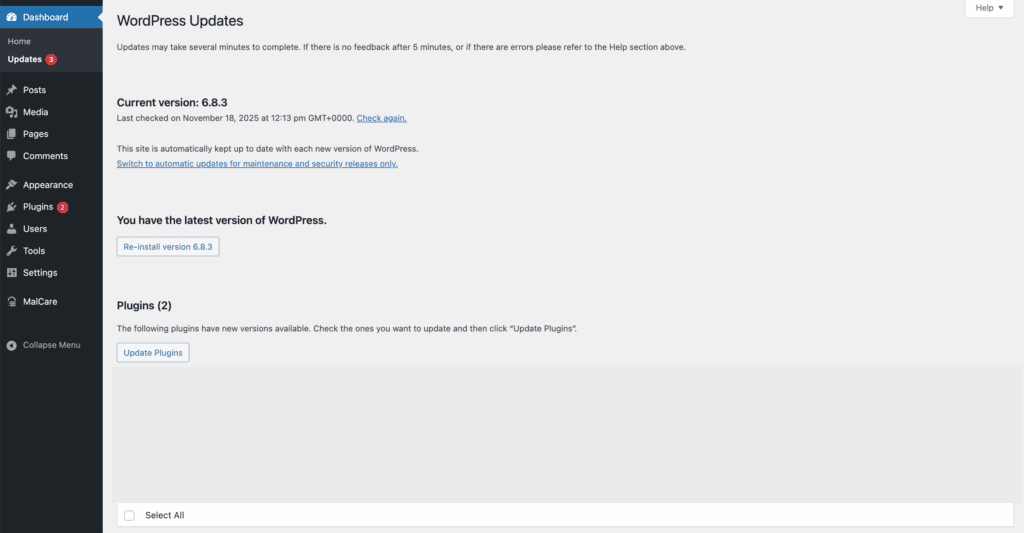
- Check for updates: Even on a new install, it is a good habit to go to Dashboard > Updates to ensure your WordPress version is the latest.
Step 3: Install essential plugins
Plugins add functionality to your site. You should install a couple of essential ones right away to protect your new website.
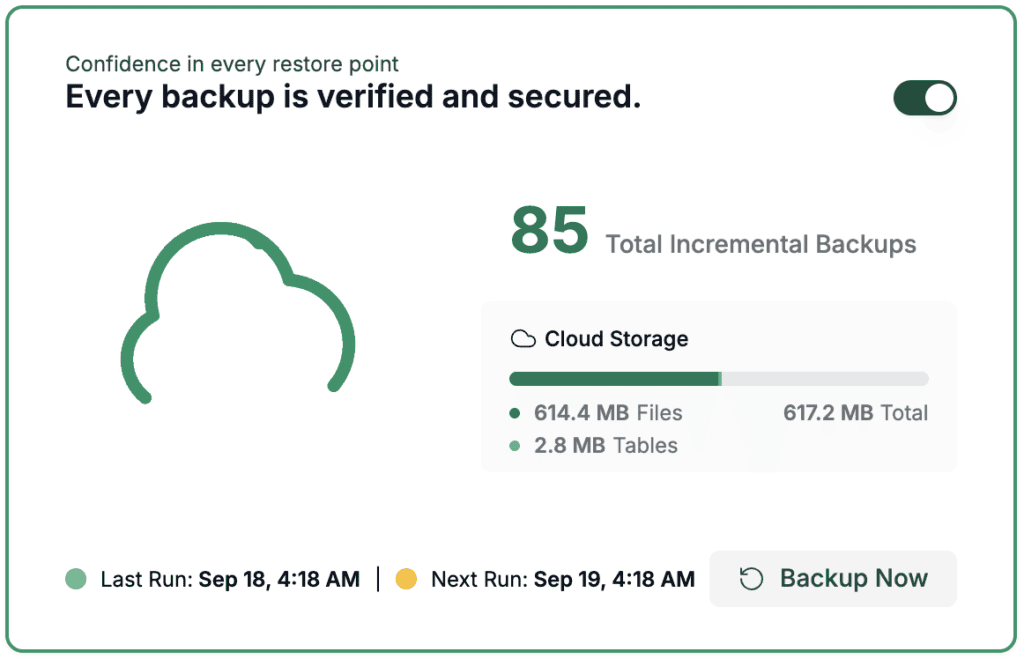
- Install a backup plugin: A backup plugin will automatically save copies of your work. Consider this your safety net; it allows you to restore your site if anything ever goes wrong.
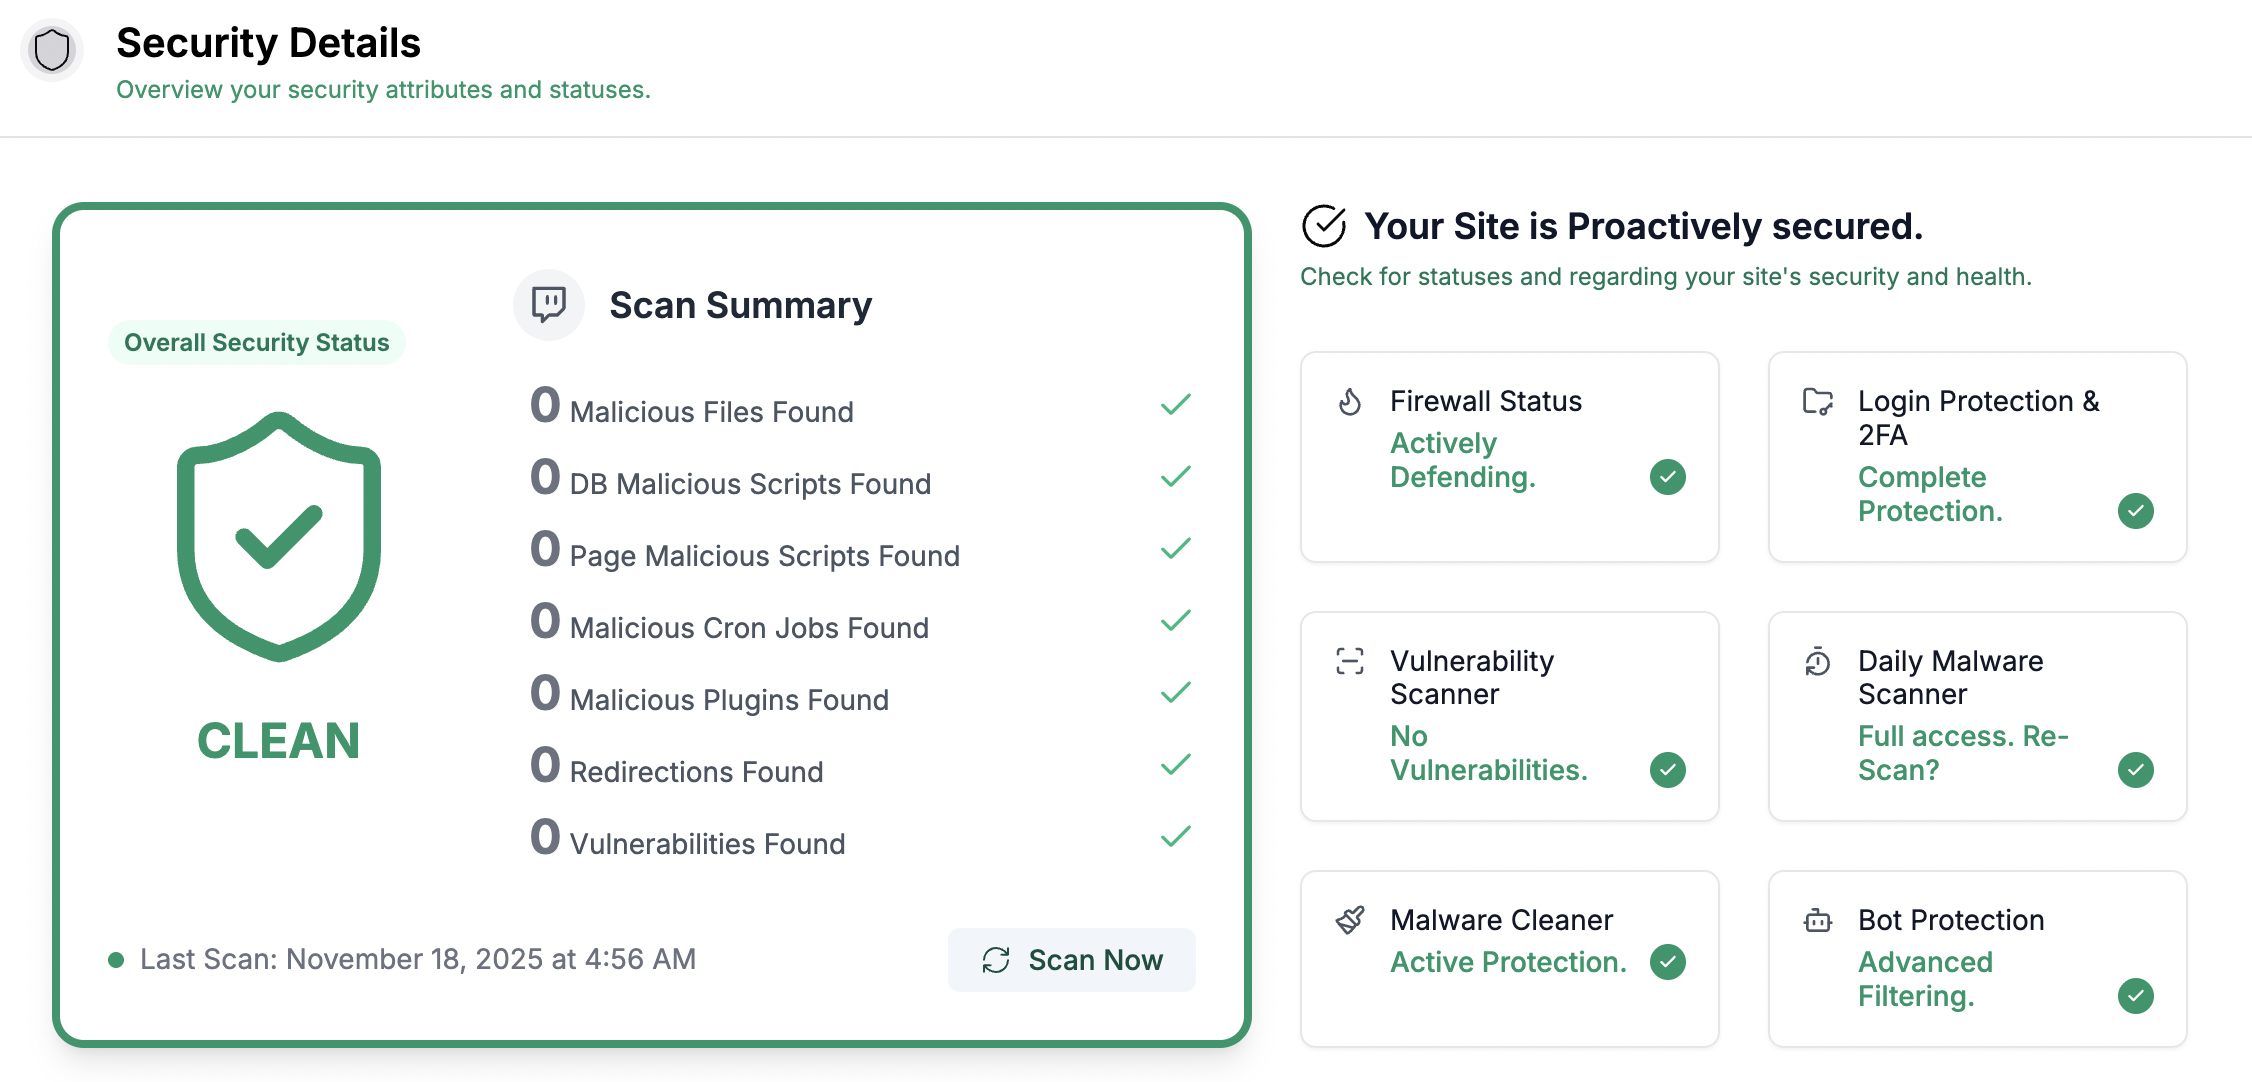
- Install a security plugin: This is one of the most important first steps. A security plugin will protect your new site from common threats like malware and hacking attempts.
Step 4: Set your site’s appearance and structure
Now you can focus on the look and feel of your site and create its basic structure.
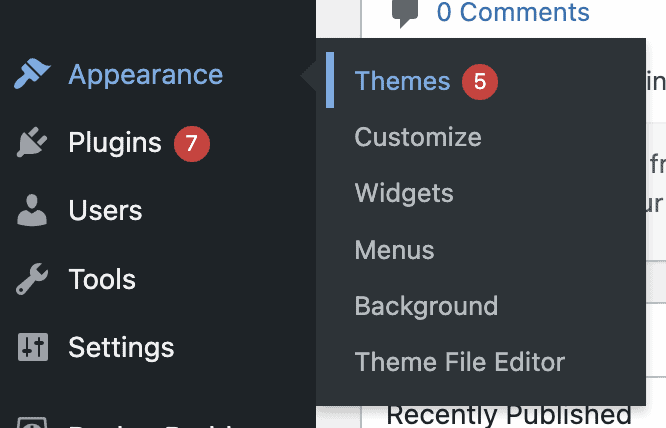
- Choose and install a theme: Go to Appearance > Themes to find a design for your site. You can start with a popular free one and change it anytime.
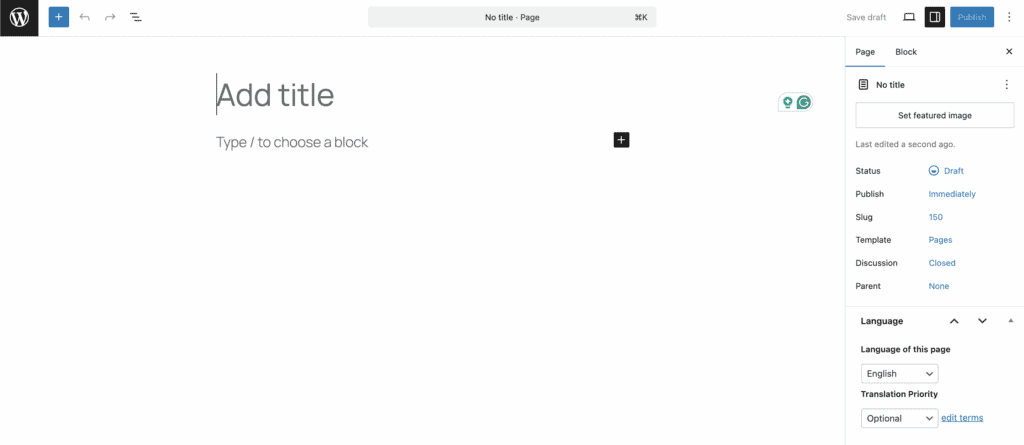
- Create essential pages: Go to Pages > Add New to create fundamental pages for your site, such as an About page and a Contact page.
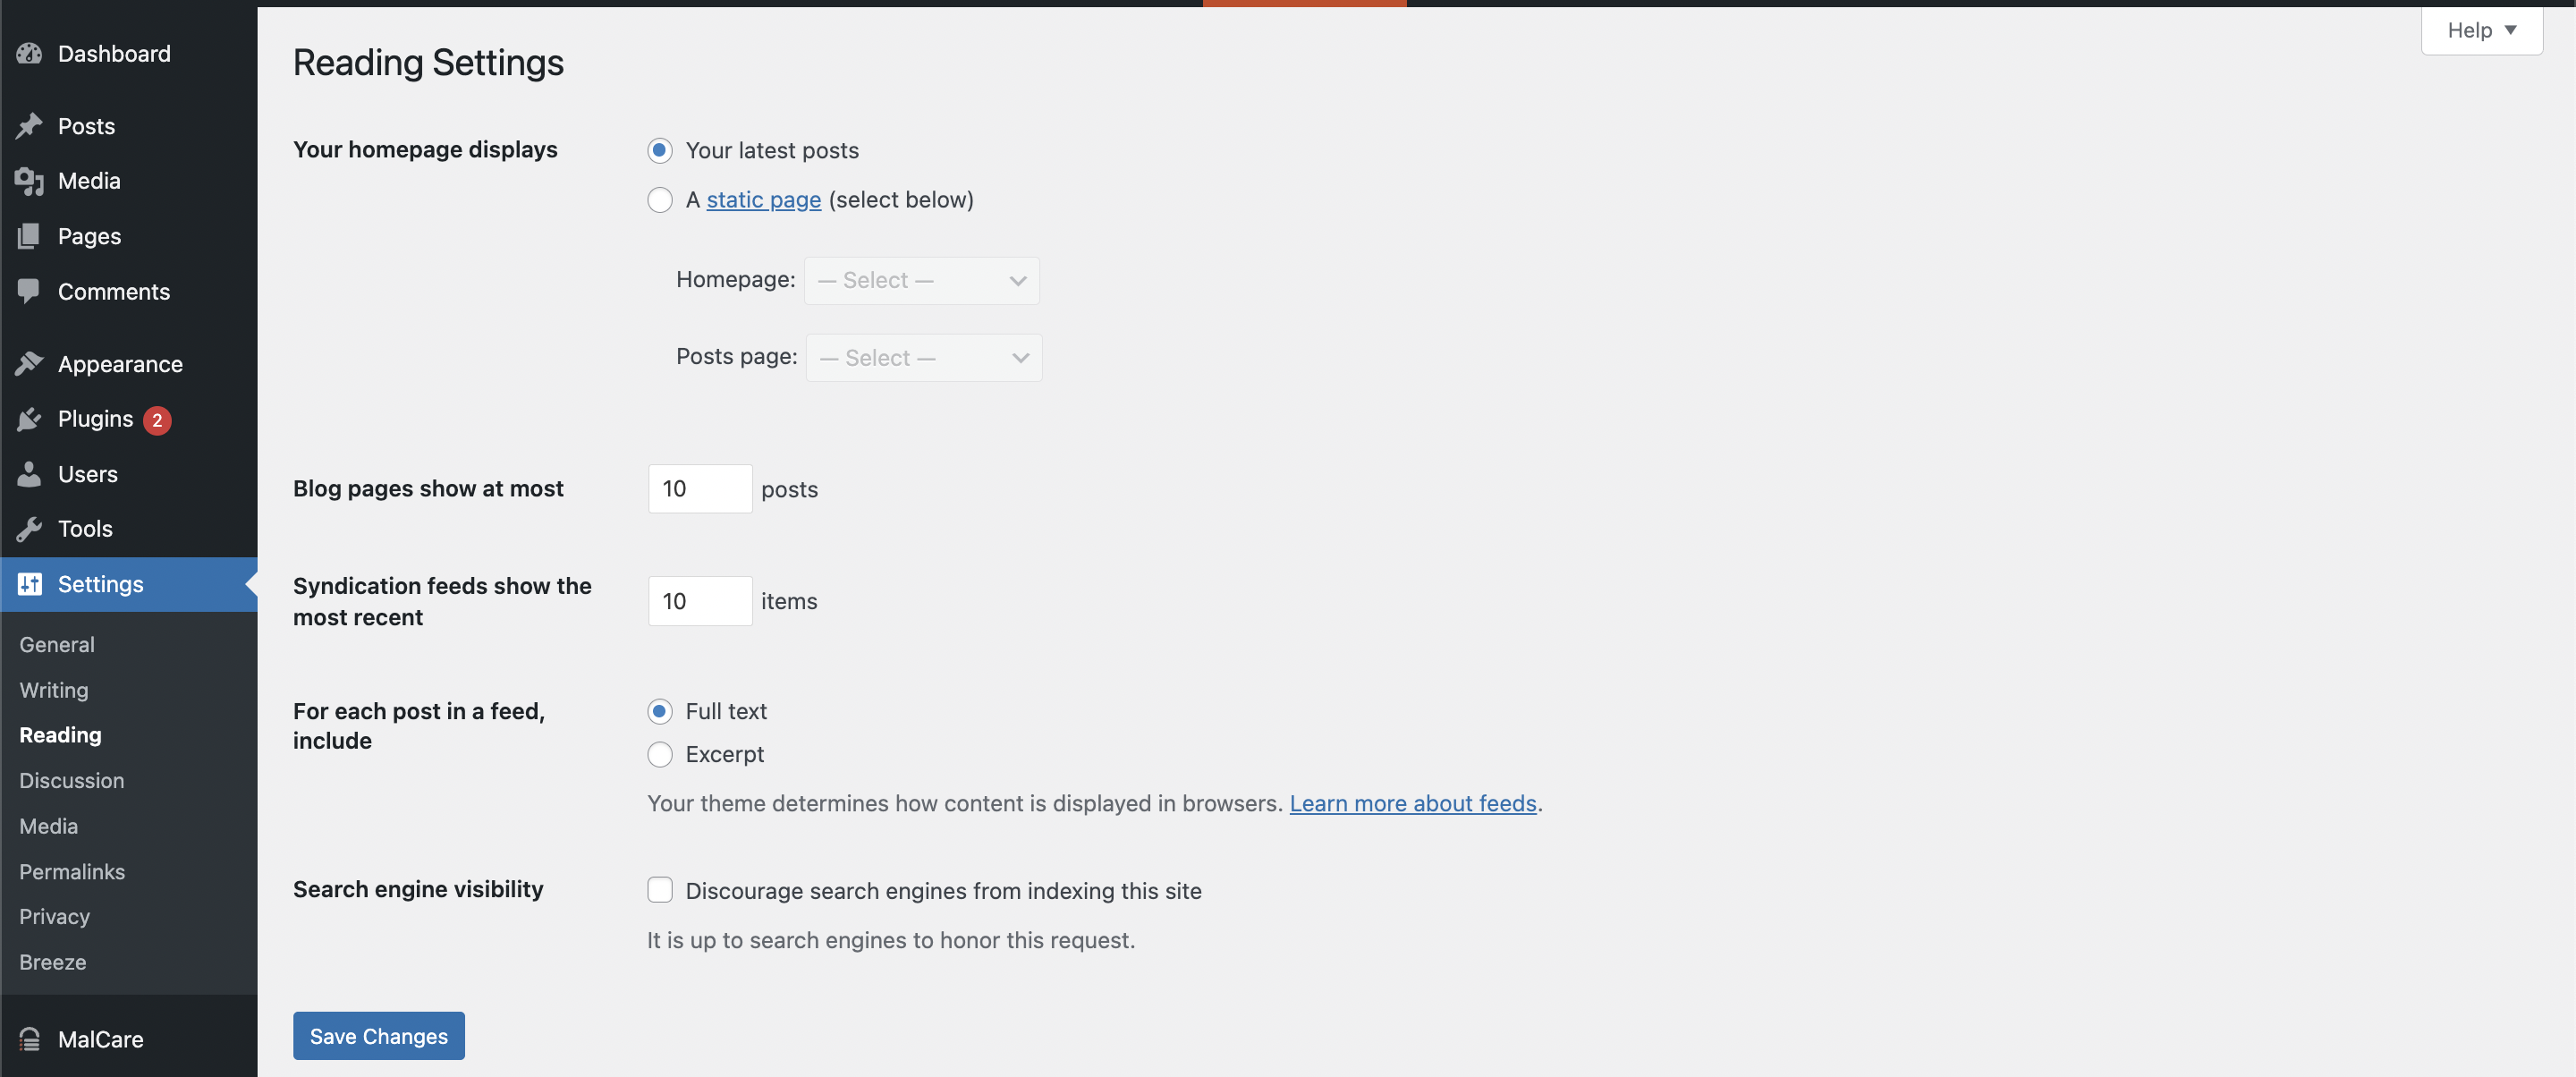
- Set your homepage: Once you have created a few pages, go to Settings > Reading to choose which page you want visitors to see when they first arrive at your site.
Troubleshooting common issues
If you hit a snag during or after installation, do not worry. Most problems are common and have straightforward fixes. The key is to know what the error message means so you can find the right solution.
Database and connection errors
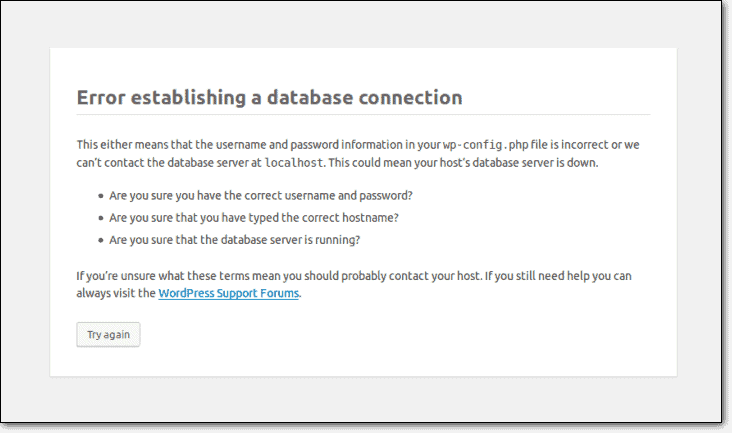
The most common and alarming error is the message Error establishing a database connection. This simply means your website cannot communicate with its database, which holds all your content.

For a new installation, this is almost always caused by incorrect database credentials in your wp-config.php file. Carefully check the database name, username, and password to ensure they are correct.
Visual glitches and the white screen
Sometimes you might encounter a blank white screen, often called the white screen of death. This is usually caused by a conflict with a plugin or theme. Similarly, if your site loads without any styling, it often means the CSS files did not load correctly.
This can happen during a manual installation if some files were missed during the upload. Re-uploading the core WordPress files often fixes this.
Login and access problems
If you are unable to log in, the first step is to use the lost your password? function to reset it. If that does not work, it might be a deeper issue, but the password reset solves the problem most of the time.

If your entire site is not loading, it could also be a file permission issue on your server, which you can fix through your hosting control panel or by contacting support.
Installation process issues
During setup, you might find that you cannot locate the one-click installer in your hosting panel. In this case, simply contact your hosting provider’s support team.
If an installation seems to get stuck, a simple page refresh often resolves it. For local installations, if your site is not working, the first thing to try is restarting the LocalWP application.
Best practices for your WordPress site
Now that your site is running, keeping it healthy is about forming good habits. Following these guidelines will help ensure your site remains secure, fast, and easy to manage for the long term.
Security and protection: Your site’s security is a top priority. Your most important safety net is an automated WordPress backup, so set that up first. Next, immediately install a security plugin, use strong passwords, and always keep your WordPress core, themes, and plugins updated.
Performance and speed: To keep your site fast, install a caching plugin and always optimize your images before uploading them. The quality of your web hosting also plays a significant role in your site’s overall performance.
Content and management: Help both users and search engines find your content. Use an SEO plugin, organize your posts with logical categories and tags, and enable comment moderation to prevent spam.

Maintenance and updates: Regular maintenance keeps your site healthy. Always test major updates on a staging site first. For smaller tasks or when working directly on the live site, put it in maintenance mode to prevent visitors from seeing a work-in-progress. Once your updates are live, periodically check for broken links and ensure your site works well on mobile devices.
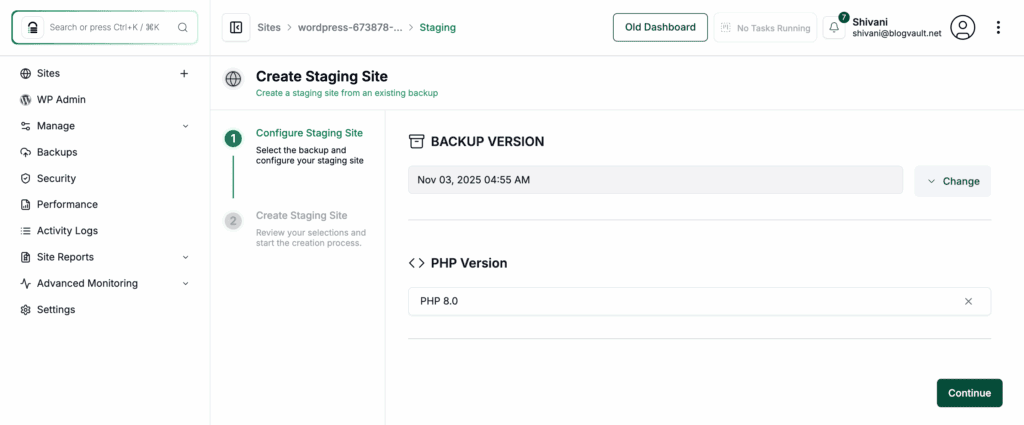
Plugin and theme management: Be selective with what you install. Research plugins and themes before using them, and delete any you are not actively using to reduce security risks. For any custom code, always use a staging site to test your changes.
User and access management: Control who has access to your site. Assign appropriate user roles (like editor or author) instead of sharing admin accounts. Limit the number of administrators and regularly remove any inactive user accounts.
Parting thoughts
You have now successfully installed WordPress and have a complete platform to build your website. The journey from here is about ownership. By following good habits like regular backups, keeping everything updated, and prioritizing security, you ensure your site remains healthy and reliable.
FAQs
How do I install WordPress?
The easiest way is to use the “one-click” installer provided by your web hosting company.
How to install WP on a laptop?
Use a free application like LocalWP to create a private WordPress site on your computer for testing and development.
Can I install WordPress on my PC?
Yes, the process is the same as installing it on a laptop using local development software.
Is WordPress 100% free?
The WordPress software is free, but you must pay for a domain name and web hosting to make your site public.
Is WordPress a monthly fee?
WordPress itself is free. The recurring fees are for your web hosting and domain name.
Do I need coding for WordPress?
No. You can build a complete, professional website using themes and plugins without any coding knowledge. However, for advanced or highly specific customizations that go beyond what your theme or plugins offer, some knowledge of code (like HTML and CSS) can be very helpful.
Which WordPress hosting is best?
This depends on your needs. For beginners, hosts like SiteGround, Bluehost, and Hostinger are popular because they offer user-friendly tools and one-click installers.

Shivani enjoys crafting guides that make every aspect of using WordPress simple and easy to follow. When she's not glued to her laptop, you can find her buried in a good book or occasionally, painting.