
Changing your domain does not mean rebuilding your WordPress site. If you searched for WordPress change domain, you likely want to keep your files, database, content, design, and visitors while moving to a new address. That is possible, but the domain change touches more than one WordPress setting.
The safe process is to prepare the new domain and HTTPS, the encrypted connection visitors use, create a restorable backup, update both WordPress addresses, replace old URLs safely, preserve every old page path with a 301 redirect, and test the site before retiring the old domain.
Prepare DNS, the system that routes the domain to your site, and HTTPS, back up your files and database, update both WordPress URL settings, replace stored URLs safely, test the site, and add path-preserving 301 redirects that send old URLs to their new matches. Keep the old domain, its HTTPS certificate, and its redirect setup active until the new site and search properties are verified.
Confirm which move you are making
This guide covers a domain-only change on self-hosted WordPress. Your current host and WordPress installation stay in place, but visitors use a new domain. You do not need to rebuild the site for this type of change.
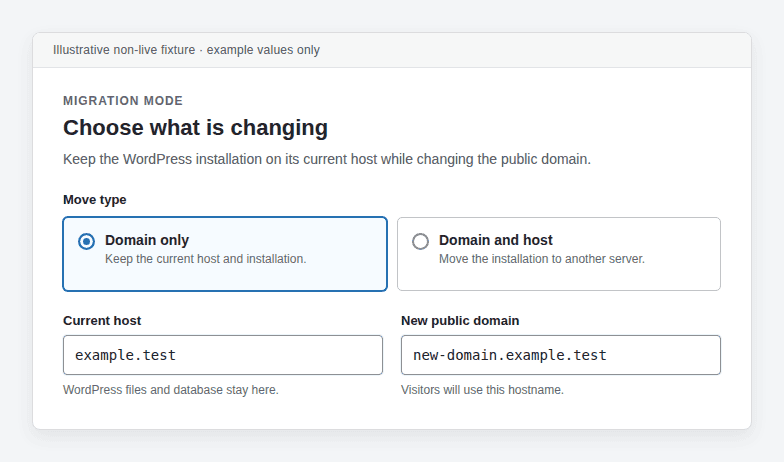
When the host also changes, plan to migrate your WordPress site as a full migration. DNS only directs a domain request to a service. It does not copy your WordPress files or database to a new server. Move the files, database, settings, certificates, scheduled tasks, and server rules before switching public traffic.
When the site runs on WordPress.com, use its domain tools. WordPress.com has platform-specific rules that do not match a self-hosted installation.
Keep the URL path structure unchanged where possible. If old-domain.example/about/ becomes new-domain.example/about/, each redirect is easier to create and test. Changing the domain, page paths, and site design in one release makes search and troubleshooting harder.
Prepare the new domain before changing WordPress
- Register the new domain and attach it to the correct site. Add it to the account that serves your WordPress installation. That may be your host, a content delivery network (CDN) that caches and serves pages, or another service in front of the host.
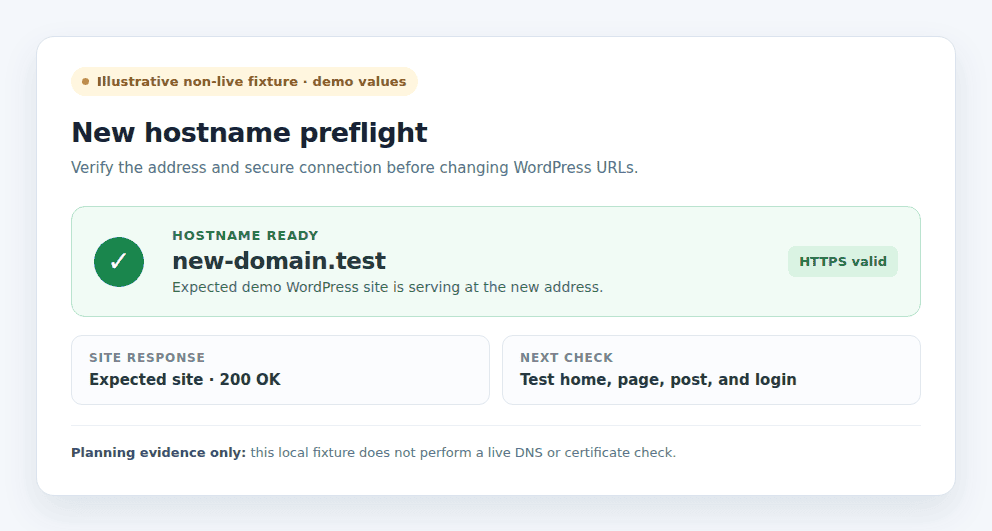
- Point DNS to the intended service and verify the result. DNS is the system that tells browsers which service should receive a domain request. Open the new domain from more than one network and confirm that it shows your WordPress site, not a default hosting page or another website.
- Issue an HTTPS certificate for the new domain and test several URLs. Check the homepage, a page, a post, and the login address over HTTPS. Do not change WordPress’s own addresses while the new hostname still shows a certificate error, the wrong site, or a missing page.
- Record the current email records before changing nameservers. Nameservers tell the internet where a domain’s DNS records are managed. If you replace them, copy the current MX records that route incoming email and the SPF, DKIM, and DMARC records that help receiving mail services verify outgoing messages. A working website does not prove that email still works.
Create a rollback point before the cutover
- Backup the complete site and confirm that it can be restored. Save the database and all site files, including uploads, plugins, themes, and configuration files. A database export alone cannot restore the complete site.
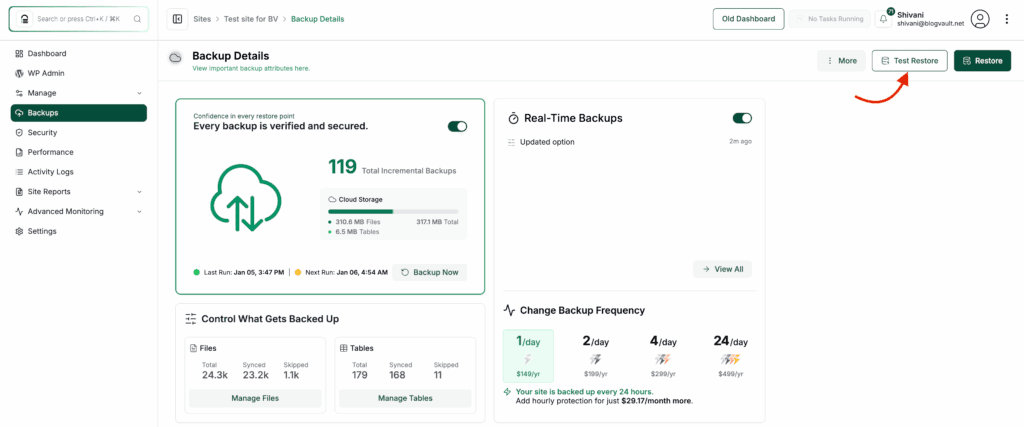
A WordPress backup test can help verify the restore path before the cutover. Whatever tool you use, store the backup separately from the site and confirm how you would restore it before changing URLs.
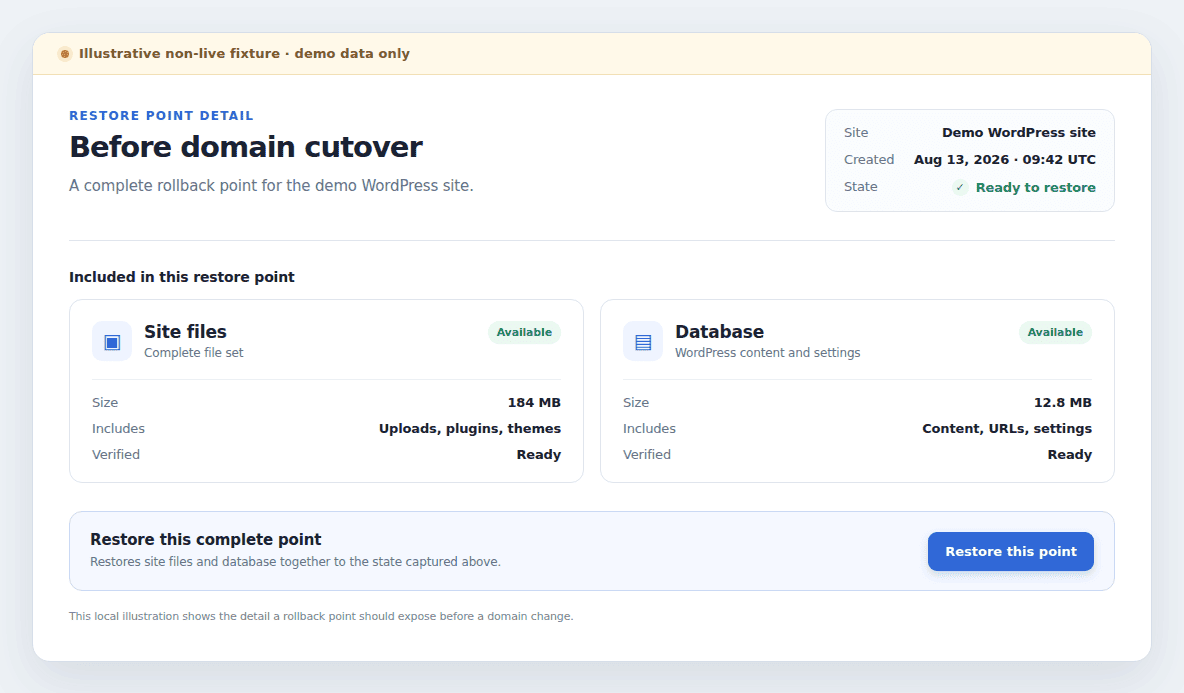
BlogVault can help you backup your WordPress site by creating a WordPress backup of the files and database and providing a restore path, subject to its current documentation and plan.
- Record a short list of old URLs for testing. Include the homepage, a nested page, a post, an image, a form, the login screen, and the admin screen. Also note the current permalink format, active cache or CDN rules, and services connected to the old domain. This list gives you a clear before-and-after check.
Change both WordPress addresses
- Open Settings > General while the old site still works. In a normal single-site installation, update WordPress Address (URL) to the address where the WordPress core files are served. Update Site Address (URL) to the public address visitors enter. They are usually the same, but a site installed in a subdirectory may need different values.
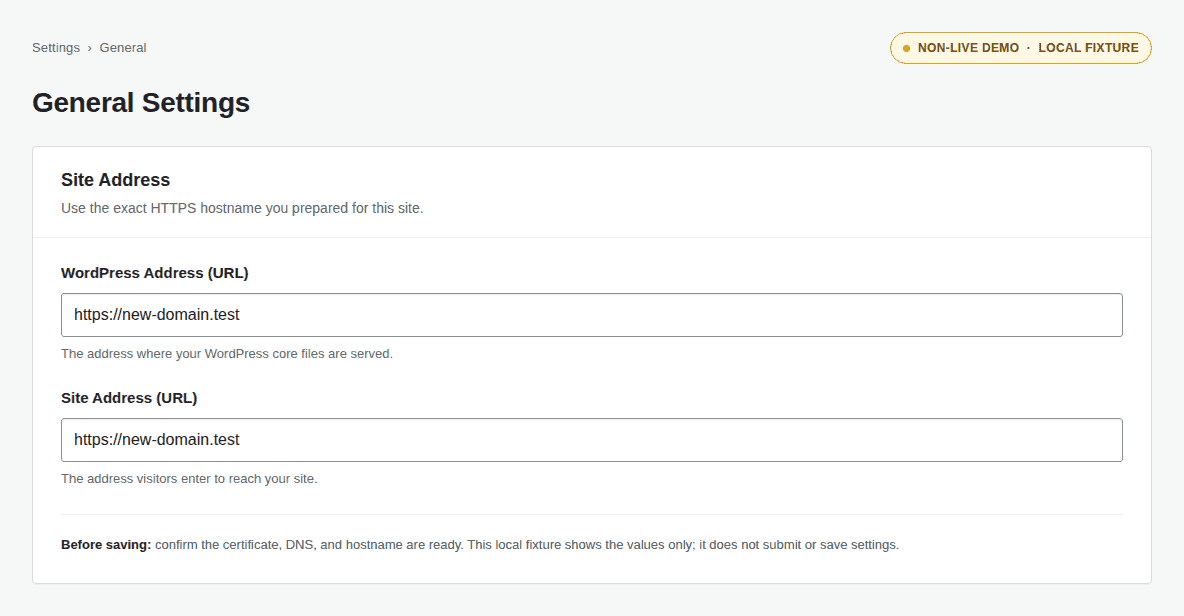
- Enter the exact new HTTPS address without a final slash. Match the hostname you tested, including whether it uses www. Save the settings once. WordPress may end your session and send you to the new login address, so keep that address and your backup details available.
The official WordPress migration guide confirms that these two settings control the WordPress location and public site address. The dashboard is the normal method when you can still sign in.
Recover access after a bad URL save
Check the new domain, DNS, hosting folder, HTTPS certificate, and spelling first. Saving a new address before the host serves it can make the site look broken even when the files and database are intact.
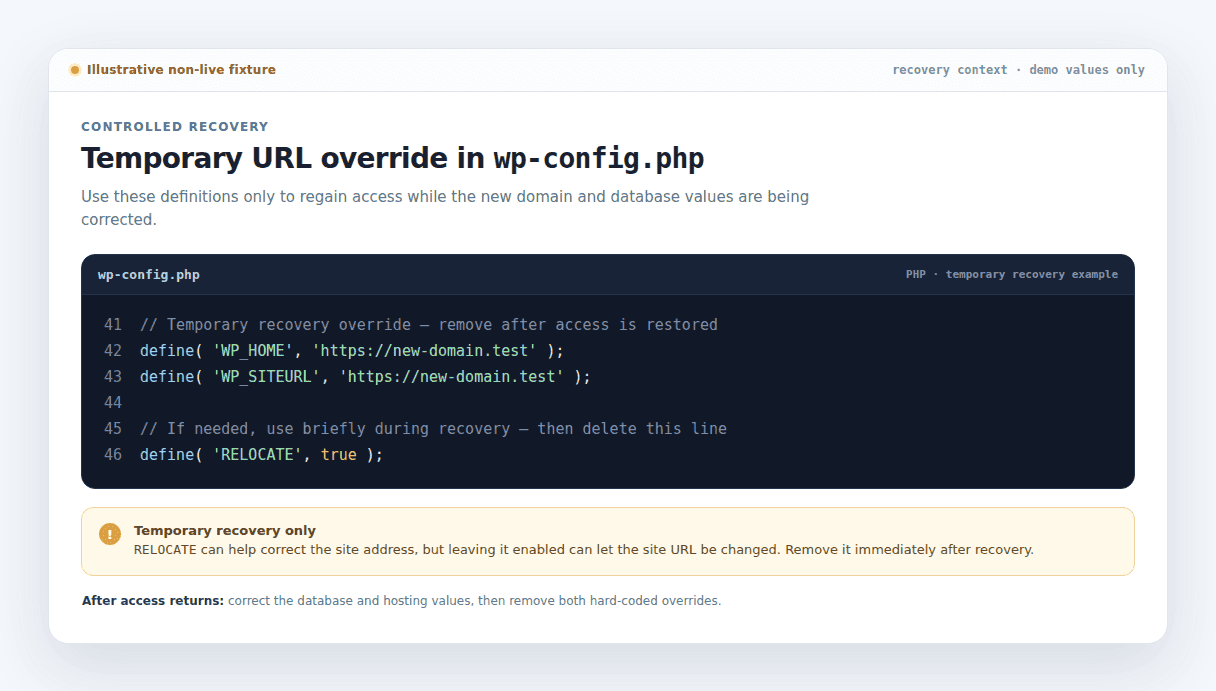
- Use WP_HOME and WP_SITEURL only as a controlled recovery measure. These settings in wp-config.php can force the site and WordPress addresses, but they hard-code the values and hide the normal fields in Settings > General. Remove the temporary definitions after the database and hosting settings are correct.

- Edit the siteurl and home values in the database only when necessary. An experienced administrator can use phpMyAdmin, a browser-based database management tool, to edit those two rows in the wp_options table after creating a fresh database backup. The table prefix may not be wp_ on your site, so confirm the actual table name first.
- Remove RELOCATE immediately after recovery. WordPress documents it as a temporary way to correct a site address. Leaving it enabled can let an attacker change the site URL in some configurations.
Replace old URLs without damaging settings
- Search for old addresses after changing the main settings. Updating WordPress Address and Site Address does not rewrite old domain strings saved in post content, image references, menus, widgets, theme settings, plugin settings, or custom tables. Hard-coded links in external services are separate and need their own updates.
- Check every old address variation before replacing it. Look for both HTTP and HTTPS, plus www and non-www forms if the site has used them. Search for the exact scheme and hostname that appear in the database.
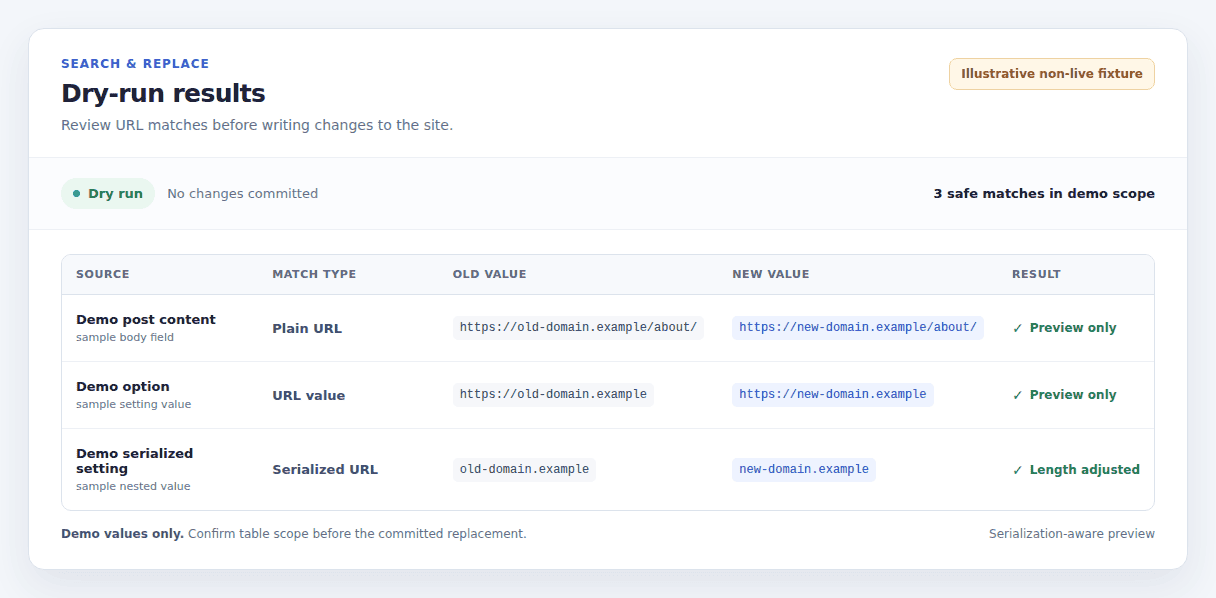
- Run a dry run with a serialization-aware tool. Serialized data stores a value together with its length. A blind text replacement can leave the length wrong and break a saved setting. If you need to complete a full WordPress database migration, Use a search-and-replace plugin or WP-CLI, a command-line tool for WordPress, that handles serialized data, review the tables and matches it reports, then run the committed replacement.
- Search again and inspect the site after the replacement. Check posts, images, menus, widgets, forms, and plugin settings. Do not change post GUID values. A GUID is a permanent post identifier used by feeds, not an address that visitors need to follow, and WordPress says it should remain unchanged during a domain move.
- Update external services separately. Review analytics, advertising and conversion tracking, email templates, social profiles, business listings, CDN rules, API callbacks, and partner links. An API callback is an address an outside service uses to send information back to your site, so it may reject the new domain until you update it.
Redirect every old path to its new match
- Create permanent 301 redirects on the old domain’s serving layer. A 301 tells browsers and search engines that a page has moved permanently. Place it on the old host, CDN, web server, or another service that still receives old-domain requests.
- For Apache servers, an htaccess redirect to the new domain is one way to configure that rule.
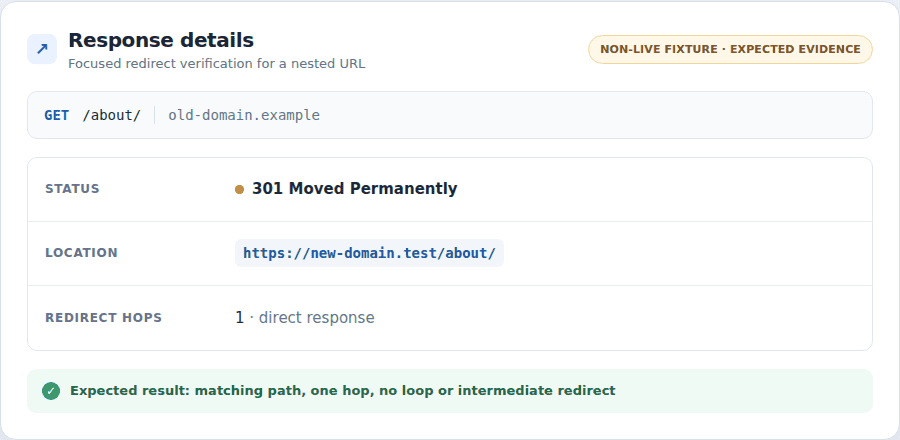
- Preserve the path for every important URL. Send old-domain.example/about/ to new-domain.example/about/, not just to the new homepage. Preserve query strings when campaigns, searches, or integrations depend on them.
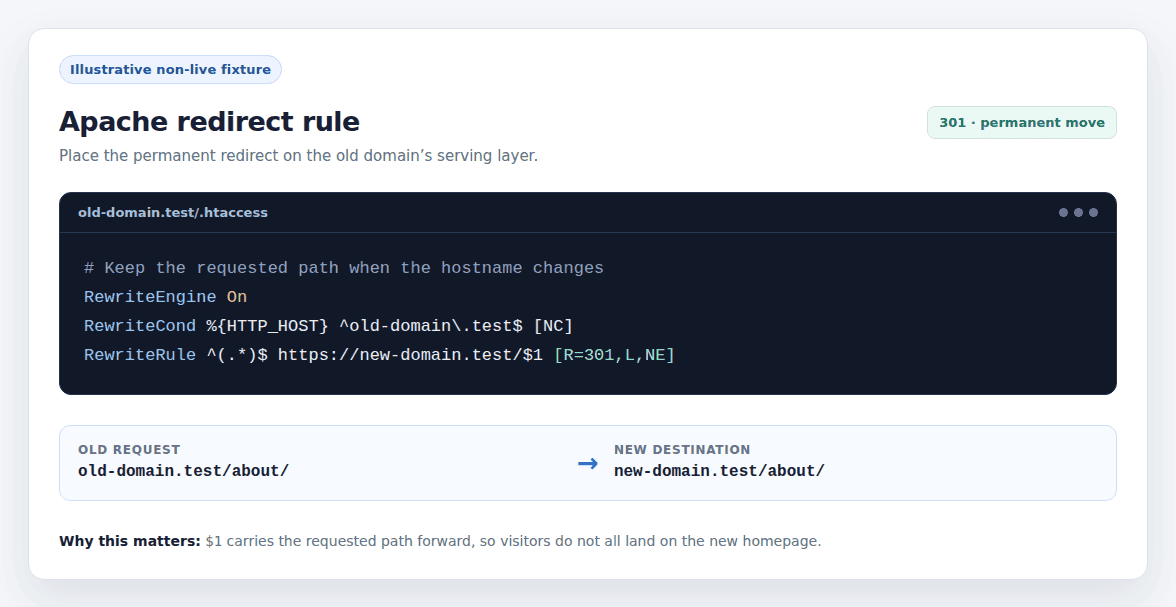
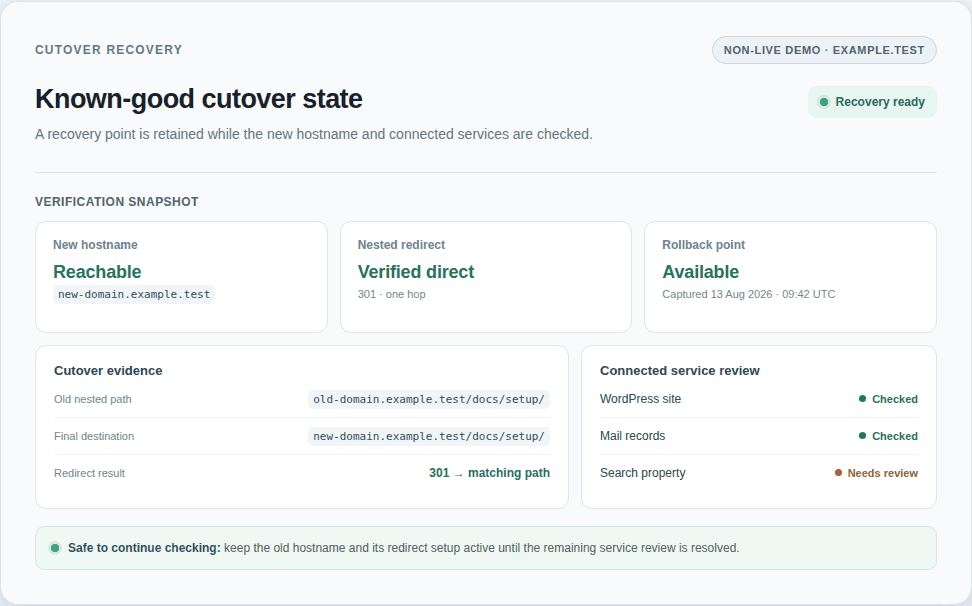
- Keep the old domain, DNS, and HTTPS certificate active. An HTTPS visitor must pass the old hostname’s certificate check before receiving a redirect. A redirect plugin installed only on the new site cannot help if the old request never reaches that site.
- Test root, nested, content, and media redirects. Check HTTP, HTTPS, and both www forms if they were active. Each old URL should reach its matching final new URL in one hop. A chain, loop, or certificate error points to a duplicate rule in the host, CDN, web server, WordPress, or a plugin.
Test the new site before announcing the move
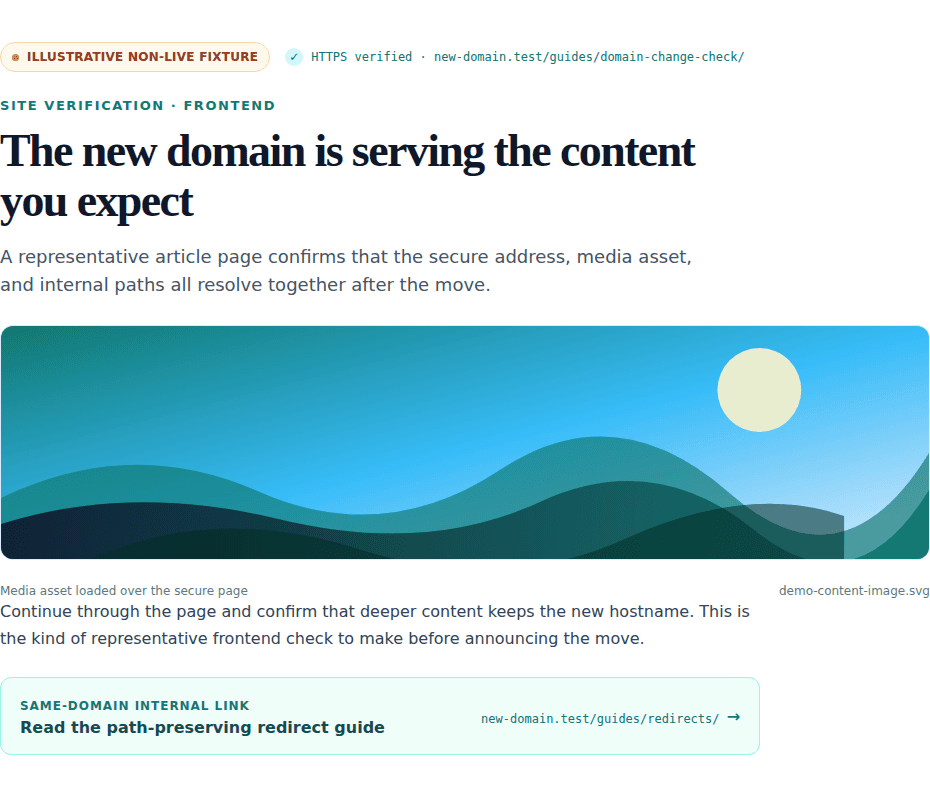
- Open the frontend and admin areas from the new domain. Test the homepage, login, dashboard, representative pages and posts, category or archive pages, feeds, Settings > General, and Settings > Permalinks. A homepage that loads does not prove that the dashboard or deeper pages work.
For a lower-risk rehearsal, test your setup or clone wordpress site into a staging environment before announcing the move.
- Check media and page assets on HTTPS. Test images, stylesheets, scripts, fonts, video, and embeds. If a secure page requests an old HTTP asset, the browser may block it as mixed content, which means a secure page is trying to load an insecure file.
- Complete the actions that matter to your site. Submit a form, test a membership login, complete a checkout, or follow another normal conversion path. Also check webhooks, which are automated messages sent between services, and API callbacks if the site uses them.
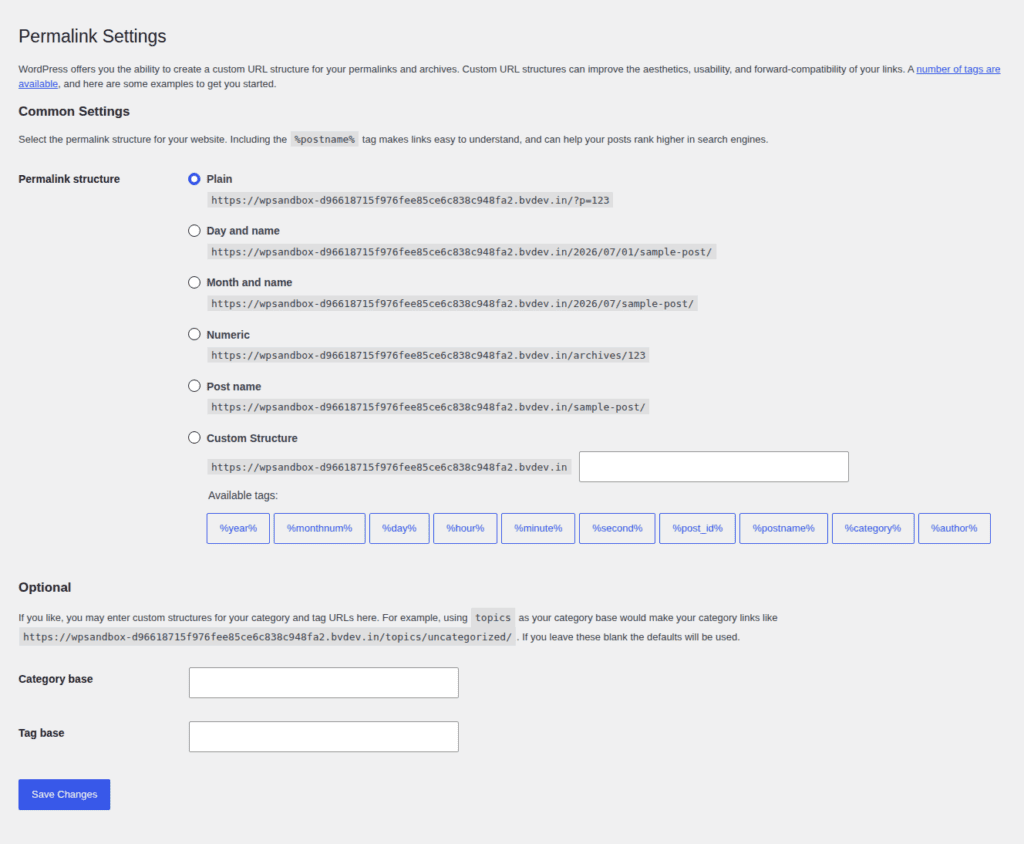
- Refresh permalinks when a page returns 404. A 404 means the server could not find the requested page. Open Settings > Permalinks and save the existing structure once to refresh common rewrite rules, which tell the server how to route page addresses. Preserve custom .htaccess or server rules before changing them.
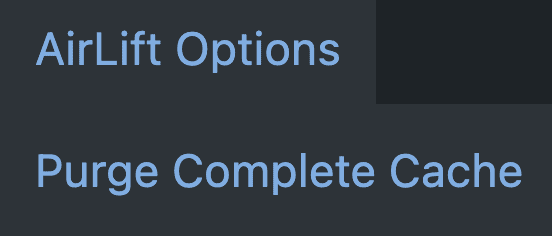
- Purge caches after the live checks. Clear page, object, server, CDN, and browser caches so an older address does not hide the result. Then watch server and application logs for missing pages, redirect loops, certificate errors, failed forms, login problems, and checkout failures.
Update search engines and connected services
Verify the old and new domains in Google Search Console. After the new site works and redirects are live, use Google’s Change of Address tool when the move is between domain-level properties. You must own both properties in the same Google account. The tool does not create redirects and is not for an HTTP-to-HTTPS-only change or a simple www change.
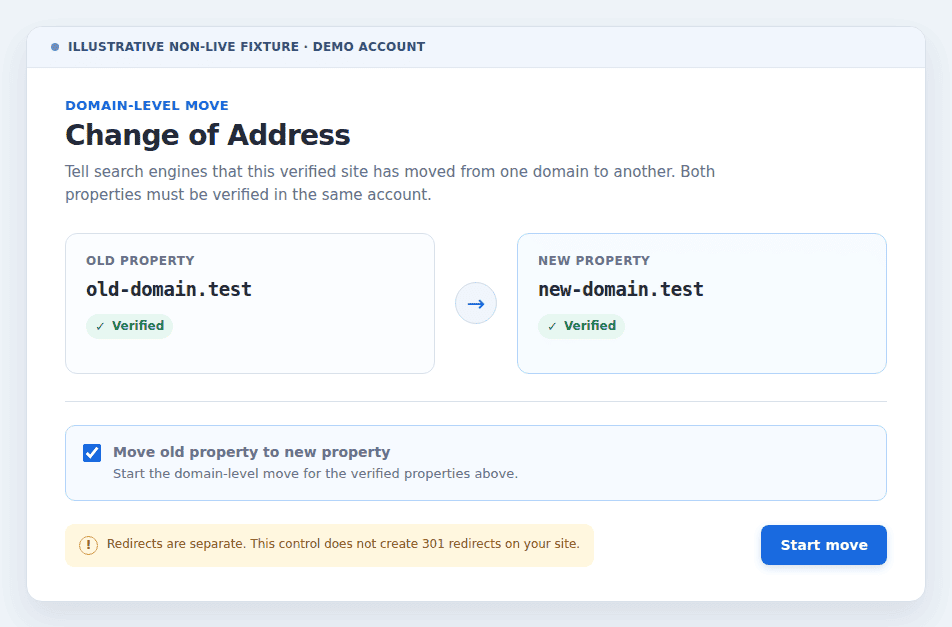
- Submit a sitemap that lists only the new URLs. An XML sitemap is a file that lists pages you want search engines to discover. Submit it in the new Search Console property and review indexing errors. Update Bing or other search properties that bring meaningful traffic.
- Update every service that still knows the old domain. Check analytics, advertising, conversion tracking, email systems, social profiles, business listings, CDN settings, API callbacks, and high-value partner links. Review canonical URLs too. A canonical URL is the version you tell search engines to treat as the preferred page when similar addresses exist.
- Keep redirects for at least 180 days and longer when traffic remains. Google displays a Change of Address move for 180 days and recommends keeping redirects longer if the old URLs still receive Google traffic. Consider keeping the old domain registered longer to protect users and backlinks from a future owner.
- Rankings and traffic can change while search engines recrawl the site and combine signals. Equivalent content, stable paths, working redirects, consistent canonical URLs and sitemaps, and close monitoring reduce avoidable problems, but no domain move guarantees a fixed ranking.
Handle a simultaneous host migration
Copy the files and database to the new host before changing public DNS. Configure the database connection, PHP version, the server software that runs WordPress, uploads, rewrite rules, HTTPS certificate, scheduled tasks, cache, and firewall on the new server. These are host-migration tasks that a domain-only change does not require.
Test the copied site on the new host before the final switch. Keep the old host serving the old domain or its redirects until the new server passes the same frontend, admin, content, form, and redirect checks. A tested rollback makes it easier to identify whether a failure came from the domain or the server.
Recover common failures
- Restore the backup when the site remains unreachable. First compare the registered domain, DNS target, hosting folder, HTTPS certificate, and both WordPress URL values. If the new address was saved before the host was ready, restore the known-good copy or use the controlled recovery methods above.
- Search every old address when links or images still fail. Include scheme and hostname variations, then run a serialization-safe replacement. Update external services manually, and leave GUID values unchanged.
- Refresh permalinks when only some pages show 404 errors. Save the existing structure once, then inspect rewrite rules and host configuration. If the host changed too, compare its PHP, server, and site-folder settings with the old host.
- Remove duplicate redirect rules when requests loop. Check the old host, CDN, web server, WordPress settings, and redirect plugins. The old hostname needs a valid certificate, and the old URL should go directly to the matching new URL.
- Restore mail records when email stops after a nameserver change. Compare the new DNS record set with the old one, including MX, SPF, DKIM, and DMARC records. Then check the mail provider for domain verification and sender settings that still use the old address.
FAQs
Can I change my WordPress domain without rebuilding the site?
Yes. Keep the existing files and database, prepare the new domain, change the two WordPress addresses, replace stored URLs safely, and redirect the old domain. A domain-only change does not require a rebuild.
Which WordPress URLs do I change?
For a normal single-site installation, change both WordPress Address (URL) and Site Address (URL) under Settings > General. A subdirectory or multisite installation may need different values and additional changes.
Does WordPress change domain update every link?
No. It changes the main site addresses but does not update every old domain stored in content, media, menus, plugin settings, custom tables, or external services. Use a dry run and a tool that handles serialized data.
Where should the 301 redirects go?
Put them on the old domain’s host, CDN, web server, or another serving layer that receives the old request. Send each old path to its matching new path, and keep the old domain’s DNS and HTTPS setup available.
What should I do if the site breaks after I save the new URL?
Check DNS, hosting, HTTPS, and the spelling of both URL settings. Restore the backup or use a temporary configuration or database recovery method to restore access, then remove temporary overrides after the site is stable.
Conclusion
A WordPress domain change is manageable when you treat it as a coordinated cutover. Follow a complete WordPress migration checklist to prepare the new domain, back up the site, update both URL settings, replace stored addresses safely, preserve each old path, and test real visitor actions before making the move public.
Keep the old domain and its redirects while visitors and search engines adjust. If the host is changing too, test the copied site separately and keep a working rollback until the new server, email, integrations, and search properties are stable.
For the HTTPS portion of the cutover, MalCare’s WordPress HTTPS migration guide is a useful follow-up on certificates, redirects, mixed content, and caches.

Shivani enjoys crafting guides that make every aspect of using WordPress simple and easy to follow. When she's not glued to her laptop, you can find her buried in a good book or occasionally, painting.