

You’ve installed WordPress and set up your site. The next step is adding features with plugins, but this raises a critical question:
How to install WordPress plugins without causing a website crash?
This guide provides the definitive answer. We’ll walk you through three super simple methods, giving you a core skill for managing your website safely and effectively.
Consider installing a backup plugin first, as it safeguards your site against potential mishaps. You can install most WordPress plugins by searching your dashboard (Plugins > Add Plugin), uploading a .zip file, or manually via FTP. Since plugins are known to cause conflicts, having that backup is essential.
How to install WordPress plugins at a glance

What you need before you start
Before you touch a single button, let’s get two things sorted out. This will make the entire process go smoothly.
Prerequisite checklist:
- Get administrator access. You must be logged into WordPress as an administrator. If you can’t see “Plugins” in the left-hand menu, you don’t have the right permissions.
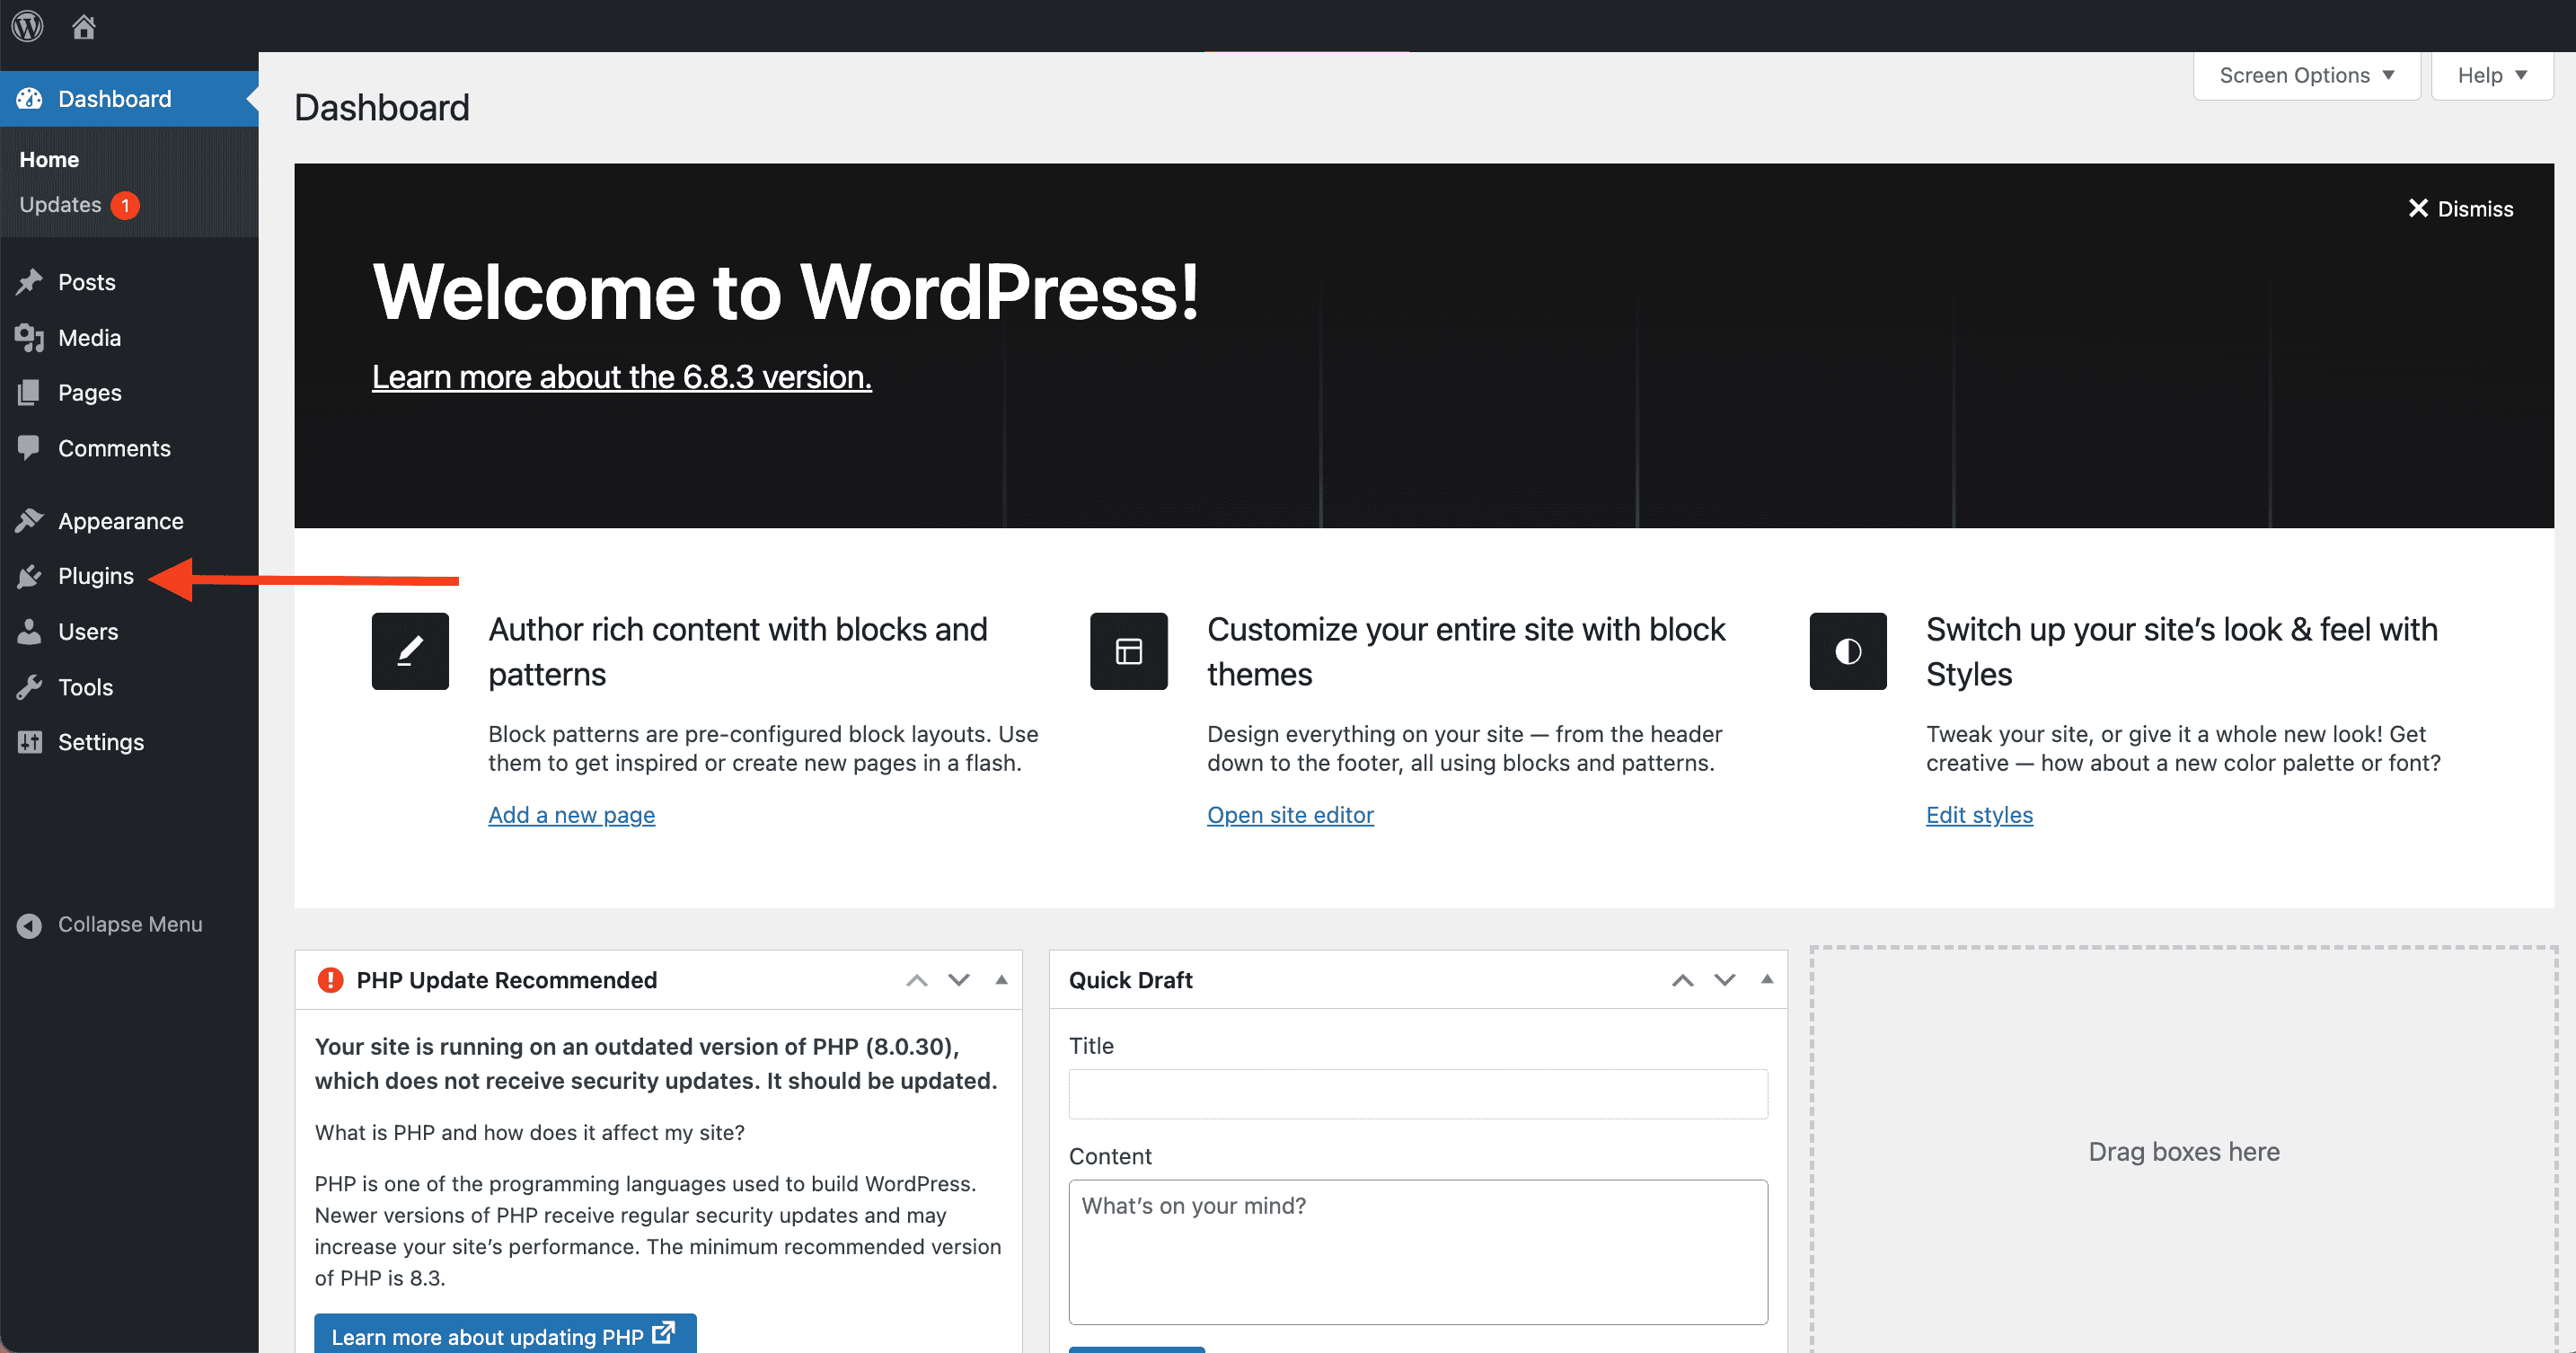
- Keep a plugin in mind. You should know what you’re looking for, whether it’s a specific name (like “Akismet”) or a general function (like a “contact form”).
Method 1: Search and install
This is the method you’ll use most often. It’s perfect for the thousands of free plugins available directly through your WordPress dashboard.
Here are the steps:
Navigate to the plugin installer and search for the plugin: From your dashboard menu on the left, click on Plugins > Add Plugin. Use the search bar on the top right to type in the name or function of the plugin you want.

Install and activate the plugin. Once you find the correct plugin in the list, click the Install Now button. WordPress will automatically download and set up the files. After a few moments, the button will turn blue and change to read Activate. You must click this to turn the plugin on.
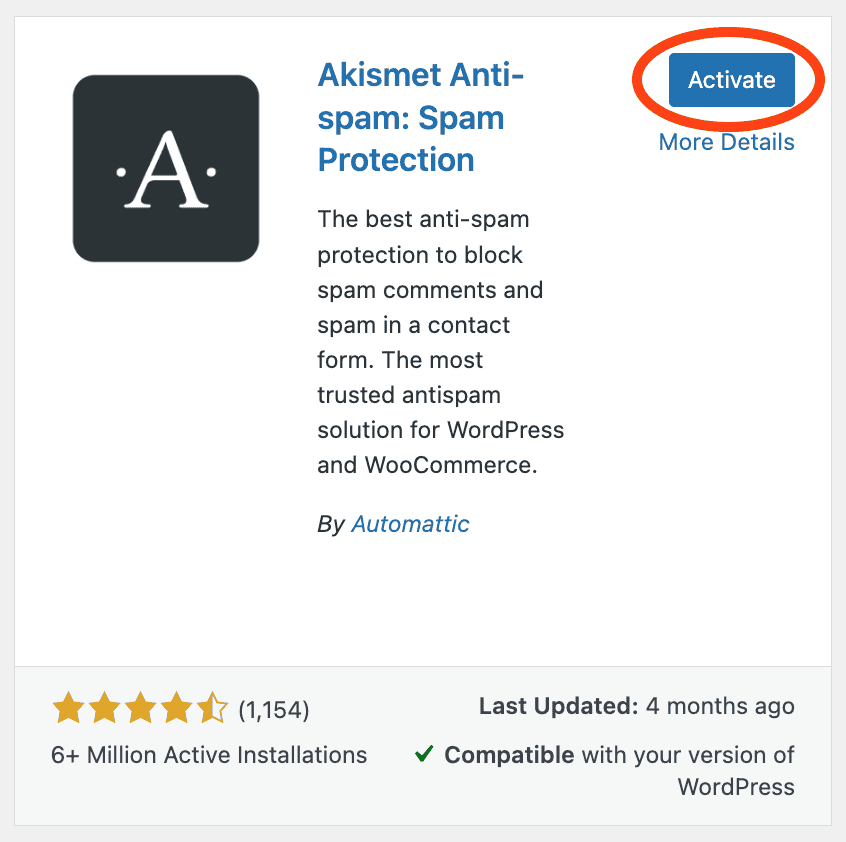
Once activated, the plugin is officially live and working on your website.
Method 2: Upload a plugin via ZIP file
You’ll use this method for two main reasons: you’ve purchased a premium plugin that came as a .zip file, or you manually downloaded a plugin from the WordPress.org website.
Here are the steps:
Download the .zip file: First, download the plugin’s .zip file from the developer’s website or wordpress.org and save it to your computer.

Navigate to the uploader and upload the zip file: In your WordPress dashboard, head to Plugins > Add Plugin. At the top of the page, click the Upload Plugin button. Click Choose File and select the .zip file you just saved.
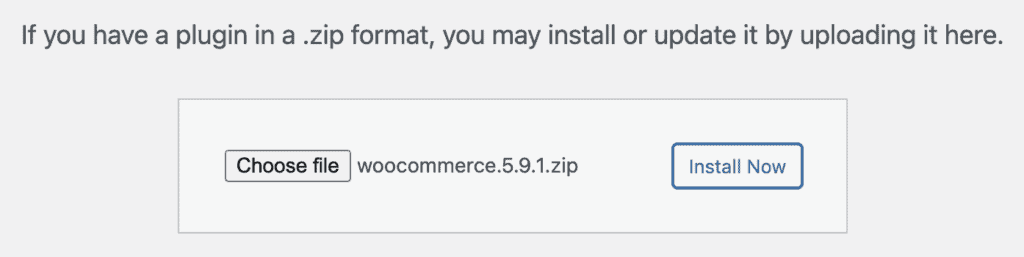
Install and Activate: Click Install Now. Once the installation is complete, click the final Activate Plugin button.
Method 3: Manual installation via FTP (the advanced fallback)
This method is for troubleshooting only. You should only use this if the other two methods aren’t working (for example, if a plugin file is too large for the uploader). This requires an FTP program, like FileZilla, to access your server files directly.
Here’s the general process:
Download the file and unzip it: Download the plugin’s .zip file and unzip it on your computer by double-clicking on it (macOS) or by right-clicking and selecting Extract (Windows).

Connect to your server and upload folder: Use FTP to connect to your website’s server. Navigate to the /wp-content/plugins/ folder and upload the entire unzipped plugin folder there.

Activate in WordPress: Return to your dashboard, go to the Plugins page, find the plugin you uploaded, and click Activate.
What to do after you activate a plugin
Your job isn’t done yet. Most plugins require configuration to work properly.
Your next steps:
- Find the settings. After activation, look for a new item in your main WordPress menu on the left. Most plugins add their settings page to this location.
- Configure the basics. Go into the settings and adjust them to fit your website’s needs.
- Test the feature. Visit your live website and ensure the plugin is working exactly as you expect.
Best practices for safety and performance
Every plugin adds code to your site, which can affect its speed and security. Managing them wisely is a critical skill.
A. Maintenance habits
- Backup first: Before installing a new plugin, always create a full backup of your website. This is your safety net if something goes wrong.
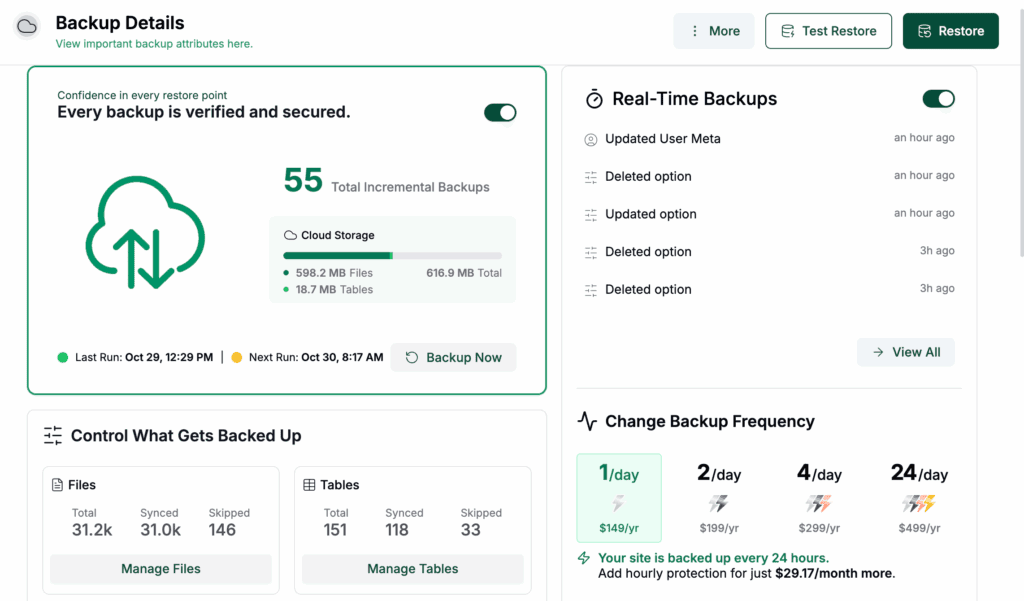
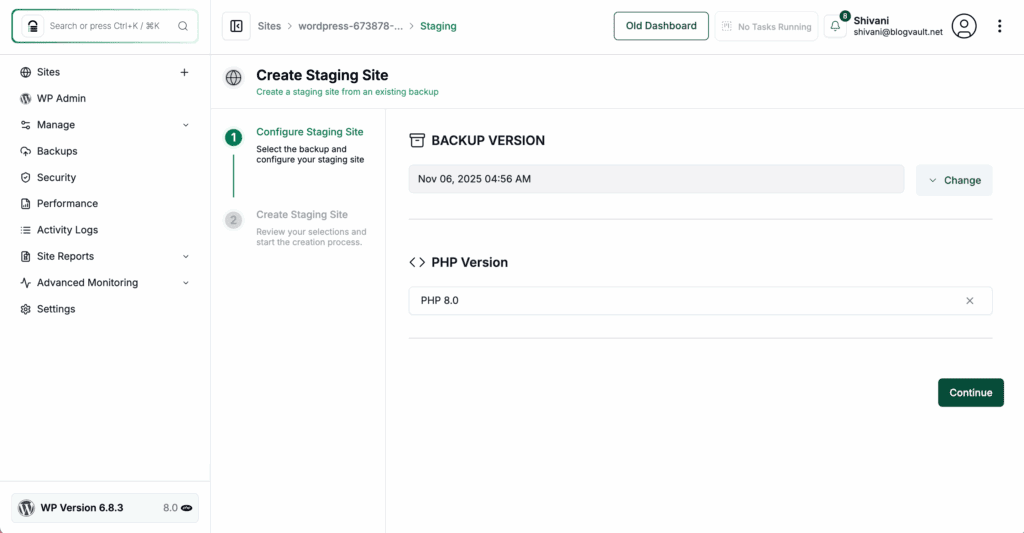
- Test on staging: For a business-critical website, use a staging site (a private copy) to test new plugins before they go live.
B. Security rules
- Source: Only download plugins from WordPress.org or trusted developers.

- Updates: Treat plugin updates as essential security maintenance. They often contain patches for critical vulnerabilities, so installing them as soon as they’re available is a top priority.
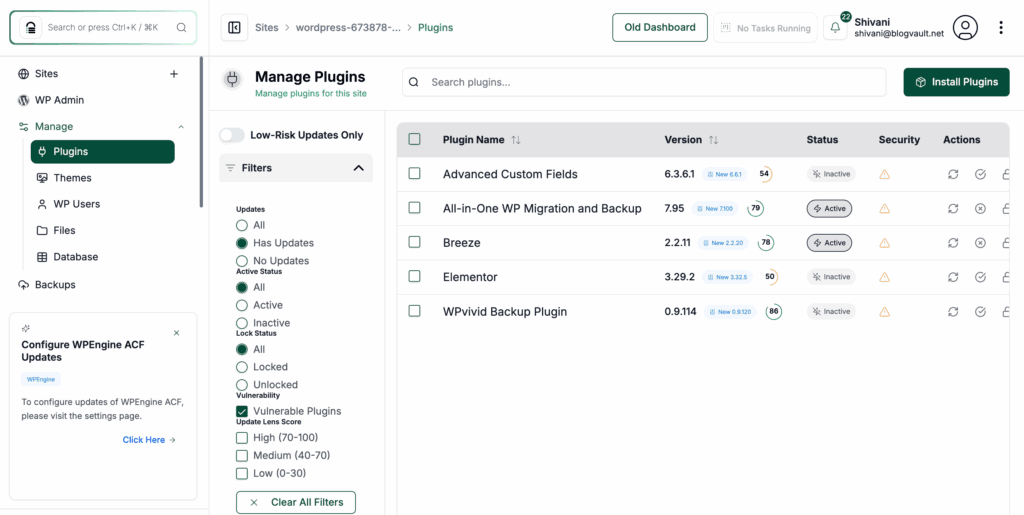
- Audit: Every few months, review your plugin list. If you no longer need a plugin, deactivate and delete it. An old, inactive plugin can still be a security risk.
C. Performance tips
- Fewer is better: A fast website has fewer plugins. Before installing something new, ask if you truly need it.
- Check for conflicts: If your site behaves strangely after activating a plugin, it’s likely due to a conflict. Deactivate it to see if the problem goes away.
Parting thoughts
You now have one of the most essential WordPress skills. Adding new functionality to your site is no longer a challenge.
Just remember the simple workflow: Install → Activate → Configure.
You understand how to add plugins and, just as important, how to manage them safely. You are now in full control of your website’s features. This control is only real if you can quickly restore your site if a new plugin causes a critical error.
FAQs
How do I import a plugin to WordPress?
You can import a plugin by uploading its .zip file through the “Plugins > Add Plugin > Upload Plugin” screen in your dashboard. This method is typically used for premium plugins or those downloaded from a developer’s website.
How to download an installed plugin from WordPress?
You cannot download an installed plugin directly from your WordPress dashboard for security reasons. You must get the plugin files from the source, such as the WordPress.org repository or the developer’s official site.
How to find installed plugins in WordPress?
You can find all installed plugins by clicking the on Plugins and then Installed Plugins link in your main WordPress dashboard menu. This page lists all plugins and shows which ones are currently active or inactive.
How do I install a WordPress plugin?
The easiest way to install a WordPress plugin is to use the search function under “Plugins > Add Plugin” in your dashboard. You can also upload a plugin’s .zip file directly on that same page.
Where does WordPress install plugins?
WordPress installs all plugins into the /wp-content/plugins/ directory on your website’s server. Each plugin is stored in its own separate folder within that directory.
How to install WordPress manually?
To install WordPress manually, you must upload the core WordPress files to your server via FTP and create a database. You then run the installation script by visiting your website’s URL in a browser.
Can I install WordPress plugins for free?
Yes, you can install tens of thousands of plugins for free directly from the official WordPress.org plugin directory. There are also premium (paid) plugins available that offer more advanced features and support.

Shivani enjoys crafting guides that make every aspect of using WordPress simple and easy to follow. When she's not glued to her laptop, you can find her buried in a good book or occasionally, painting.


