After you set up your WordPress site, that generic icon in the browser tab can undermine your professional look. Every successful website has a branded favicon for a reason.
It’s a small detail that completes your brand’s image.
In this guide, we break down the simplest methods to change your favicon in WordPress. Don’t worry, everything here is explained in plain language, so you can finish this essential step in no time!
For the easiest fix, simply upload a 512×512 PNG as the Site Icon in your WordPress Customizer. Just ensure to always have a backup plugin running before you try the advanced methods. It gives you peace of mind by letting you undo any change that causes an issue.
Prepare your favicon image
First things first, and before making any changes, it’s always a good idea to have a recent WordPress backup. With that safety net in place, you can focus on getting the right image file.
Getting this part correct will save you a lot of frustration later:
Here are the technical requirements:
- Your image must be a perfect square. The minimum size required by WordPress is 512 pixels in width and 512 pixels in height. This size is important because WordPress uses it to generate all the smaller versions required for different browsers and devices.
- Save the file as a PNG or ICO. We strongly suggest using the PNG format. The main reason is that PNGs support transparent backgrounds. This allows your logo to appear neatly on the browser tab without being stuck inside a white square.
- Use simple tools. You don’t need Photoshop for this. A free online tool like Canva is perfect for creating a 512×512 graphic. For more advanced needs, a favicon generator can create a complete set of files for you.
A) Use WordPress built-in tools
For most people, this is the safest and fastest method. Because the setting is part of WordPress core, your favicon will stay in place even if you change your theme in the future.
There are two places this setting usually lives. Both achieve the same result.
Option 1: Via the Customizer
This is the most common and recommended way to add your favicon.

Navigate to the Customizer. This opens the live theme editor, where you can see changes as you make them. In your WordPress dashboard, head to Appearance > Customize.
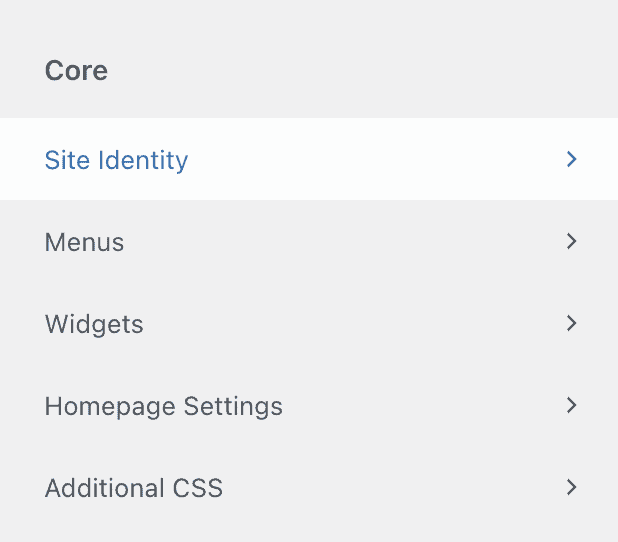
Open the Site Identity tab. This section contains settings for your site’s title, tagline, and logo.
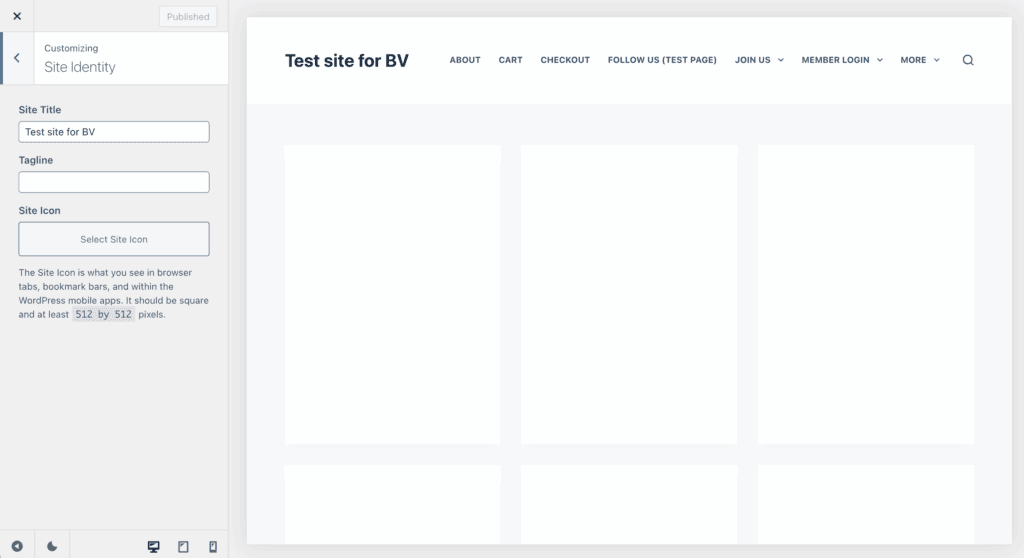
Select your Site Icon. This is what WordPress calls the favicon. Click the Select Site Icon button to open your Media Library.
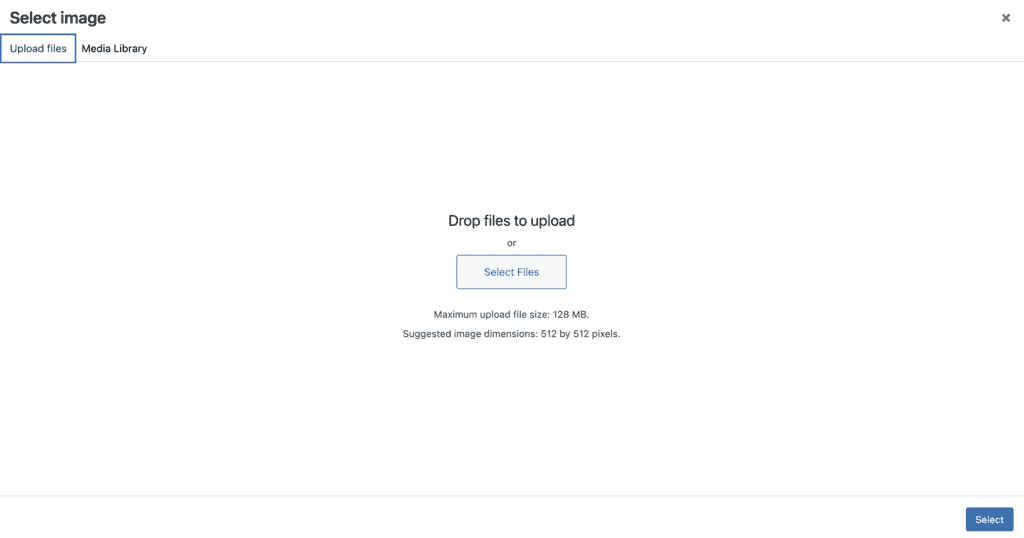
Upload your image. Select your 512×512 PNG file. WordPress might ask you to crop the image, but you can skip this if it’s already a perfect square.

Publish your changes. This pushes the new favicon to your live website. Click the blue Publish button at the top to save.
Option 2: Via Site Settings
In some cases, especially with block themes, you might find the option here instead.
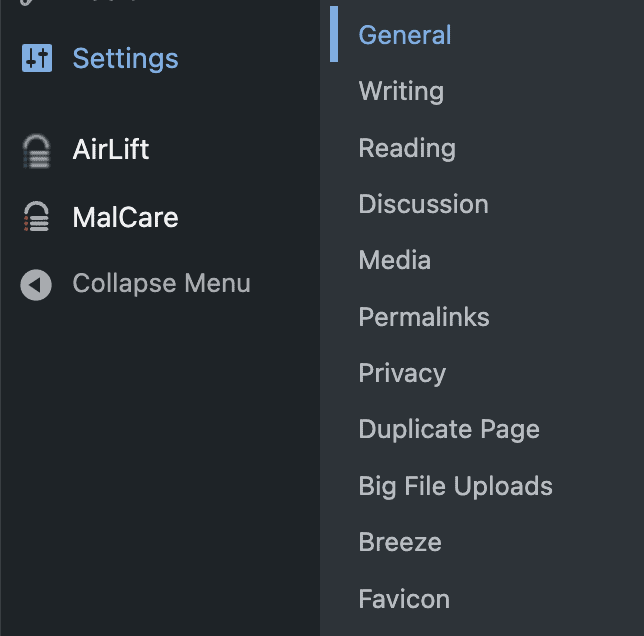
Head to your General Settings. This page contains the most basic configuration for your site. From your dashboard, navigate to Settings > General.

Find the Site Icon field. This option will be located near the top of the page. Click Choose a Site Icon and select your image from the Media Library and finally, Save Changes.
B) Use a plugin for more control
Another popular method is to install a dedicated plugin to handle your favicon.
The best plugin for this is Favicon by RealFaviconGenerator.
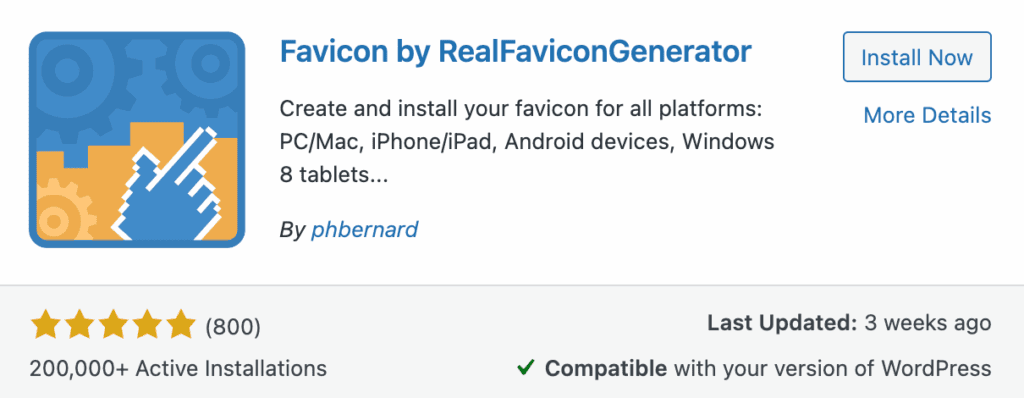
Install and activate the plugin. You can find this in the WordPress Plugins menu by searching for its name.
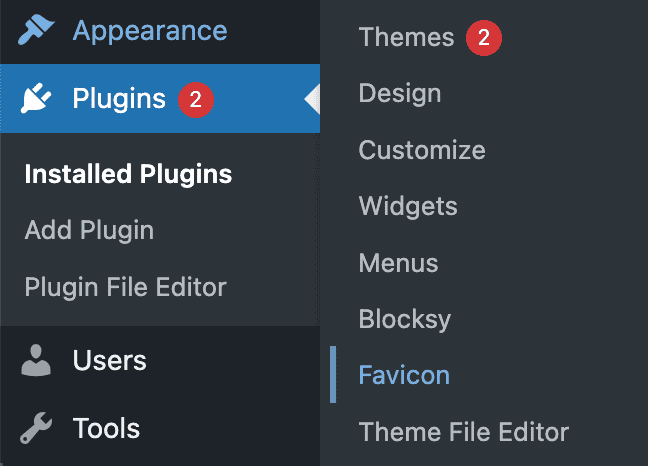
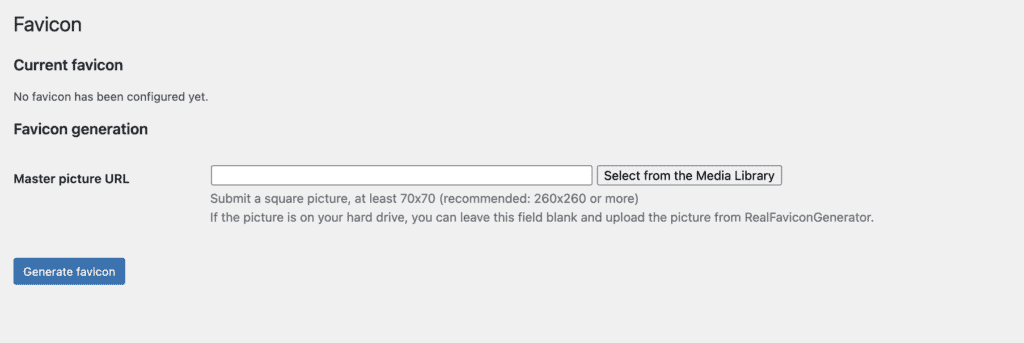
Access your favicon plugin settings. Navigate to Appearance > Favicon. The plugin will ask you to upload your main image and then show you previews of how it looks on different devices, allowing you to make adjustments.
C) Manual FTP upload (advanced)
This method is for advanced users who need full control or are working on a custom-coded theme.
Phase 1: Prepare your favicon files
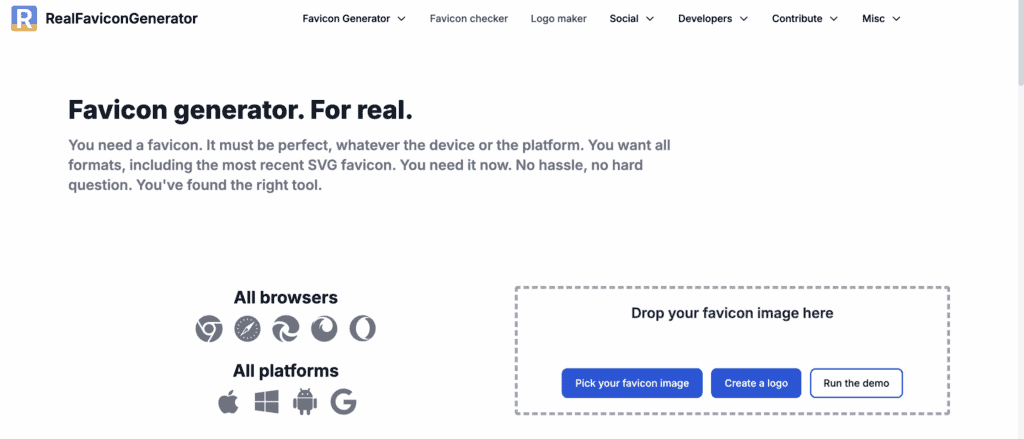
Use an online tool like realfavicongenerator.net to create a comprehensive package of favicon files. It will give you a ZIP file with multiple formats like .ico, .png, and .xml.
Phase 2: Upload files to your web server

Upload all the files from the ZIP package to your site’s root directory. This requires using an FTP client like FileZilla or your hosting provider’s file manager to access your server. The root directory is typically named public_html or www.
Phase 3: Edit your theme’s header file
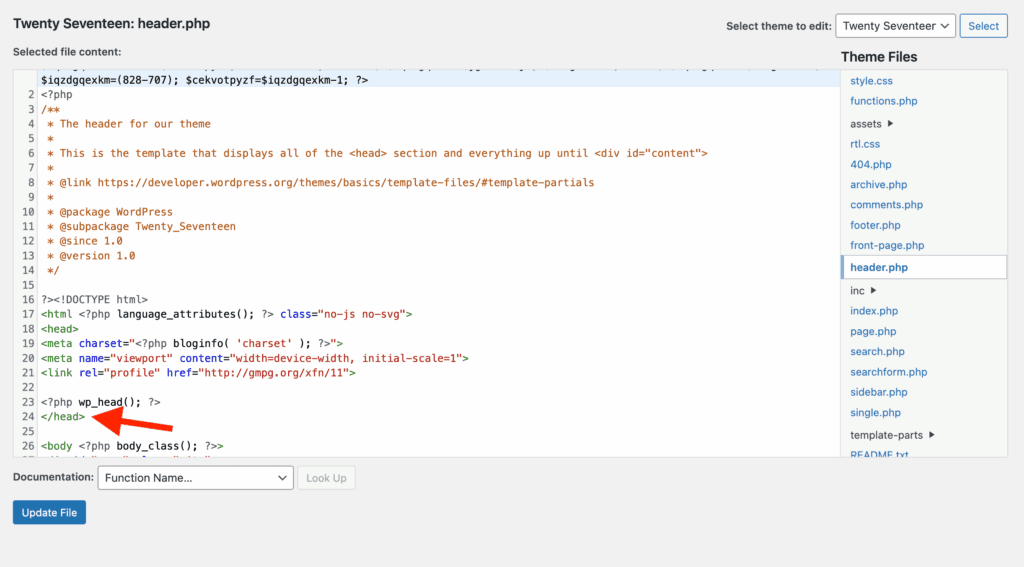
Open your child theme’s header.php file for editing. You can access this in WordPress by going to Appearance > Theme File Editor. You will need to add code just before the closing </head> tag.
Phase 4: Insert the correct code
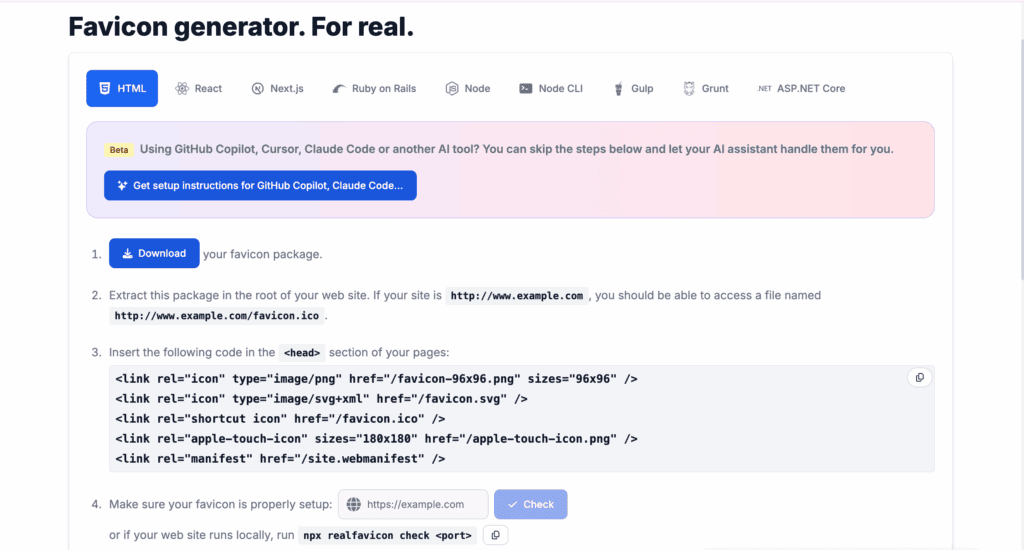
Paste the HTML code provided by the favicon generator into your header.php file. Ensure the file paths are correct. It will look something like this:
<link rel="icon" href="https://www.yourdomain.com/favicon.ico" type="image/x-icon">Replace yourdomain.com with your actual domain and save the file.
Change favicon WordPress: Troubleshooting
If you’ve uploaded your favicon but still see the old one, don’t worry. This is extremely common, and the issue is almost always caching.
Here’s what to do, in this order:
- Perform a hard refresh. This forces your browser to download the newest version of the site. On Windows, press Ctrl + F5. On a Mac, press Cmd + Shift + R.

- Clear all caches: The old icon is often stored in multiple places. You need to clear your browser’s cache (in its settings), your website’s cache (from your caching plugin like WP Rocket), and your CDN cache (like Cloudflare) if you use one.

- Use an incognito window. This opens a new browser session without any stored cache. On Windows, press Ctrl + Shift + N (Chrome) or Ctrl + Shift + P (Firefox). On a Mac, press Cmd + Shift + N.
- Verify your settings. Double-check that you actually clicked Publish or Save Changes in WordPress and confirm your image file meets the 512×512 size requirement.
Parting thoughts
A custom favicon is a critical element for professional branding, building trust in a sea of browser tabs.
For most users, the Site Icon method in the WordPress Customizer is the simplest and safest choice. If you opt for a plugin for more control, be mindful of potential conflicts with other plugins.
And for advanced methods like manual uploads, having a recent backup of your site isn’t just a suggestion—it’s essential protection if a code change causes an issue.
FAQs
How do I change the favicon in a WordPress site?
The easiest way is to go to Appearance > Customize > Site Identity and upload your image in the Site Icon section. This built-in WordPress feature handles all the necessary formatting for you.
How do I change my logo on my WordPress website?
To change your main site logo, you typically go to Appearance > Customize > Header or Site Identity. The favicon is the small tab icon, while the main logo usually appears in your site’s header.
How to change WordPress website thumbnail?
To change the thumbnail for social media sharing, you need to set a Featured Image on the page or use an SEO plugin like Yoast. This is different from the favicon, which only appears in the browser tab.
What is the best size for a favicon in WordPress?
The best size to upload for a WordPress favicon is a square image of at least 512×512 pixels. WordPress will then use this master image to automatically generate all the smaller sizes needed.
Do favicons improve SEO?
Favicons do not directly impact your search engine rankings. However, they improve user experience and brand recognition, which can indirectly help your site.

Shivani enjoys crafting guides that make every aspect of using WordPress simple and easy to follow. When she's not glued to her laptop, you can find her buried in a good book or occasionally, painting.