Your WordPress installation is complete. As you start adding the components that make your site functional, you’ve likely encountered the “file too large” error.
This is a common issue and nothing to worry about. It’s a default server setting, not a technical failure. We’ve run into it ourselves on countless test sites.
To get past it, you just need to change the max upload size, and we’ve compiled the 4 easy methods to help you fix it in minutes.
To increase your WordPress upload limit, use a plugin for a temporary fix or your host’s control panel (cPanel/Plesk) for a permanent solution. Remember your first step is always to create a backup with a plugin—it’s your safety net.
What to do before you begin
Before you edit any files, complete this short checklist. It will make the process smoother and safer.
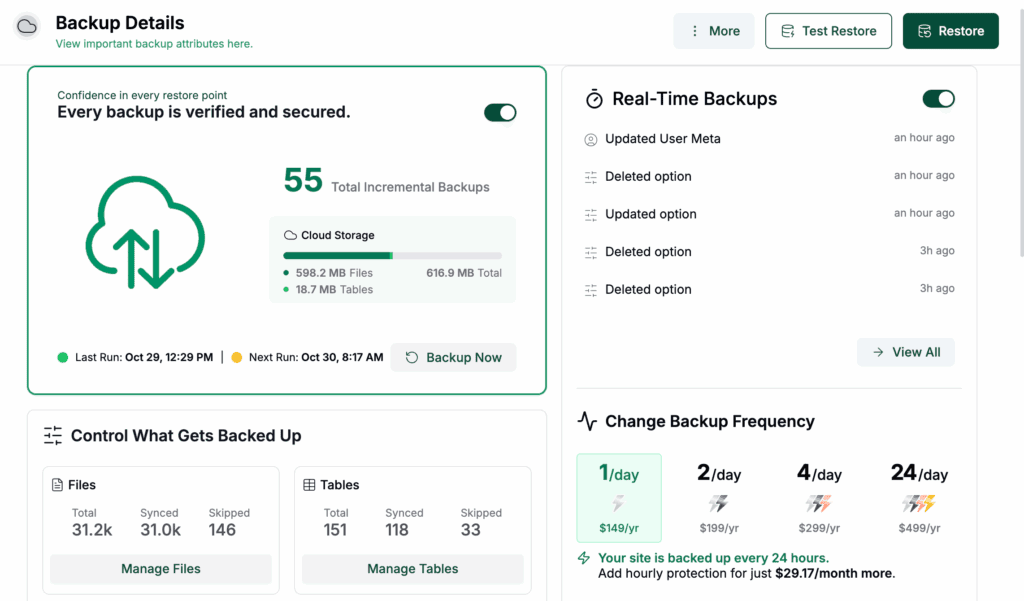
Backup your website. Use a trusted plugin to do this. This is your most important safety net.
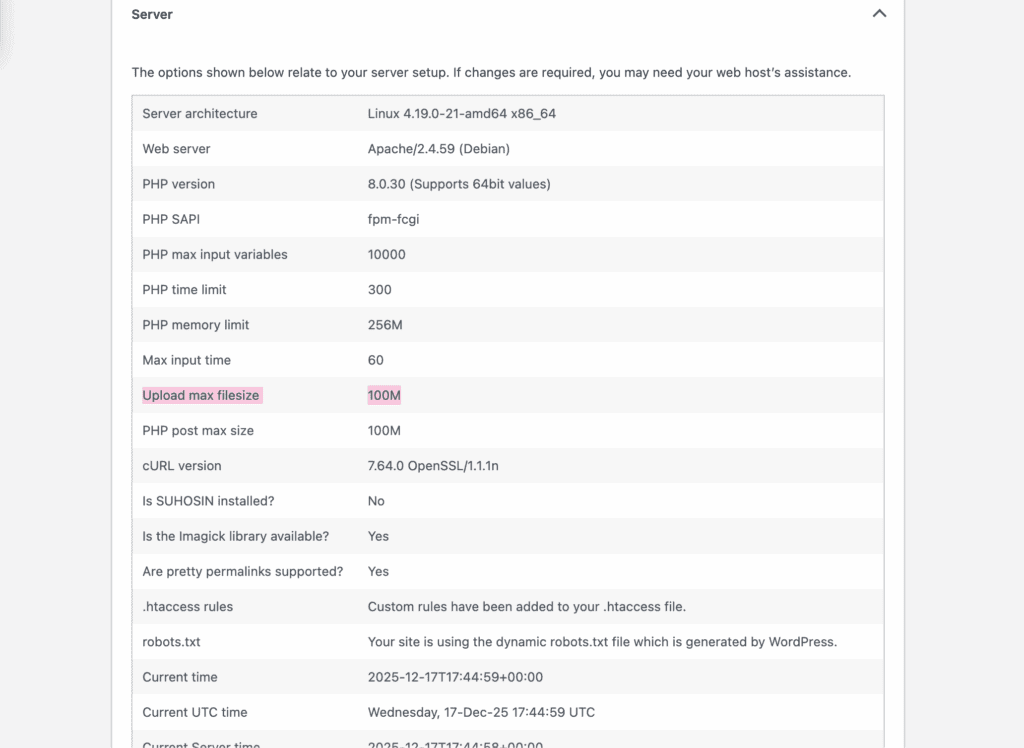
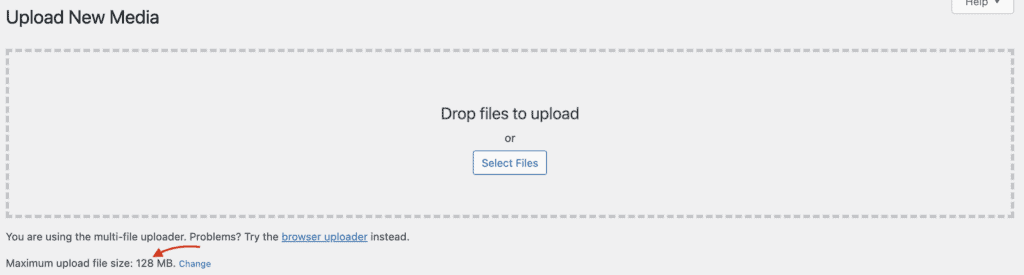
Identify your current limit. Head to Media → Add New to see the limit, or check Tools → Site Health → Info → Server for the Upload max filesize value.
Note your required size. Know the exact size of the file you need to upload so you can set a new limit that is large enough.
Have your credentials ready. Keep your hosting login (cPanel/Plesk) and FTP/SFTP details on hand.
How to change the max upload size in WordPress
Here are four methods to fix your upload limit:
Method 1: Use a WordPress plugin (the quickest fix)
This is the best starting point as it doesn’t involve editing code. A plugin automates the process by attempting to modify server settings for you.
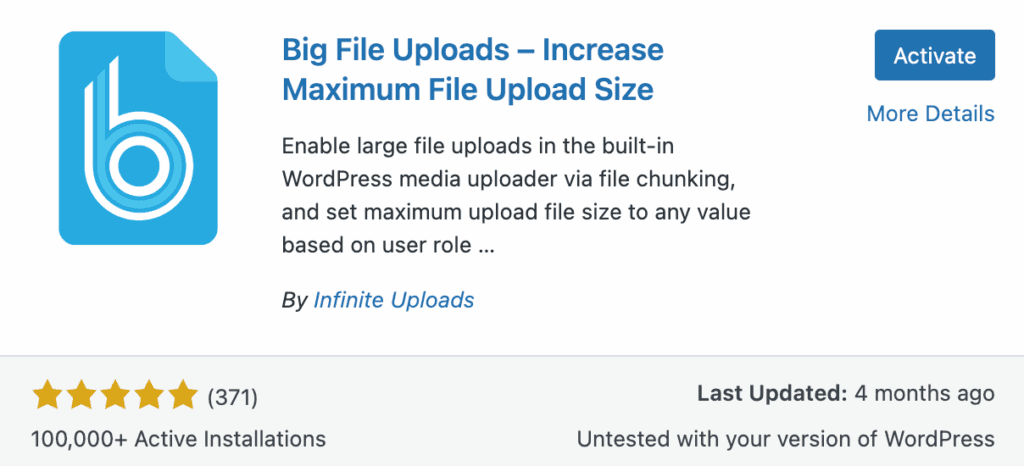
- From your WordPress dashboard, install and activate a plugin like Big File Uploads.
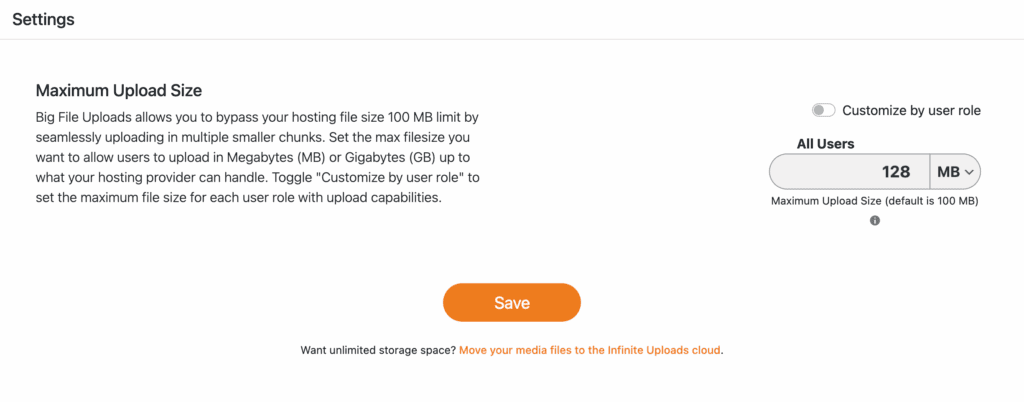
- Find the plugin’s settings, enter your new limit (e.g., 128M), and click Save.
- Go back to Media → Add New to see if the limit has changed.
Method 2: Edit the functions.php file
This method adds a code snippet directly to your theme’s functions.php file.
- In your dashboard, navigate to Appearance → Theme File Editor.

- Select your active theme and click on the Theme Functions (functions.php) file from the list on the right.
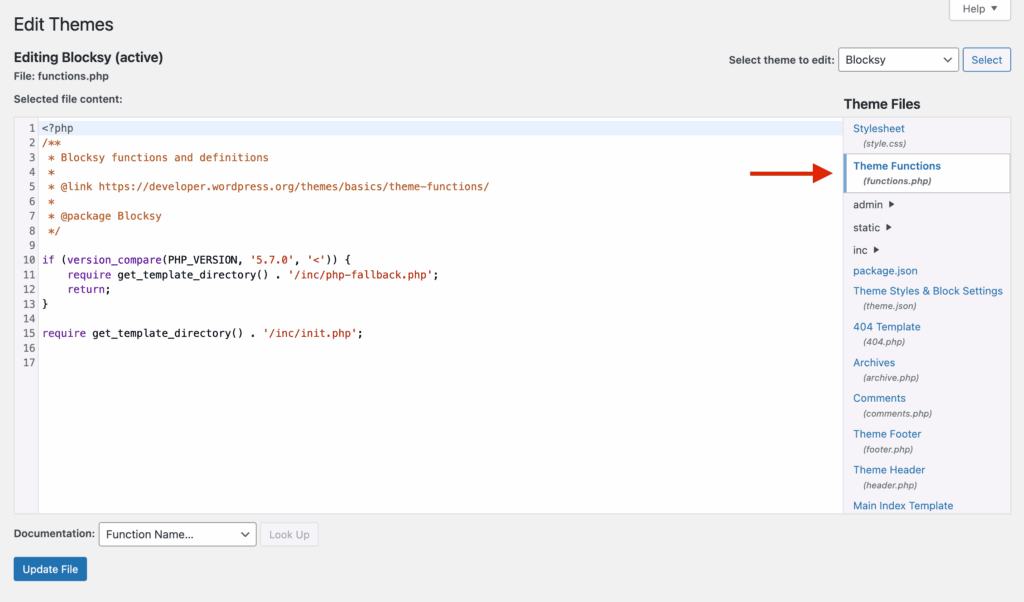
- Scroll to the very bottom of the file and add this exact code snippet before a closing ?> tag if one exists:
@ini_set( 'upload_max_size' , '64M' );

@ini_set( 'post_max_size', '64M');

@ini_set( 'max_execution_time', '300' );- Change the 64M value to what you need, such as 128M and click Update File.
Method 3: Use your hosting control panel
This is the most direct and reliable method as it uses your host’s built-in tools to alter the core PHP configuration.
Since you are modifying a server setting, this is a good time to ensure you have a solid backup strategy. For this guide, we’ll use cPanel as the example, but the steps are very similar in Plesk and other control panels.
- Log in to your cPanel account. In the Software section, find and click on the MultiPHP INI Editor icon.
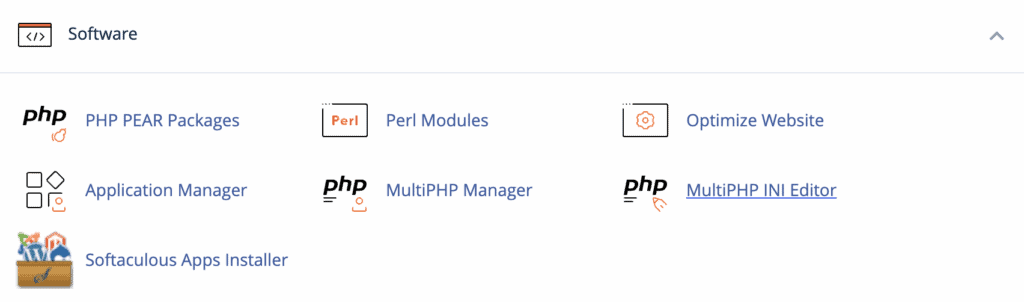
- On the next screen, select your website’s domain from the dropdown menu. You will see a list of PHP settings. Adjust the following values:

upload_max_filesize (e.g., to 128M)
post_max_size (e.g., to 132M)
max_execution_time (e.g., to 300)
memory_limit (e.g., to 256M)
- Click Apply to save your changes. The new limits are usually applied instantly.
Method 4: Edit the .htaccess file
The .htaccess file gives direct commands to your server, making this a more permanent solution. This method only works on Apache servers, not NGINX.
- Log in to your host’s File Manager or connect via an FTP/SFTP client.
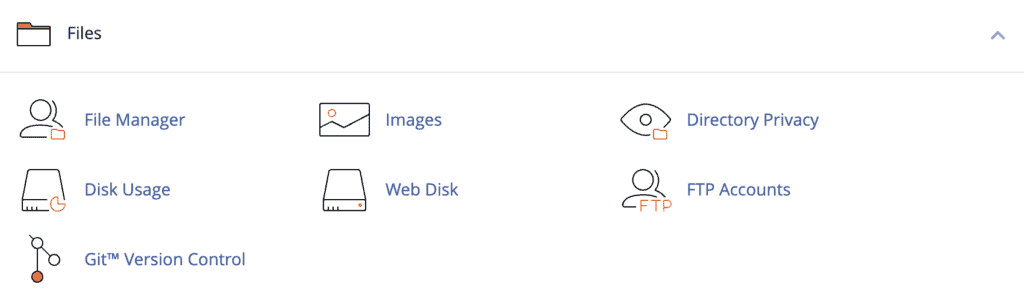
- Find the .htaccess file in your WordPress root directory (public_html or www).
Add these lines at the very top of the file:
php_value upload_max_filesize 64M

php_value post_max_size 64M

php_value max_execution_time 300

php_value max_input_time 300
- Adjust the ’64M’ values as needed and save the file.
Troubleshooting common issues
If you’re still having trouble, these are the most common issues and their solutions.
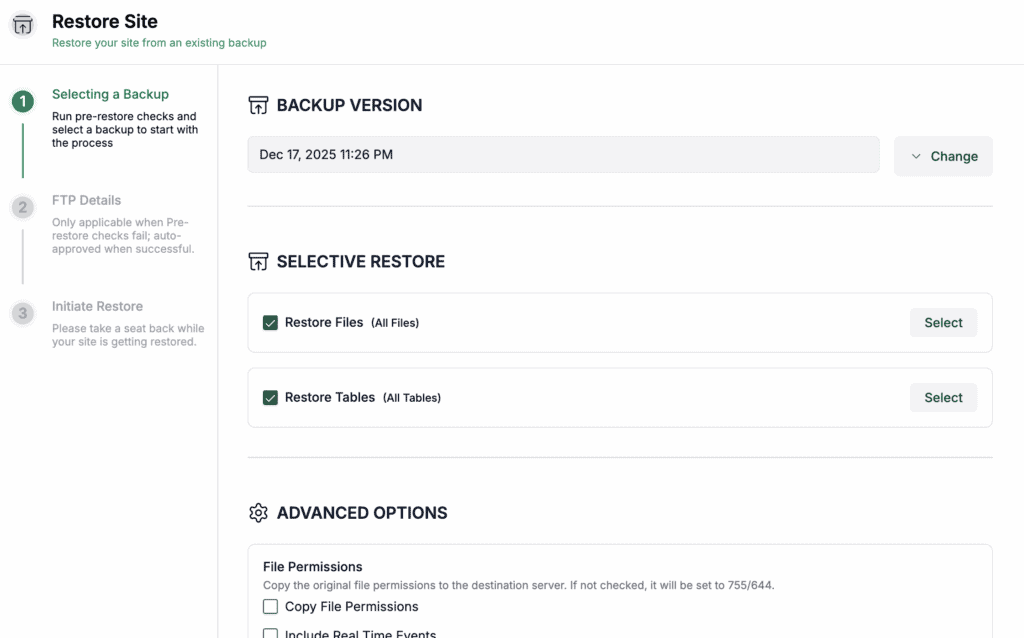
- White screen or 500 error: You made a typo in .htaccess or functions.php. Restore your site from your backup to fix it.
- Memory limit errors: The server is running out of memory. Increase memory_limit to at least 256M in your php.ini file.
- Plugin conflicts: Deactivate your security or caching plugins temporarily to see if they are interfering with the upload.
- Upload times out: The upload fails before finishing. Increase the max_execution_time to 300 or higher.
- Caching hides changes: If the limit isn’t updating, clear all caches: your cache plugin, server cache, and CDN (e.g., Cloudflare).
If none of these methods work, contact your hosting provider for assistance.
Parting thoughts
Fixing this issue is a great step, but managing it wisely is just as important.
Now that your upload limit is fixed, a few best practices will keep your site efficient. Stick to a sensible limit like 128MB to avoid straining your server.
For any file over 1GB, use FTP. It’s the right tool for the job. We also recommend documenting your changes for future troubleshooting and keeping an eye on your site’s performance after making any server adjustments.
FAQs
How to change WordPress max upload size?
You can change the WordPress max upload size by editing your server’s php.ini or .htaccess file, often through your hosting control panel. Using a dedicated plugin or adding code to your functions.php file are also options, though sometimes less reliable.
What is the maximum upload size for WordPress?
WordPress itself does not set a maximum upload size; the limit is determined by your web hosting provider’s server configuration. This value varies but is typically set between 8MB and 128MB on shared hosting plans.
How to increase PHP upload limits?
You can increase PHP upload limits by raising the upload_max_filesize and post_max_size directives in your server’s php.ini file. These settings control the maximum size of data that can be processed and uploaded through PHP.
How to check PHP max upload size?
You can quickly check the PHP max upload size in your WordPress dashboard by navigating to Media > Add New. For a more detailed report, go to Tools > Site Health > Info > Server to see all PHP settings.
How do I upload large files to WordPress?
The most reliable way to upload large files (over 1GB) to WordPress is by using an FTP or SFTP client like FileZilla. This method bypasses PHP limits entirely, preventing timeouts and upload failures.
How to increase post_max_size?
You can increase post_max_size by editing its value in your server’s php.ini or .htaccess file. For best results, always set the post_max_size value slightly larger than your upload_max_filesize.

Shivani enjoys crafting guides that make every aspect of using WordPress simple and easy to follow. When she's not glued to her laptop, you can find her buried in a good book or occasionally, painting.