Did you enable maintenance mode while performing maintenance tasks, only to find your site decided to stay there? It’s a classic WordPress hiccup.
You were just trying to be responsible, and now your site is stuck, blocking all your traffic.
But take a deep breath. You’re in the right place. The fixes takes less than five minutes, requires no code, and gets your site back online immediately.
Fix WordPress stuck in maintenance mode by deleting the .maintenance file from your site’s root directory using FTP or cPanel. Since you’re working with core files, be sure to take a full backup with a robust backup plugin first.
Why does your site get stuck in maintenance mode?
Once the updates are finished, WordPress is supposed to automatically take your site out of maintenance mode. But sometimes, the process gets interrupted, and your site stays locked. This isn’t a random error; it’s a sign that the update couldn’t finish its cleanup job.

This usually happens for a few common reasons:
- File-related issues: The .maintenance file fails to delete, often due to incorrect file permissions.
- Server and network issues: The update process was interrupted by a server timeout, a network drop, or insufficient resources (common on shared hosting).
- Update-related issues: Updating too many plugins or themes at once overloaded the server, causing it to stall.
- Compatibility and execution issues: A PHP script timed out, or a plugin conflict interrupted the update. Background processes can also be a cause.
How to fix WordPress stuck in maintenance mode
You can get your site back online in just a few minutes with a few simple steps:
Before you proceed, clear all your caches. This is an important first step to make sure you’re seeing the live version of your site, not an old, cached copy. This includes your browser cache and any caches from plugins.
Now for the main fix. We’re going to locate and remove the .maintenance file. You can use either FTP or your host’s cPanel—both work perfectly.
A) Using FTP
Connect to your site via FTP: Open up an FTP client like FileZilla and use your FTP credentials to establish a connection to your site. If you’re unsure about the credentials, check with your hosting provider.

Find the .maintenance file: You will find this file within your root directory, usually named public_html or www. The .maintenance file is hidden by default. To unhide it, click on Server and select Force show hidden files.


Delete the .maintenance file: Right-click on the file and choose Delete. Once deleted, your site should be accessible to all users now.

B) Use cPanel’s File Manager
If your web host provides a cPanel and you prefer using it, here’s how you can do it:
Navigate to cPanel’s File Manager: Login to your cPanel dashboard and click on File Manager.

Find the .maintenance file: Similar to the FTP method, locate your root folder. This is usually named public_html or www. The .maintenance file is hidden. To unhide it, click the Settings button with a gear icon in the top right corner and select the Check the Show Hidden Files (dotfiles) checkbox.
Delete the .maintenance file: Locate the file, right-click on it, and choose Delete. With either of these two methods, you should be able to resolve the issue quickly and get your site back online.
WordPress site still stuck in maintenance mode
You’ve tried deleting the .maintenance file, but your site is still stuck. Don’t worry, this happens. It usually means something else is preventing WordPress from resetting itself. Here are the next things you can do to fix it.
- First, confirm the .maintenance file is really gone. Refresh your FTP client or File Manager. Sometimes, a faulty plugin will regenerate the file right after you delete it. If it keeps reappearing, a plugin is almost certainly the cause.
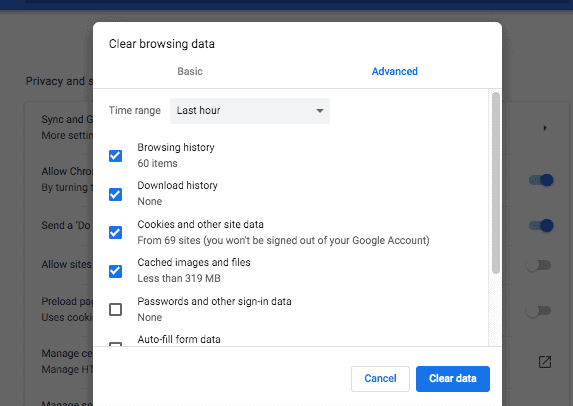
- Next, clear your browser cache again. It’s a simple step, but your browser can hold onto old data and continue showing the maintenance screen even after the site is fixed.

- Try temporarily disabling all of your plugins. A plugin conflict is a very common cause. You can do this through FTP or cPanel by renaming the /plugins folder to /plugins_disabled. This deactivates everything and might solve the issue immediately. If your site comes back online, you know a plugin is the problem.

- Then, give your site more memory by increasing the PHP memory limit. Low memory can cause updates to fail midway. To fix this, add
define('WP_MEMORY_LIMIT', '256M');to your wp-config.php file. Be sure to place it right above the line that says,/* That's all, stop editing! Happy blogging. */. If that line is already there with a lower number, just increase it to256Mor even512M.
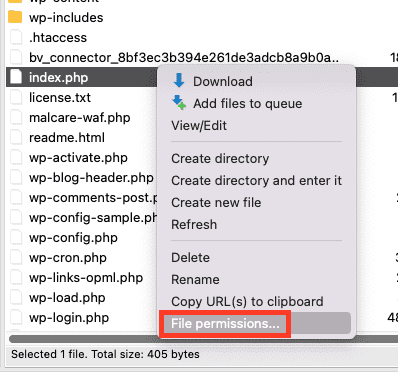
- Also, verify that your file permissions are set correctly. Incorrect file permissions can cause strange issues. As a general rule, folders should be set to 755 and files to 644.
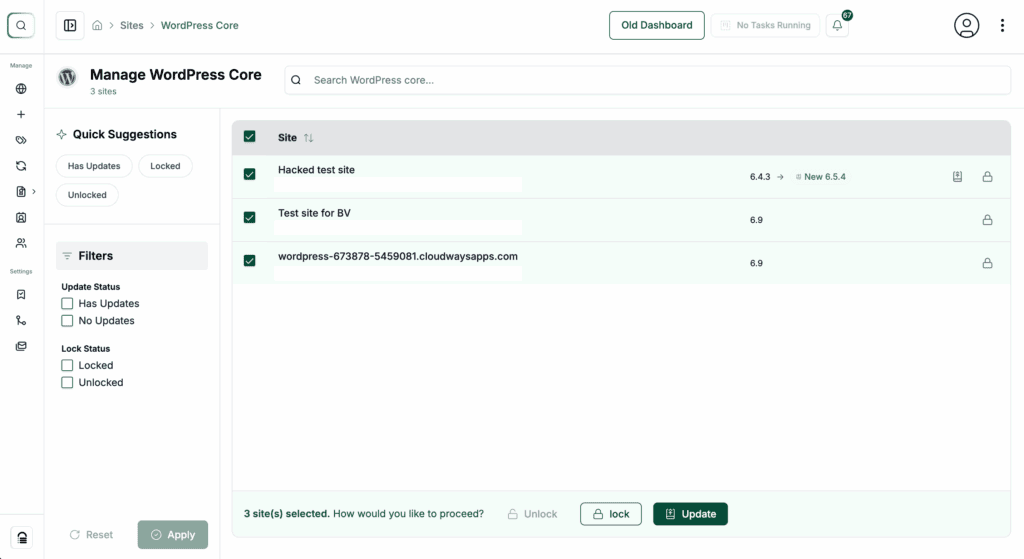
- Manually complete any unfinished updates: If the WordPress core, a specific plugin or theme update failed, you can finish it yourself. Download a fresh .zip file from the WordPress repository and upload it manually via FTP, overwriting the old files. A tool like BlogVault can also let you manage updates without needing wp-admin access, which is helpful when you’re locked out.
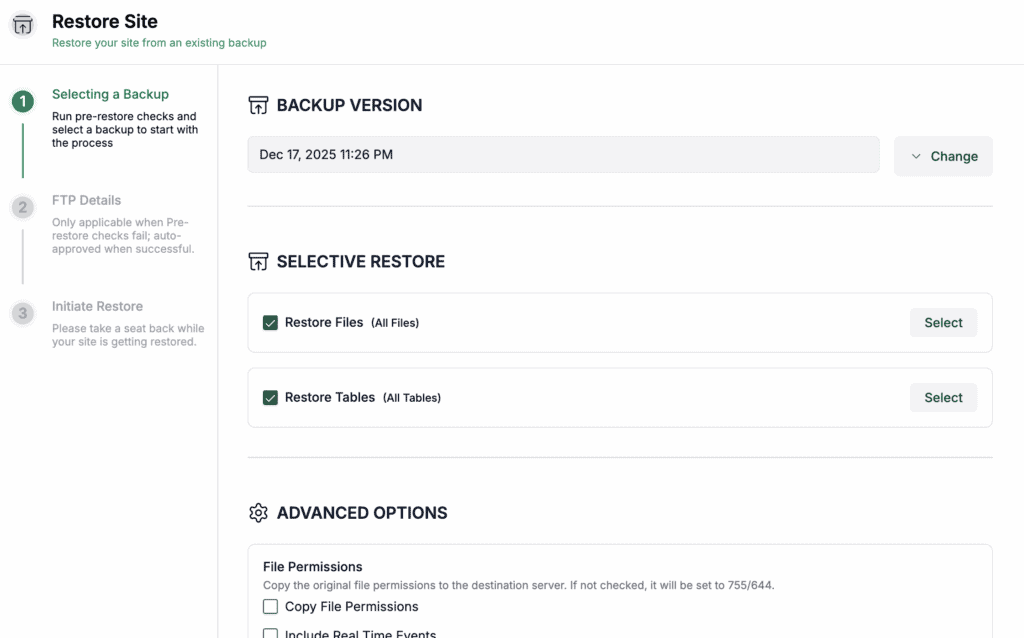
- If all else fails, try restoring a previous backup: If you have a recent backup of your site, this is often the fastest and most reliable way to get things back to normal.
- Finally, don’t hesitate to reach out to your hosting provider: They have server-level tools and can spot problems you can’t. If you’re completely stuck, their support team should be your next stop.
Prevent WordPress from getting stuck in maintenance mode
Alright, now that your site is back online, let’s make sure this never happens again. A little bit of prevention goes a long way. Honestly, most of it comes down to being methodical with your updates.
Here’s a simple checklist to follow:
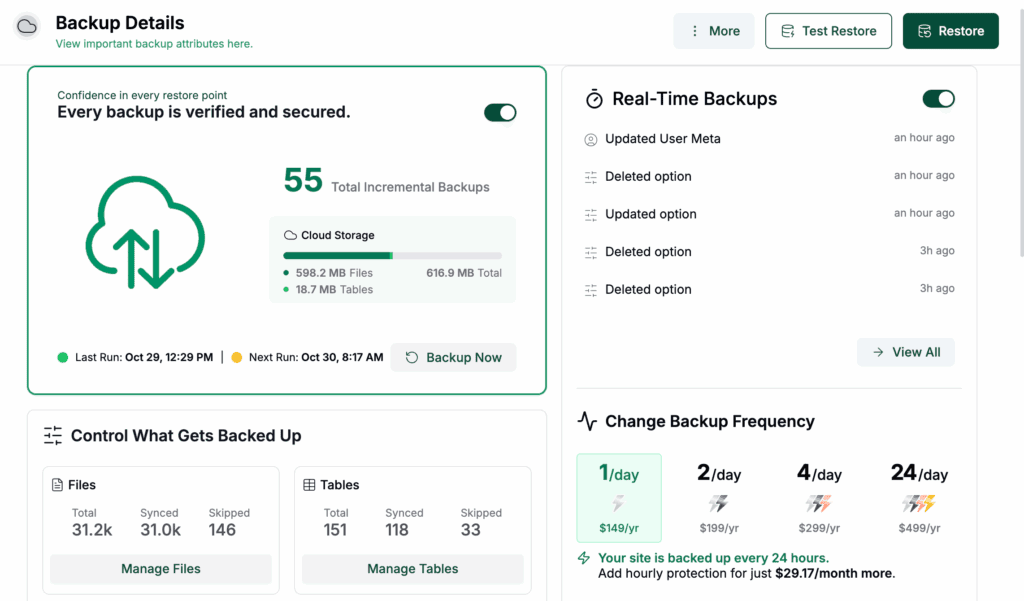
- Always have a recent backup. This is the golden rule. Before you touch a single update button, make sure you have a complete, recent backup of your site. If something goes wrong, you can restore it in minutes instead of hours.
- Update during low-traffic hours. Why risk prime time? Perform updates when your site has the fewest visitors, like early in the morning or late at night. This minimizes the impact if something does go wrong.
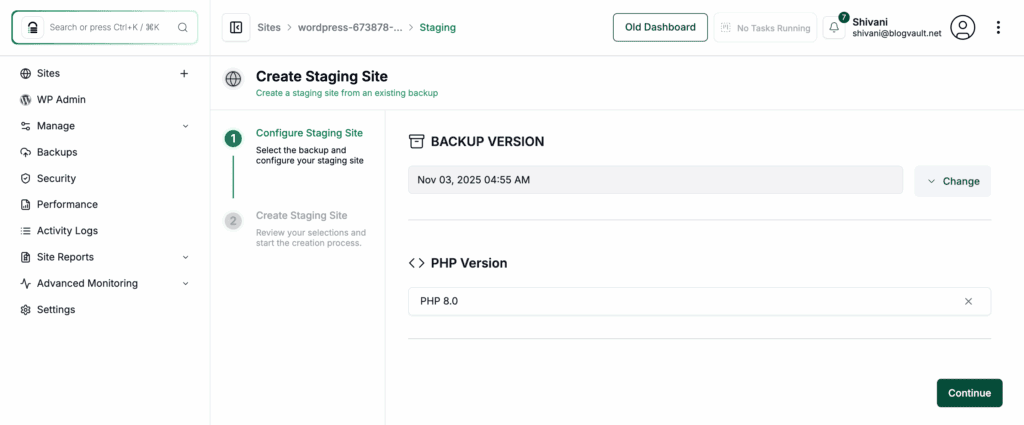
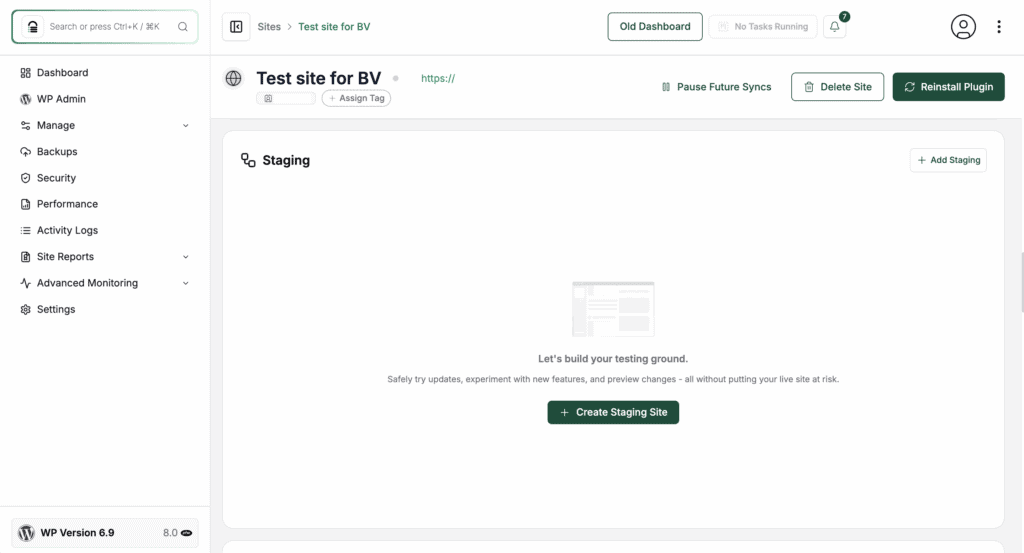
- Use a staging site to test updates first. This is how the pros do it. A staging site is a private clone of your live site where you can test updates safely. If an update breaks something, it happens on the copy, not your public site. A tool like BlogVault makes creating a password-protected staging site a one-click process, so you can test without affecting your SEO.

- Check that your server has enough resources. Updates can fail if your server runs out of memory or disk space. If you’re constantly running into issues, it might be a sign that you’re outgrowing your current hosting plan.

- Make sure your file permissions are correct. This is a foundational check. Incorrect permissions can prevent WordPress from writing or deleting files during an update. Folders should be 755 and files 644.
- Temporarily disable caching plugins during updates. Before you hit “update,” turn off caching plugins like WP Rocket. They can sometimes interfere with the update process.
- Ensure you have a stable internet connection. This might sound obvious, but a dropped connection from your end can interrupt the communication with your server and cause the update to fail.
- Keep an eye on your site’s performance. Don’t update a struggling site. If your site is already slow or throwing errors, investigate those issues first. Using a tool like New Relic can help you spot underlying problems before they cause an update to fail.
Parting thoughts
To avoid your WordPress site getting stuck in maintenance mode, perform all updates on a staging site first. Once you’re done, you can merge the changes with your live site.
Using a reliable backup plugin is key, as it provides both a safety net and often the tools to create that staging site. By following these tips, you can maintain a healthy site and prevent maintenance mode problems for good.
FAQs
How do I get out of maintenance mode in WordPress?
To get your WordPress site out of maintenance mode, you can manually delete the .maintenance file using an FTP client or the File Manager in cPanel. Refresh your website to see if the maintenance mode message is gone.
How long does WordPress maintenance take?
WordPress maintenance usually takes just a few minutes. However, the duration can vary based on the number and size of updates being performed.
Why is a website in maintenance mode?
A website enters maintenance mode during updates to prevent visitors from seeing incomplete or broken content. It’s a way to keep the website functional while changes are being made.
What happens in maintenance mode?
In maintenance mode, your website displays a message indicating it’s scheduled for maintenance and is temporarily unavailable due to updates. The core functions of the site are paused until the updates are complete.

Shivani enjoys crafting guides that make every aspect of using WordPress simple and easy to follow. When she's not glued to her laptop, you can find her buried in a good book or occasionally, painting.