

Every WordPress pro started exactly where you are: needing a private space to experiment without breaking anything. The secret is to install WordPress but locally.
It’s like having a free, offline playground on your computer.
This guide is a clear, headache-free tutorial on how to install WordPress on XAMPP. We will ensure you get a perfect setup on your very first try.
To install WordPress on XAMPP, you first establish the server foundation. Start its services and create a database. Once that groundwork is laid, you copy the WordPress files into the htdocs directory and run the installation. This allows you to build your entire website offline before you move your site from local to live.
Everything you need to start
Before we begin, let’s gather the necessary tools. You likely have everything you need except for two specific downloads.
- A computer running Windows, macOS, or Linux.
- Administrator access on that computer. This is crucial because you need permission to install new software.
- The XAMPP installer, which we will get from a website called Apache Friends.
- The latest WordPress .zip file from the official WordPress.org site.
That’s the entire list. There are no costs or subscriptions involved.
How to install WordPress on XAMPP
This process lets you build and test a WordPress site completely offline and without risk, accessible only on your computer. It’s a foundational skill for anyone serious about WordPress development.
Step 1: Download and install XAMPP
First, we need to install the server environment.
Navigate your web browser to www.apachefriends.org. Click the download link that matches your operating system.
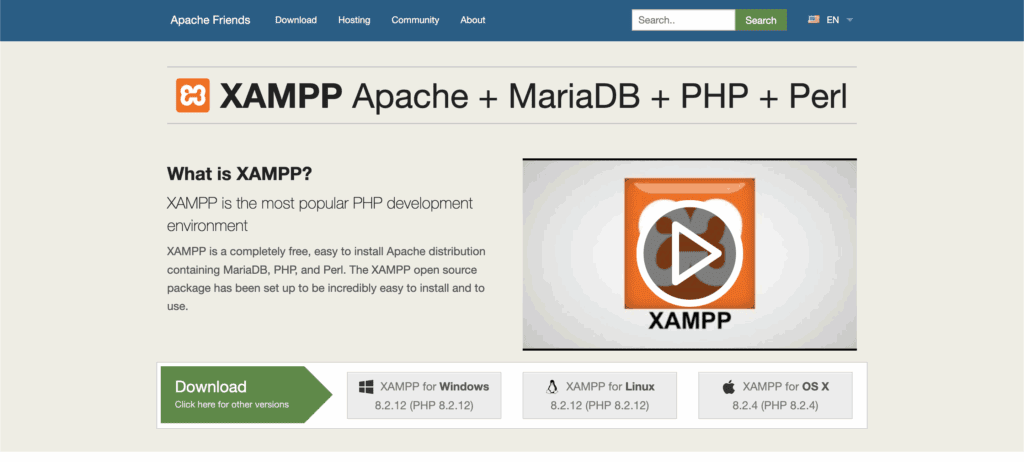
- For Windows, download the .exe installer. We recommend choosing the one with a recent, stable PHP version.
- For macOS, download the .dmg installer package.
- For Linux, you can download the .run installer.
Once the .dmg file is downloaded, open it. You will see a window prompting you to drag the XAMPP icon into your Applications folder. Go ahead and do that.
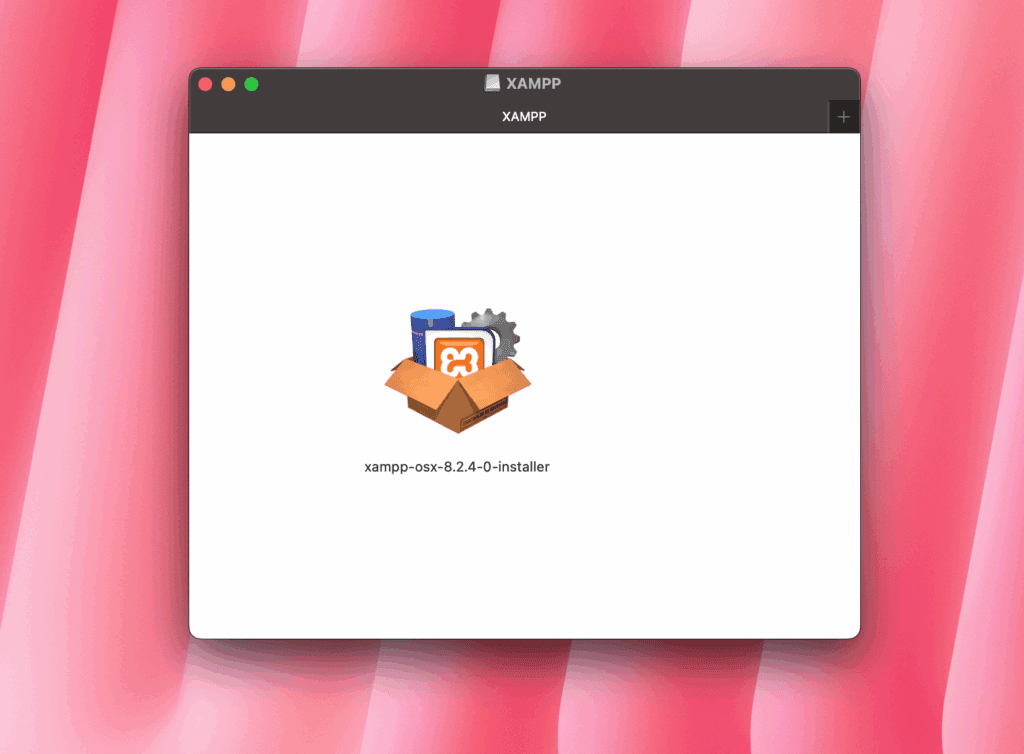
We used a Mac while testing this process, and macOS will likely ask for your administrator password to authorize the installation; this is a standard security step.
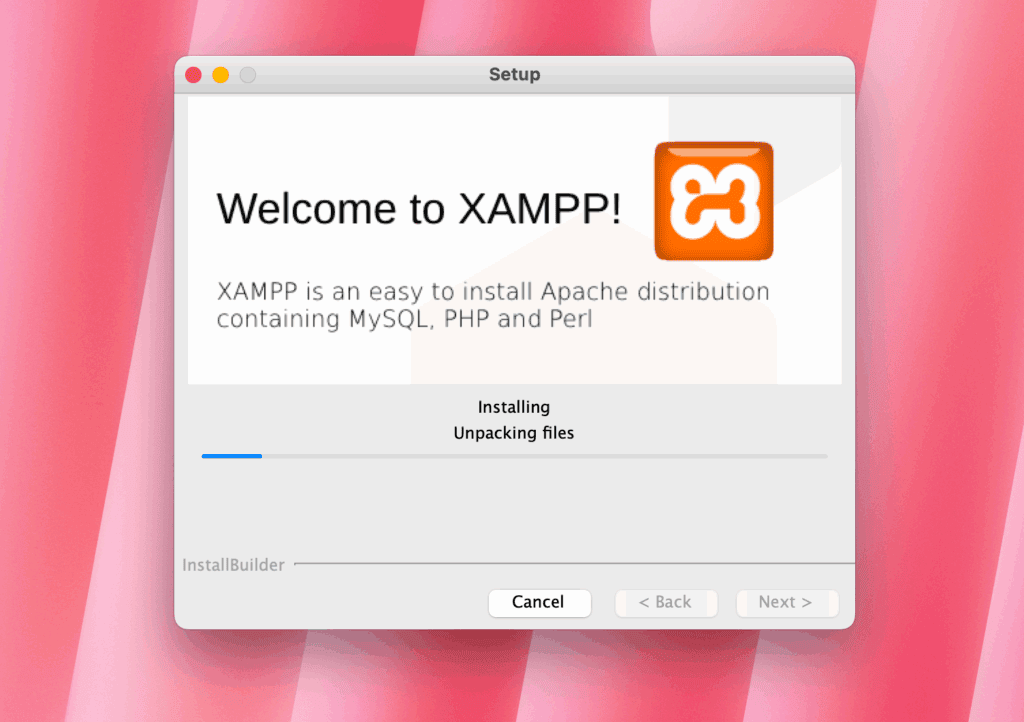
The macOS installer is simpler than the Windows version and doesn’t have a component selection screen. All the necessary services you need for WordPress, including Apache, MySQL, PHP, and phpMyAdmin, are included by default.
When the installation is complete, go to your Applications folder, open the new XAMPP folder, and launch the application to open the control panel.
Step 2: Start the XAMPP servers
Now that XAMPP is installed, we need to activate its core services.
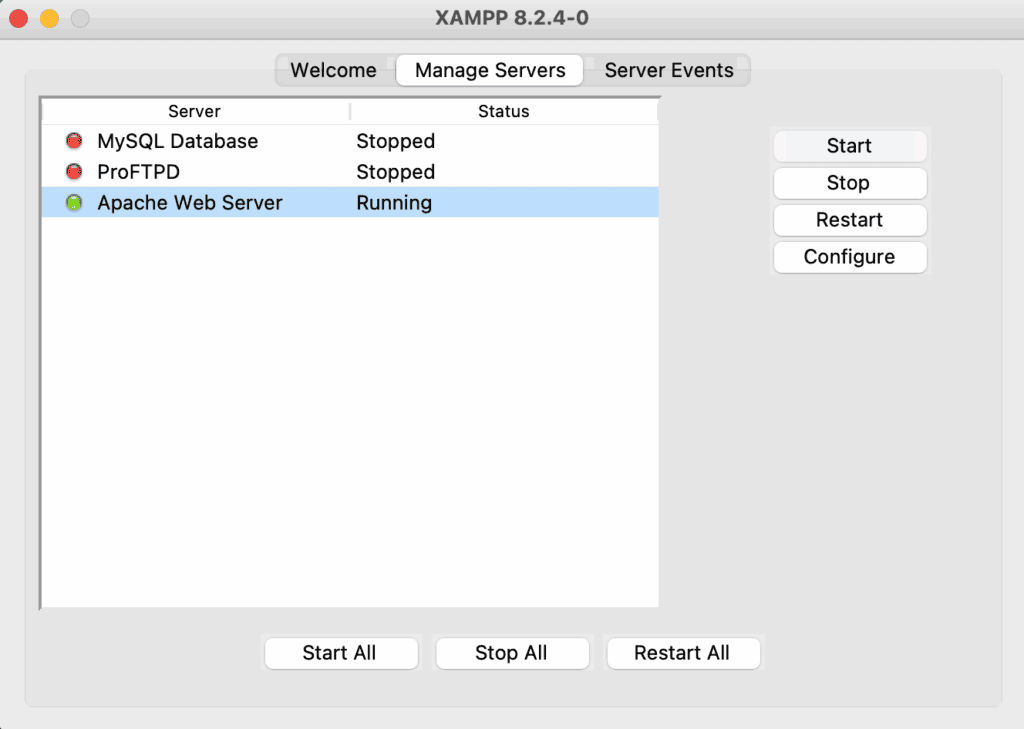
Open the XAMPP Control Panel. Once the application window is open, navigate to the Manage Servers tab. This is the main dashboard for your local server, but for WordPress, we only need to focus on two modules: MySQL and Apache.
Click the Start button next to Apache, and then click the Start button next to MySQL. A green Running status next to each confirms they have started successfully.
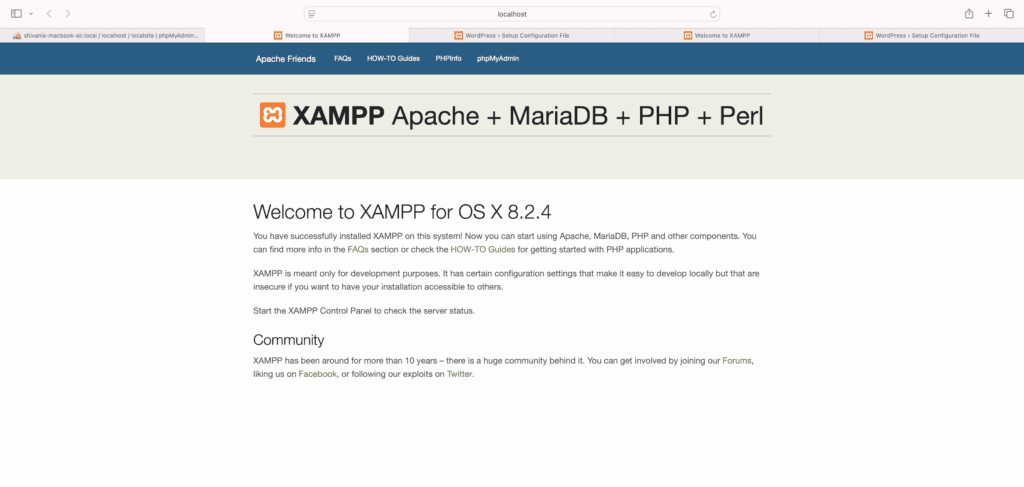
To be certain everything is working, open your web browser and head to http://localhost. You should see the XAMPP dashboard or welcome page. Seeing this page means your local server is live and ready for WordPress.
Step 3: Download and prepare WordPress
With the server running, it’s time to get the WordPress files.
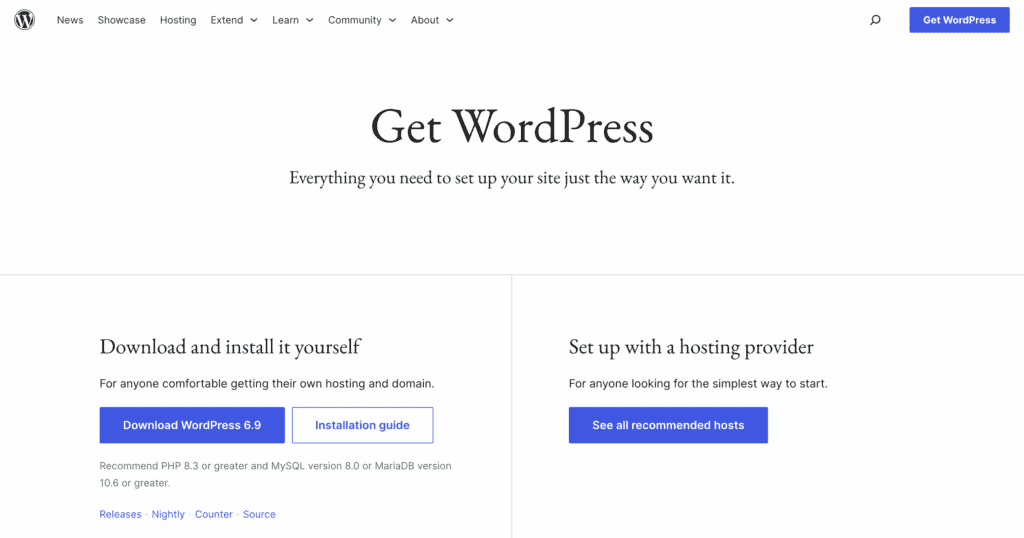
Go to wordpress.org/download in your browser and click the blue Download WordPress button. Save the .zip file to a location you can easily find, like your Desktop.
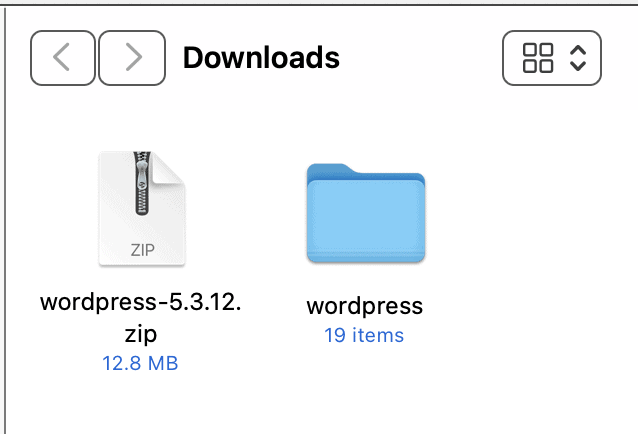
Next, navigate to where you saved the file and extract (unzip) its contents. This action will create a new folder named wordpress.
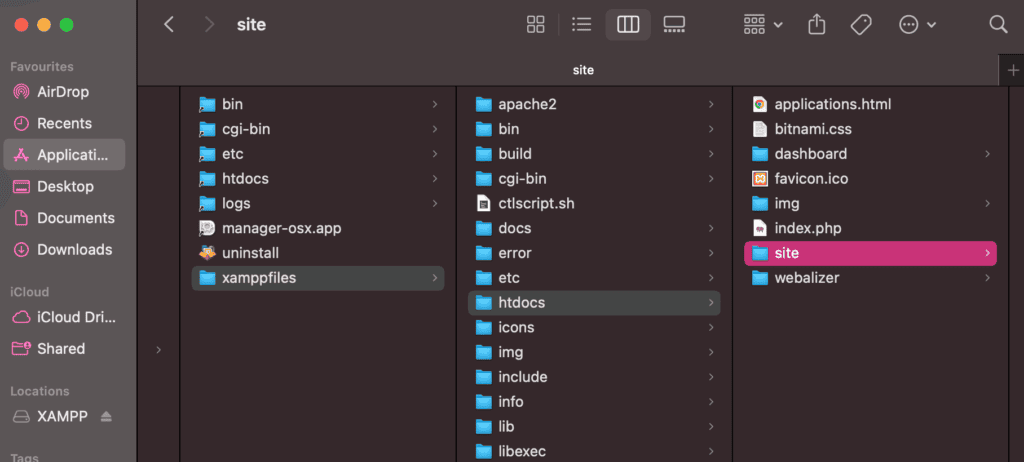
Now, open your XAMPP installation directory (for example, C:\xampp). Inside, find and open the folder named htdocs. This folder is the public directory for your local server; every website you build will live inside a folder here.
Copy the entire extracted wordpress folder and paste it into the htdocs directory. Finally, right-click the wordpress folder you just moved and select Rename. Give it a simple, relevant name for your project, like myproject or test-site.
Step 4: Create a database using phpMyAdmin
WordPress stores all its content, like posts, pages, and user information, inside a dedicated WordPress database. Our next step is to create an empty one for our new site.
With your servers running, go to the XAMPP welcome page in your browser (at http://localhost). In the top navigation menu, click the phpMyAdmin link.
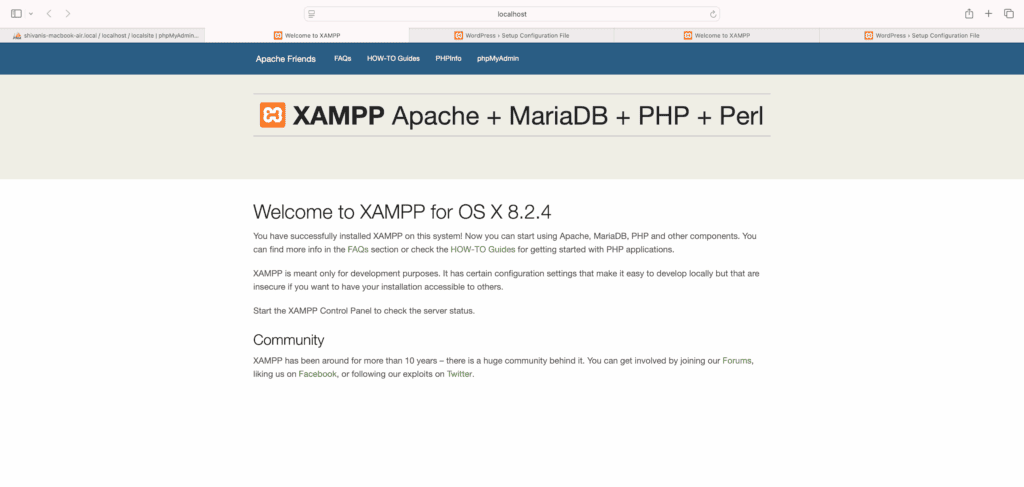
On a standard macOS XAMPP installation, this will take you directly into the phpMyAdmin dashboard, skipping the login screen entirely. This is normal, as it’s pre-configured to log you in automatically.
This interface, phpMyAdmin, lets you manage your databases. While it has many advanced features, what we need to do is very simple.
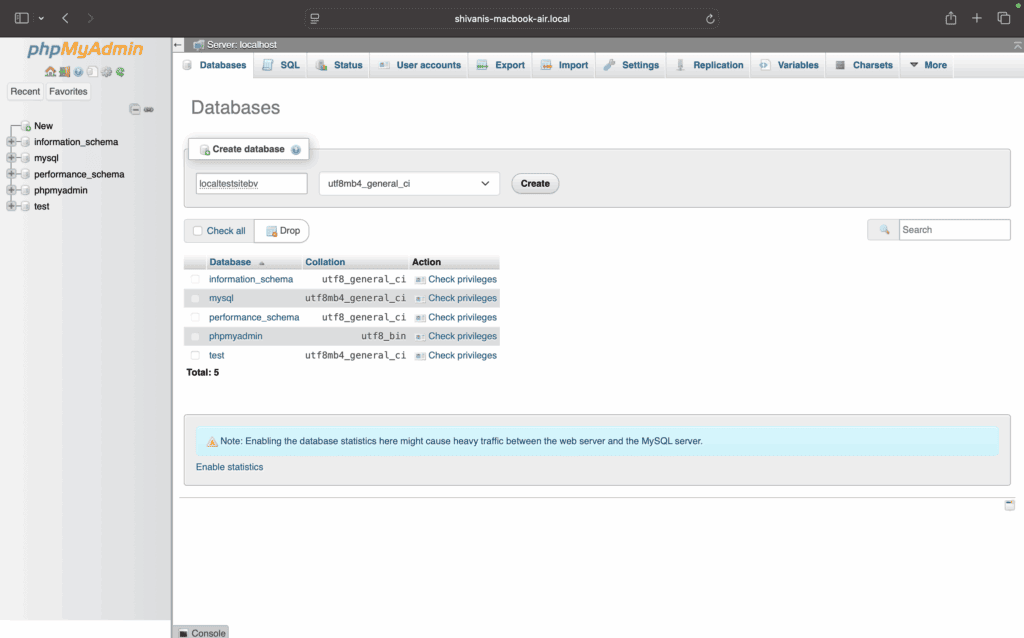
- Click the Databases tab at the top of the screen.
- Under the Create database option, enter a name for your database in the text field. Use something simple and memorable, like mywordpress or wp_local.
- Click the Create button.
That’s it. Your database has been created.
You absolutely must remember the exact database name you just created. You will need it in the next step.
Step 5: Run the WordPress installation
First, go to http://localhost/yourfoldername in your browser.
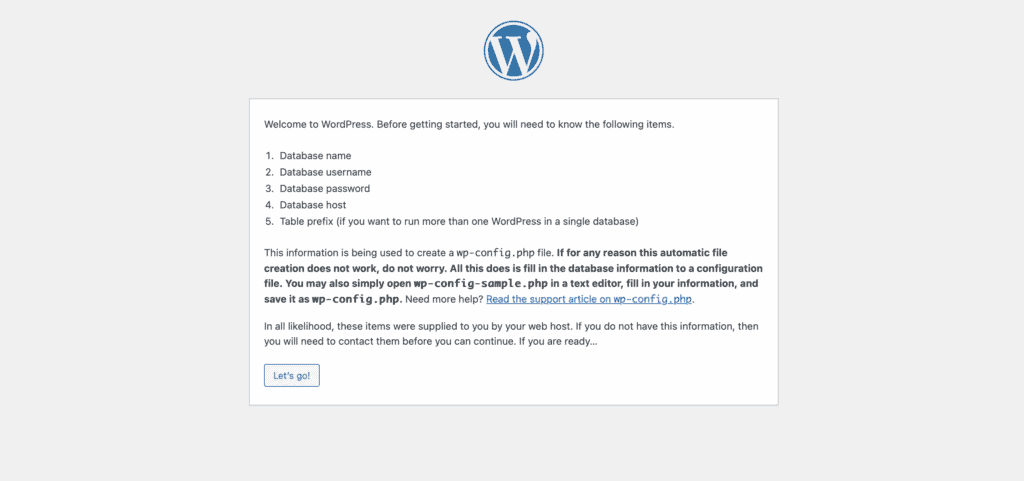
The first screen you will see is a welcome page stating that WordPress needs your database details. Click the ‘Let’s go!’ button to proceed.

You will now be asked to enter your database information:
- Database Name: The exact name you created.
- Username: root
- Password: Leave this blank.
- Database Host: localhost
- Table Prefix: wp_
Click ‘Submit’. If WordPress cannot write the file due to permissions (a common issue on local setups), it will display a text box with configuration code.
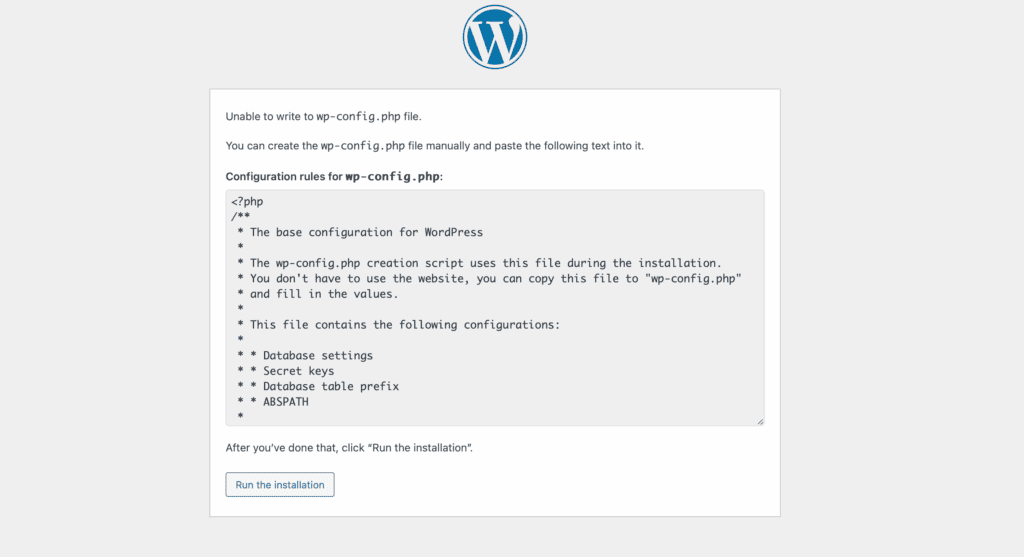
To fix this manually:
- Copy all the code from the text box.
- In your WordPress folder, find wp-config-sample.php and rename it to wp-config.php.
- Open the renamed file, replace all its contents with the code you copied, then save and close it.
Now, return to your browser and click the Run the installation button.
The final setup screen will load. Here, you will enter a site title, create an administrator username, choose a strong password, and add your email. Uncheck Search engine visibility and click Install WordPress.
On the success screen, click the Log In button and use the credentials you just created. You are now inside the WordPress Dashboard, ready to install themes and build your site. To access it again later, just start XAMPP and navigate to your site’s URL.
Troubleshooting common issues
Sometimes things don’t go perfectly. If you hit a snag, it’s usually one of these common issues:

Database connection errors: If you see this during Step 5, it means one of the database details was incorrect. Go back and carefully check that the database name is exact, the username is root, and the password field is blank.
White Screen of Death: If your site just shows a blank white page, the first things to try are a hard refresh of your browser and clearing your browser cache.
Parting thoughts
You now know how to install WordPress on XAMPP. This is the risk-free space you need to experiment and grow, just like we discussed. Before you start work, always remember to launch Apache and MySQL from the control panel.
When your site is ready for the public, you’ll need to move the site from localhost to a server. This skill is the cornerstone of building and managing websites effectively.
FAQs
How do I install WordPress on localhost?
You install WordPress on localhost by using a local server program like XAMPP to create a server environment and a database on your own computer. This allows you to run the standard WordPress installation files completely offline.
How to install WordPress step by step?
You install WordPress step-by-step by first installing XAMPP, starting its servers, creating a database, and then running the WordPress installer. Following these stages in order ensures a successful and clean setup.
How to host a website on localhost XAMPP?
You host a website on localhost with XAMPP by placing all of your site’s files inside the xampp/htdocs folder on your computer. Your site becomes “live” locally once the Apache and MySQL services are running.
Why is my localhost WordPress not working?
Your localhost WordPress is likely not working because the Apache or MySQL services are not running in the XAMPP Control Panel. Other common issues include a database connection error or a port conflict with another application.
How do I activate my WordPress website?
You activate your local WordPress website by starting the Apache and MySQL servers in XAMPP and navigating to its localhost URL. For a live website, activation means pointing your domain name to your web host’s servers.

Shivani enjoys crafting guides that make every aspect of using WordPress simple and easy to follow. When she's not glued to her laptop, you can find her buried in a good book or occasionally, painting.


