

You may already have WordPress SSH login details, a domain, and a blank server, yet still be unsure what to do next.
The terminal is ready, but the path from that first login to a working WordPress site has a few points where a wrong folder, missing database detail, or unprepared server can send you in the wrong direction.
If you want to install WordPress via SSH, this guide walks through that journey and shows what to check at each stage.
Backup WordPress before making server changes. On a prepared host, use SSH and WP-CLI to install WordPress; on a bare VPS, configure the server, PHP, database, DNS, and HTTPS first.
The short answer
SSH is the secure connection into the server, not the WordPress installer itself. Once connected, WP-CLI is usually the quickest way to install WordPress from the command line. It downloads the WordPress files, creates the configuration file, connects the site to a database, and creates the first administrator account.
That sequence works when the host already has a working web server, PHP, database service, and domain folder. Without WP-CLI, use SSH to place the files and prepare the database, then finish in the browser.
The important decision comes first: is the host prepared for WordPress, or are you configuring a blank server? These commands cover WordPress setup, not every server setting.
Check that the host is ready
Shared and managed hosts often provide the web server, PHP, database service, domain folder, and HTTPS already. If you prefer a visual dashboard over the command line, you can install WordPress in cPanel using one-click installers like Softaculous. Otherwise, SSH provides direct control over the server environment
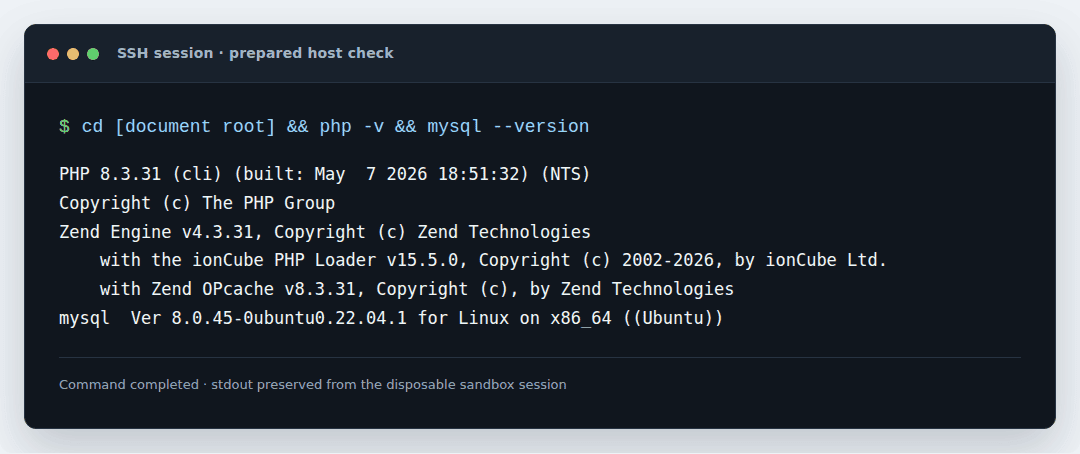
A new self-managed VPS may only have an operating system and a login. Before WordPress can work, configure Apache or Nginx, connect it to PHP, install required extensions, create a database and user, point DNS to the server, and set up HTTPS. WordPress commands cannot fill in those layers.
For a new installation, WordPress.org currently recommends PHP 8.3 or newer, MariaDB 10.11 or newer, or MySQL 8.0 or newer, together with HTTPS. Check the current WordPress requirements if your host uses older software.
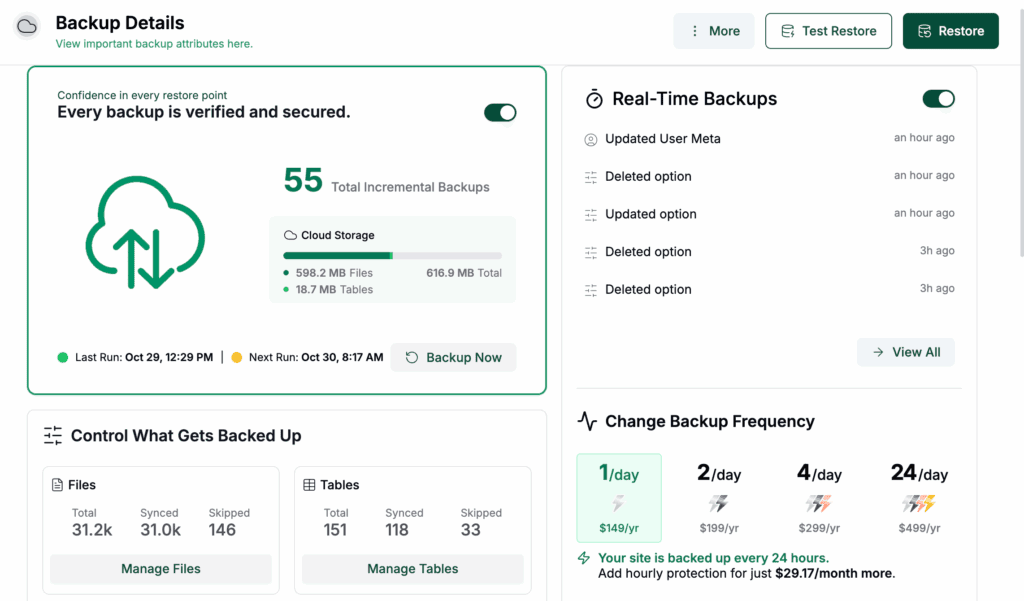
If this is an existing site, make a backup that you know how to restore before changing files, the database, or the web-server configuration. Rehearse on staging or a disposable server before touching production.
Gather the details you need
Keep these details beside you before opening the terminal:
- Your server hostname or IP address, SSH username, and SSH port. Port 22 is common, but not universal.
- Choose the domain name and whether the site should use HTTPS.
- Confirm the document root. This is the folder the web server exposes for the domain. It may be public_html, an add-on-domain directory, or a path such as /srv/www/example.com/public.
- Database name, username, password, host, and table prefix.
- A safe place to test if this is your first installation.
Your SSH home folder is not automatically the document root. Installing WordPress in the wrong folder can make the domain show another site or a 404. Check whether the target directory is empty before downloading files into it.
Connect and find the document root
Open Terminal, PowerShell, Windows Terminal, or an SSH application such as PuTTY. Enter the details supplied by your host.
ssh siteuser@example.com
ssh -p 2222 siteuser@example.com

pwd
whoami
ls -la
cd /srv/www/example.com/public
pwd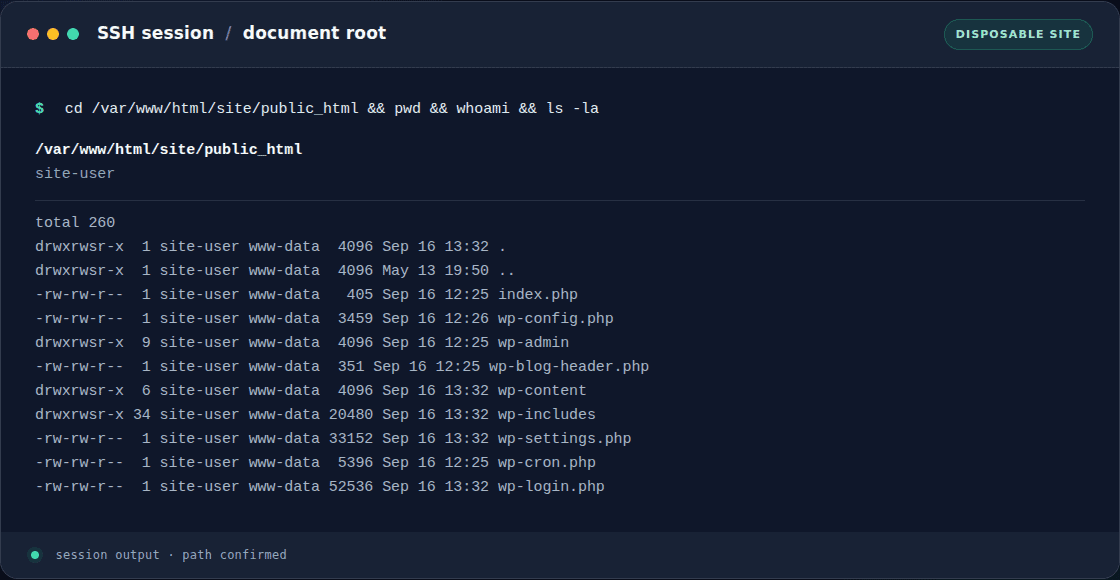
Use the command that matches your host’s port. The final location should be the folder configured for your domain, which may be public_html.
If your host supports it, use an SSH key instead of reusing a server password. Do not guess the folder because its name looks familiar. If you see another site’s files, stop and ask the host to confirm the mapping. Do not empty the folder or change ownership across the server.
Install WordPress with WP-CLI
Use this path when the host is prepared and WP-CLI is available. Run the commands from the confirmed document root, replacing every example value with your own information.
Check PHP and WP-CLI
Check that the command-line version of PHP works and that WP-CLI can use it.
php -v
wp --info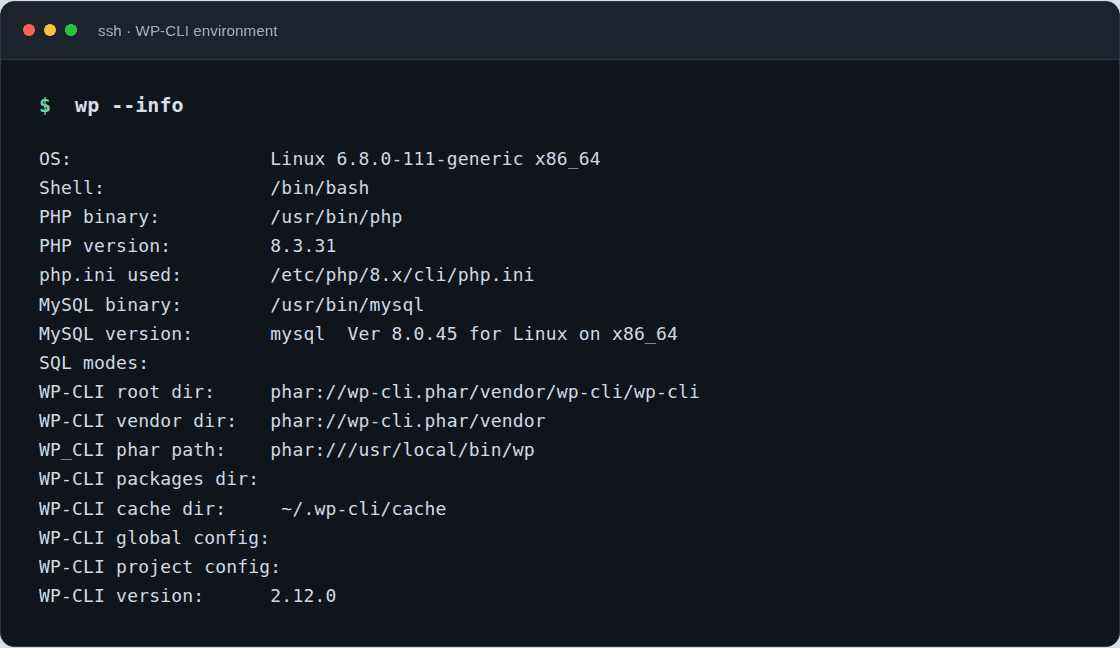
The PHP version in the terminal can differ from the PHP version serving the website. The mismatch can let installation succeed while the site later shows an error. If the wp command is missing, follow the official WP-CLI installation guide or ask your host to enable it. Avoid unverified installers on production.
Download the WordPress files
From the correct document root, download WordPress in your chosen language.
wp core download --locale=en_US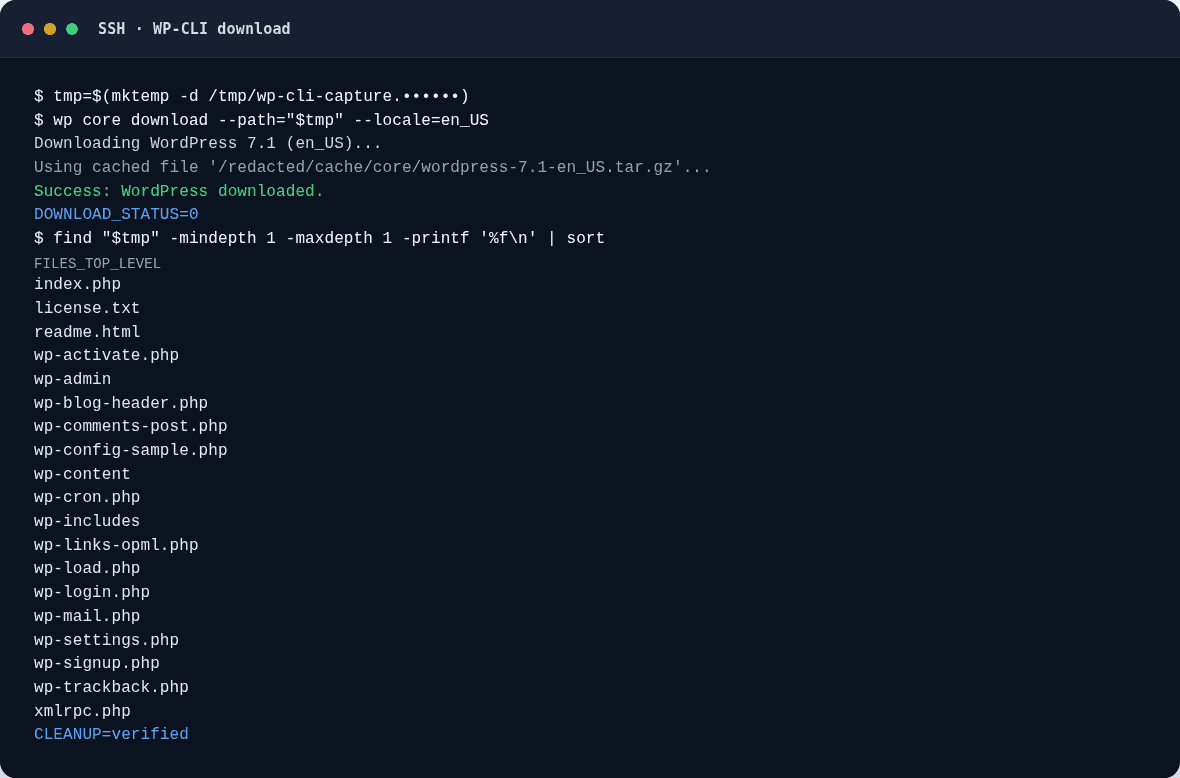
This extracts the files into the current folder and verifies the build with its MD5 value. To specify the location directly, use this instead:
wp core download \
  --path=/srv/www/example.com/public/wordpress \
  --locale=en_US
Use one approach or the other- the latest supported release is normally appropriate for a new site. A fixed version is useful for compatibility or reproducibility, but it should be explicitly supported. A successful download proves only that files were placed. It does not prove that the domain serves that folder or that PHP works.
Do not add a force or overwrite option merely to make a command finish. Inspect an existing directory first; it may contain another application.
Prepare the database
WordPress stores posts, pages, settings, and users in a database. You need the database name, username, password, host, and table prefix before connecting the files.
Once those values are in place, a read-only wp db check can confirm connectivity without changing the database.
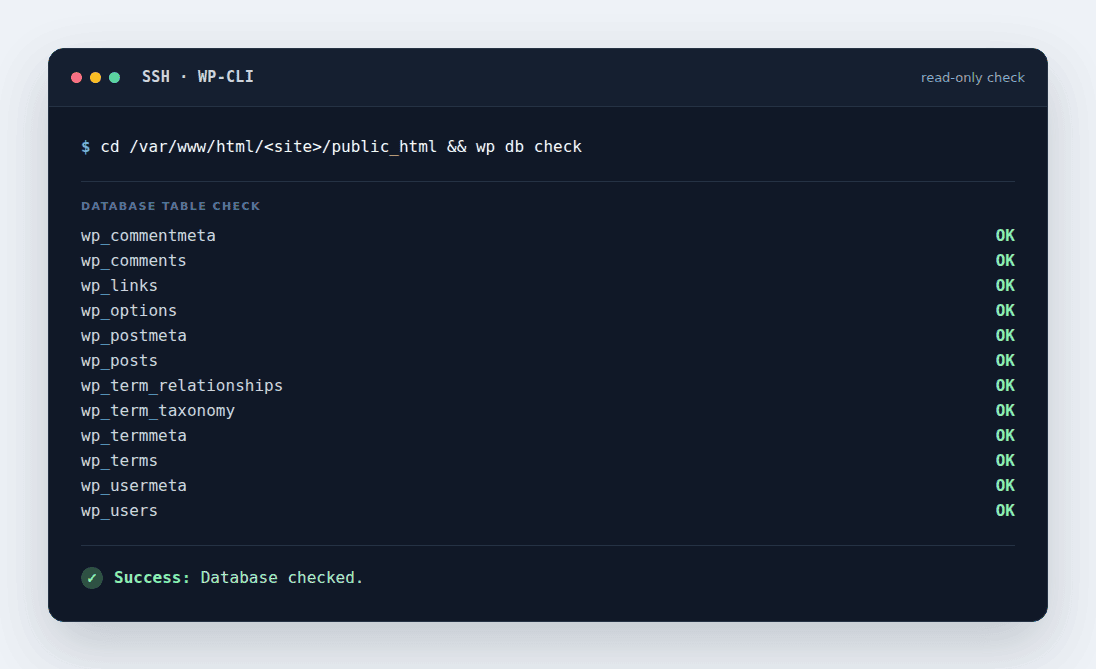
On shared or managed hosting, the host often creates the database and user in its control panel. Copy its exact values. On a self-managed server, an administrator may create an empty database from SSH:
sudo mysqlCREATE DATABASE example_wp CHARACTER SET utf8mb4 COLLATE utf8mb4_unicode_ci;The database administrator must create a user, protect its password, and grant access to this database. Because commands vary, do not copy a grant statement from a different server without checking it. Give the user access only to this database, then exit with quit.
Pay close attention to the database host. An account allowed from localhost is not always the same account as that username allowed from 127.0.0.1, a remote hostname, or any host. The value saved in WordPress must match the database service and account grants.
Create the WordPress configuration
The wp-config.php file tells WordPress how to reach the database. WP-CLI creates it and generates security salts for logged-in sessions.
wp config create \
  --dbname=example_wp \
  --dbuser=example_wp_user \
  --dbhost=localhost \
  --prompt=dbpass \
  --dbprefix=wp_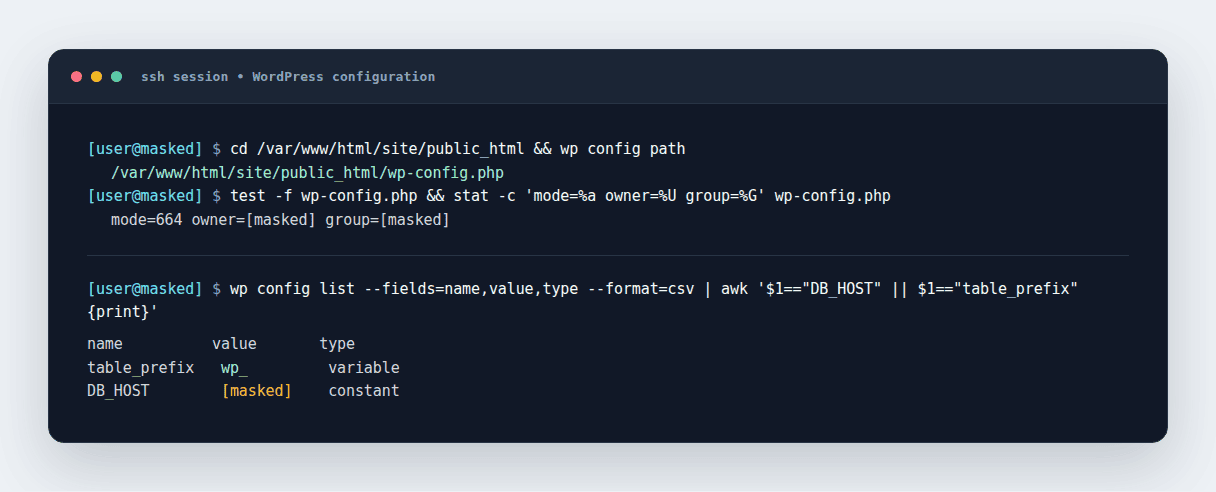
The password prompt keeps the database password out of shell history and process listings. Never paste it into a ticket, screenshot, or progress log. Keep the file readable by PHP but not broadly writable.
Create the database when allowed
If the database does not exist and the WordPress user can create it, run:
wp db createSkip this command when the host has already created the database or blocks site-level creation. A permission error usually means the host expects panel-based creation or the account lacks permission. Do not solve it by granting unrestricted database access.
Run the installer
Create the WordPress tables and first administrator account.
wp core install \
  --url=https://example.com \
  --title="Example Site" \
  --admin_user=site_admin \
  --admin_email=owner@example.com \
  --prompt=admin_password
Use the real HTTPS address, site title, administrator username, and email. Choose a unique username and enter the password when prompted. This finishes WordPress setup. It does not configure the domain, web server, PHP handler, DNS, or HTTPS certificate.
Finish in the browser if needed
WP-CLI is helpful, but it is not required. If you want to install WordPress manually, download the package from the official source, upload the files via FTP to the correct document root, create a database through your hosting panel, and run the browser wizard.
Visit the domain in a browser. If wp-config.php is missing, WordPress can show its setup form and create the file when the folder is writable. Alternatively, use the configuration sample and replace its sample security keys.
The browser installer asks for the site title, administrator details, password, email, and search-engine visibility. Keep visibility off while the site is private, then turn it on when ready. If it reports a database error, check that layer instead of resubmitting.
Match the URL to the folder
Most new sites put WordPress directly in the domain’s document root, so visitors use an address such as https://example.com. With a subdirectory install, the files may be in wordpress and the address may be https://example.com/wordpress.
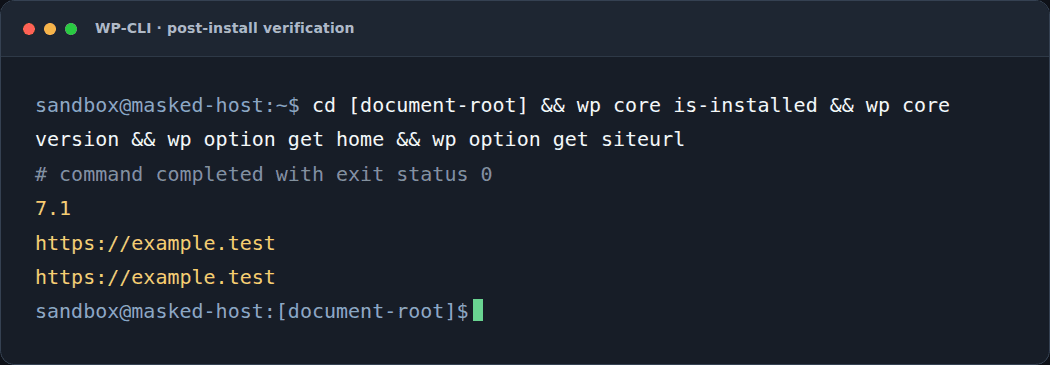
The public address and file location must agree with the web-server configuration. Check the saved addresses:
wp option get home
wp option get siteurl
The home address is what visitors use. WordPress’s site address is where its core files live. These values can differ in an advanced setup, but do not change either one blindly. A wrong value can break the site or administrator area. For subdirectories, consult the official WP-CLI documentation about a possible follow-up update.
Check the site before you hand it over
A successful command is encouraging, but it is not the same as a working website. Run these checks while you still have access:
wp core version
wp option get home
wp option get siteurl
Next, check the site in a browser:
- Open the home page over HTTPS.
- Visit the administrator area at /wp-admin and sign in.
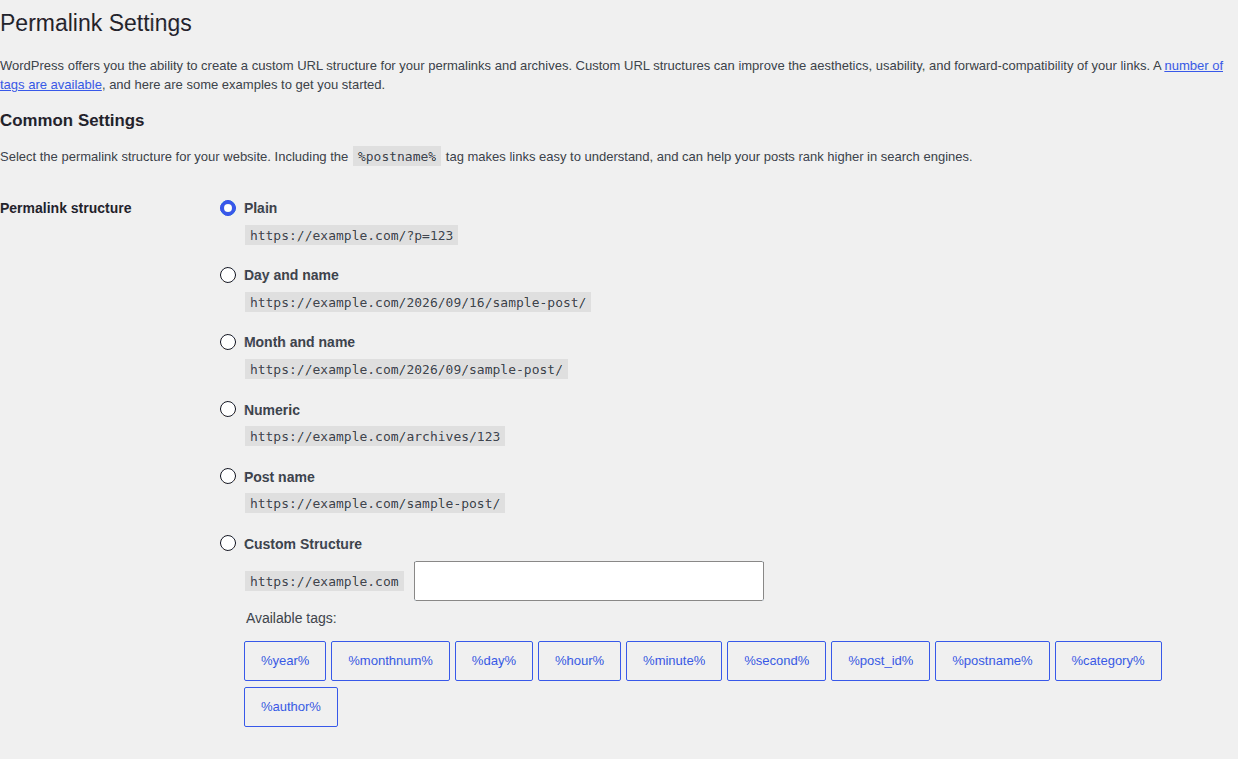
- Test a page’s permanent link, not just the home page.
- Upload a small image and confirm that it appears.
- Check for a browser security warning and confirm the site uses the intended HTTPS address.
- Verify that file ownership and permissions match the host’s PHP and deployment model.
- Keep a restorable backup and know how to use it.
If permanent links return a 404, the WordPress installation may be fine while Apache rewrite rules or the Nginx server block is incomplete. WordPress cannot correct web-server routing by itself.
Troubleshoot the layer that failed
When an installation fails, the error usually points to one layer. Check that layer first:
- The domain shows another site or a 404: Compare the confirmed folder with the domain’s virtual-host or server-block root.
- A WordPress download fails: Check the folder, command-line PHP, network access, and WP-CLI. Ask the host for its supported method if needed.
- The database connection fails: Check the service, name, username, password, and host.Read our complete guide to resolve Error Establishing a Database Connection.
- You see a permission error or uploads fail: Check the owner, group, folder permissions, and account running PHP. Making the whole site writable is not a safe fix.
- Pretty permalinks return 404 errors: Check Apache rewrite rules or the Nginx server block and PHP handler. Resave permalinks only after routing is correct.
- The site redirects repeatedly or shows HTTP: Compare the WordPress addresses, HTTPS handling, and reverse-proxy settings. Do not disable TLS.
- A password appeared in a command or log: Rotate it immediately. Clearing shell history does not remove copies from process logs, backups, monitoring systems, or tickets.
FAQs
Can I install WordPress through SSH?
Yes, if your host gives you shell access and the web, PHP, and database layers are ready. SSH provides access; WP-CLI or the browser installer performs setup.
What command installs WordPress?
After you enter the correct document root, configure the database, and download the files, run wp core install with the site URL, title, administrator username, password, and email. Use a prompt instead of putting the password in the command.
Can I install WordPress without WP-CLI?
Yes. Put the files in the document root, create or obtain the database and configuration file, then open the domain in a browser.
Where should WordPress files go?
They belong in the document root configured for the domain, such as public_html, an add-on-domain folder, or a path under /srv/www. Confirm the mapping rather than guessing.
Do I need root access?
No. Use the account intended to own and deploy the files; elevate only for system-level installation or web-server configuration.
Conclusion
Installing WordPress through SSH is manageable once you know what SSH is responsible for. It gives you controlled access; WP-CLI or the browser installer handles setup, while the web server, PHP, database, DNS, and HTTPS must be ready.
Before changing a live site, take a backup or rehearse the process on staging. BlogVault can be an optional backup and staging safety layer, but it is not part of the SSH command sequence and does not replace correct server configuration.

Shivani enjoys crafting guides that make every aspect of using WordPress simple and easy to follow. When she's not glued to her laptop, you can find her buried in a good book or occasionally, painting.


