Somewhere in your WordPress dashboard, a finished article is sitting under Pages instead of Posts. That means it has no category, does not appear in blog archives, and is harder for readers to find. If you are searching for wordpress convert page to post, copying everything into a new post can feel risky.
On most self-hosted WordPress sites, the easiest way to WordPress convert page to post is with Post Type Switcher. First, create a restorable backup. Then change the page type to Post and check the URL, category, menu links, layout, and SEO settings before you finish.
Use Post Type Switcher if your site allows plugins, and make a backup-plugin restore point before editing a live page. The switch is quick. The checks after it are what protect traffic, layout, and search value.
Should this be a post?
Don’t convert a page only because posts feel more “blog-like.” A page can rank well, and the type switch alone won’t lift rankings.
Use a post when the content belongs in your blog system. Readers should be able to discover it while browsing articles, not only from the main navigation. Tutorials and news updates fit there because they age like articles and sit well beside related posts.
Keep it as a page when it supports the fixed structure of the site. Your About page, service pages, and sales pages should not get pushed into the blog just because the editor made them easy to move.
What changes when you convert it
WordPress stores pages and posts as content entries. The label on that entry tells WordPress whether to treat it as a page or a post. Post Type Switcher changes that label on the existing item, so you aren’t rebuilding the article from scratch.

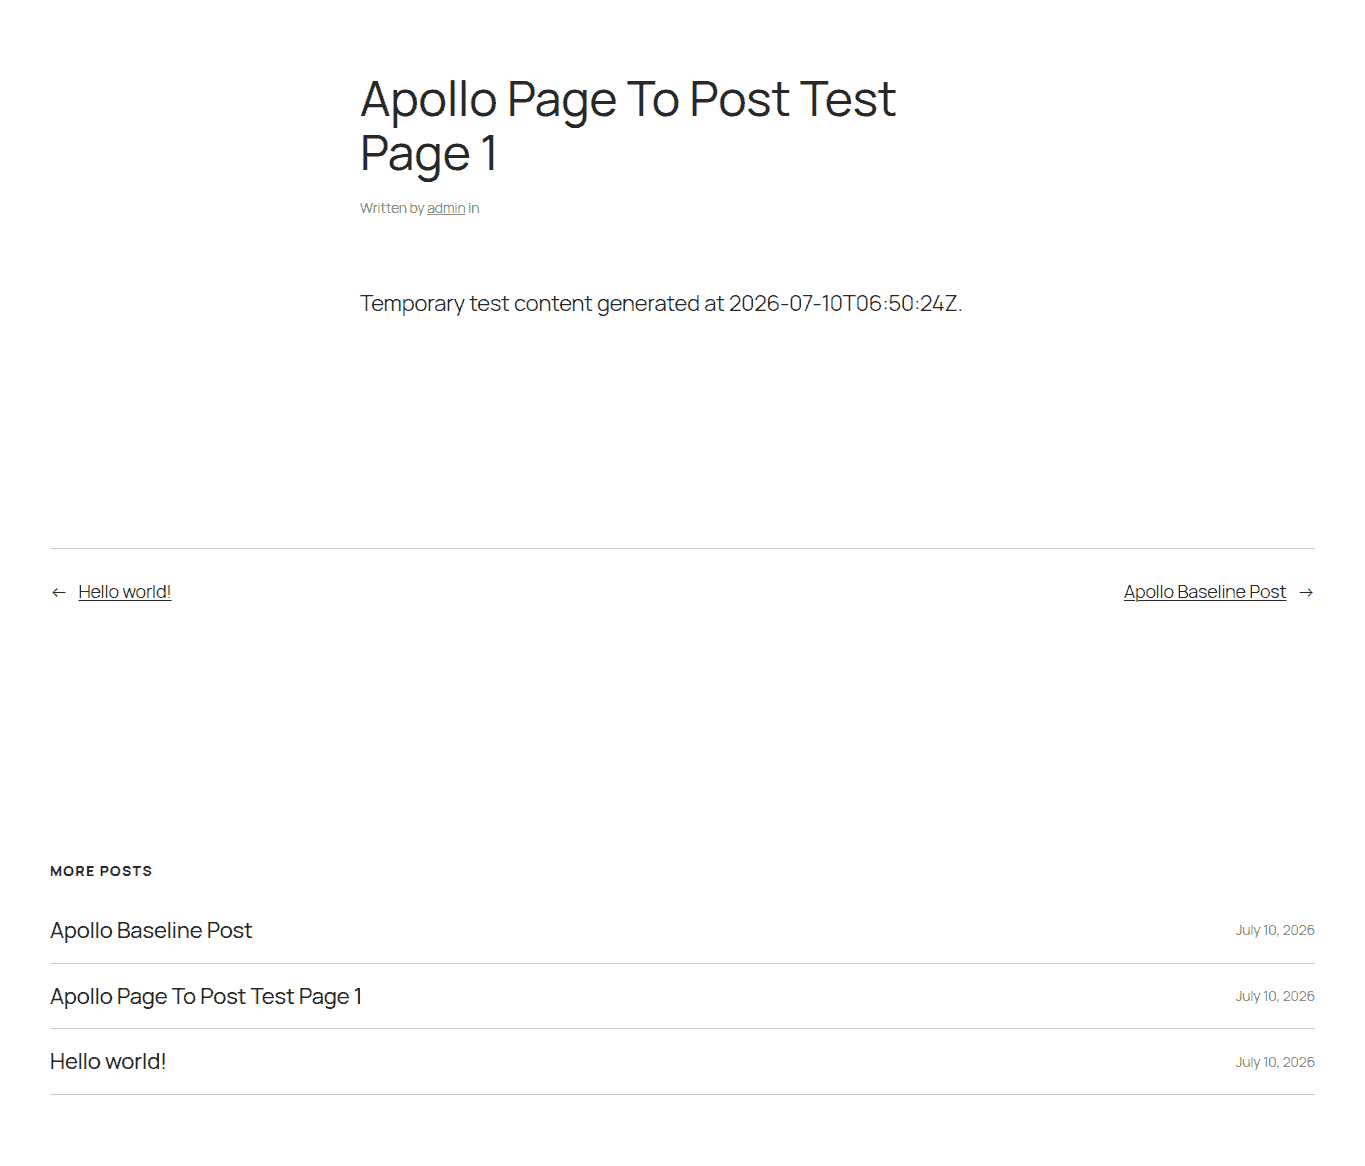
In our test, the title, slug, and content stayed available after conversion. The item stopped appearing as a page and appeared as a post instead. That’s the part the plugin handles well.
What it doesn’t handle is the editorial cleanup. A new post may still need a category, a featured image, and an SEO review. It may also need a different excerpt or comment setting. Posts can show dates, sidebars, related posts, and author details in places the old page never did.
Before you make the switch
If this is an unpublished draft, you can keep the prep short. If the page is already public, ranking, linked from navigation, or client-approved, slow down for a few minutes.
- Save a clean restore point: Use a backup plugin that can roll back the full site, not just export text.
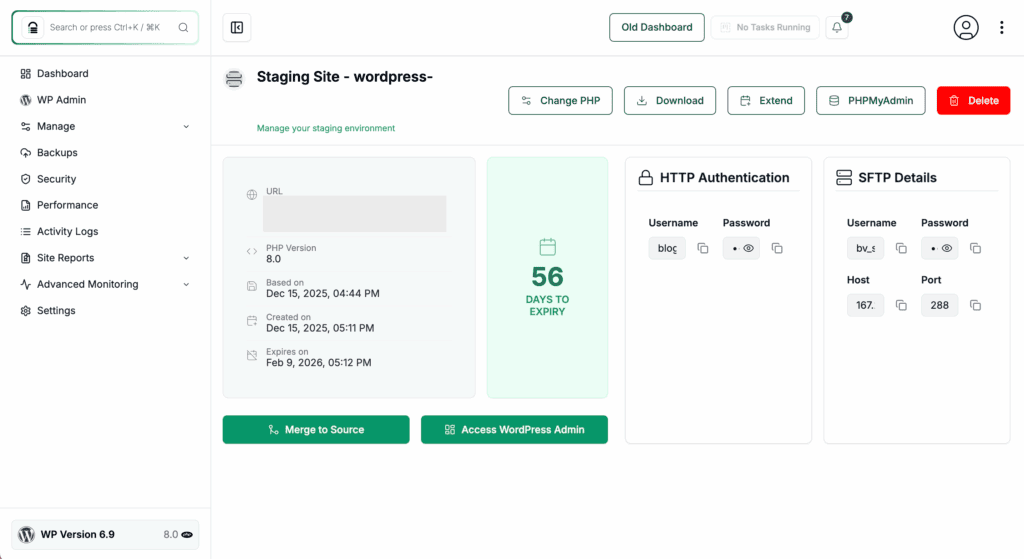
- Copy the current URL: You’ll need it to check whether visitors and search engines reach the new post.
- Check where it appears: Look at menus, footer links, homepage buttons, and sidebar links.
- Review the page setup: Note the template, featured image, SEO title, and comment setting.
- Avoid editing collisions: If other people work on the site, tell them before you change the content type.
Convert the page with Post Type Switcher
Post Type Switcher is the easiest route for most self-hosted WordPress sites because it adds the conversion control inside the dashboard. You don’t need to touch the database, the place where WordPress keeps content and settings.
We tested the plugin on a recent WordPress setup. It added post type controls in the editor, Quick Edit, and Bulk Edit. Your exact URL behavior can still differ. Permalinks, cache rules, redirects, and SEO plugins can all affect what happens after the change.
Convert it from the editor
- Install the conversion plugin: Open the plugin installer, search for Post Type Switcher, and activate it after installation.
- Open the page you’re moving: In the Pages screen, select the exact item you’re changing.
- Change the content type: Find the Post Type setting, change Page to Post, and click Update.
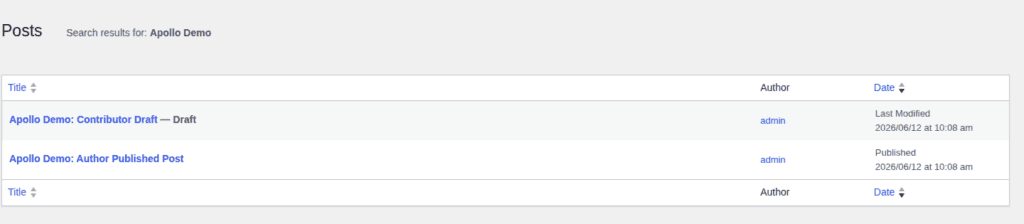
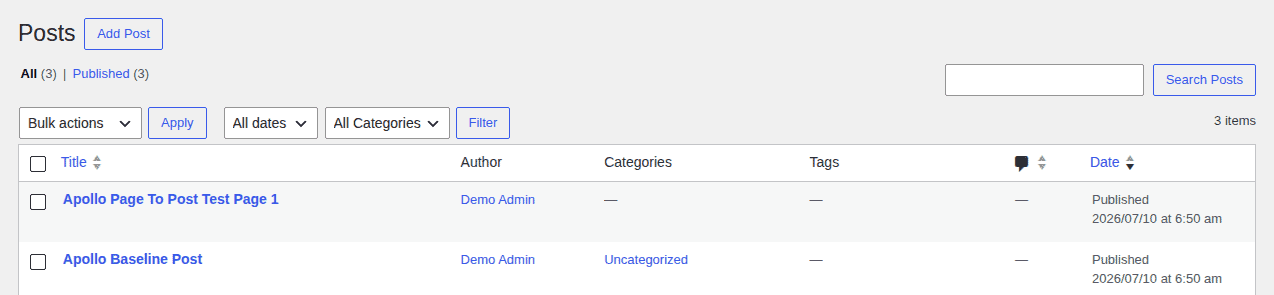
- Confirm the move worked: Open the Posts screen and make sure the item appears there.
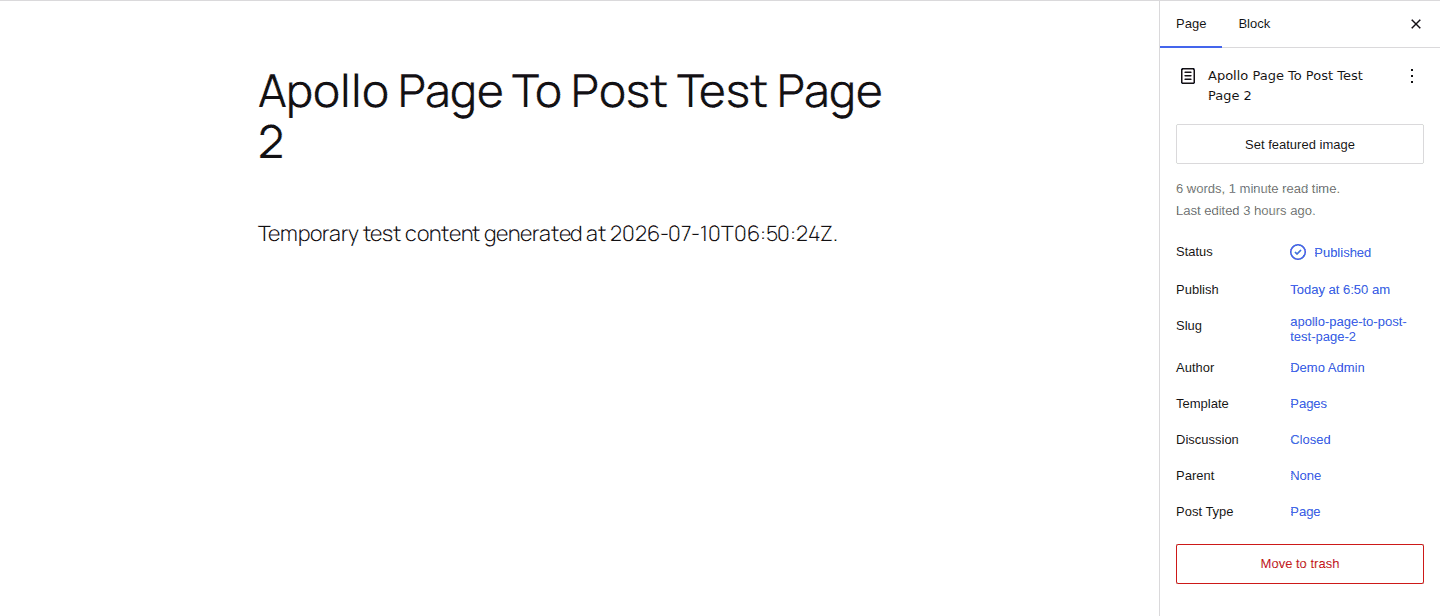
No Post Type setting in the editor? Try Quick Edit from the pages list. On many sites, that’s the clearer control.
Convert it with Quick Edit
- Open the pages table: Use the admin menu to view all pages.
- Use the row controls: Put your cursor on the page title and choose Quick Edit.
- Switch the type and save: Change Post Type to Post, then click Update.
- Open the new post: Check the full editor before you move on, because the list view won’t show layout or SEO issues.
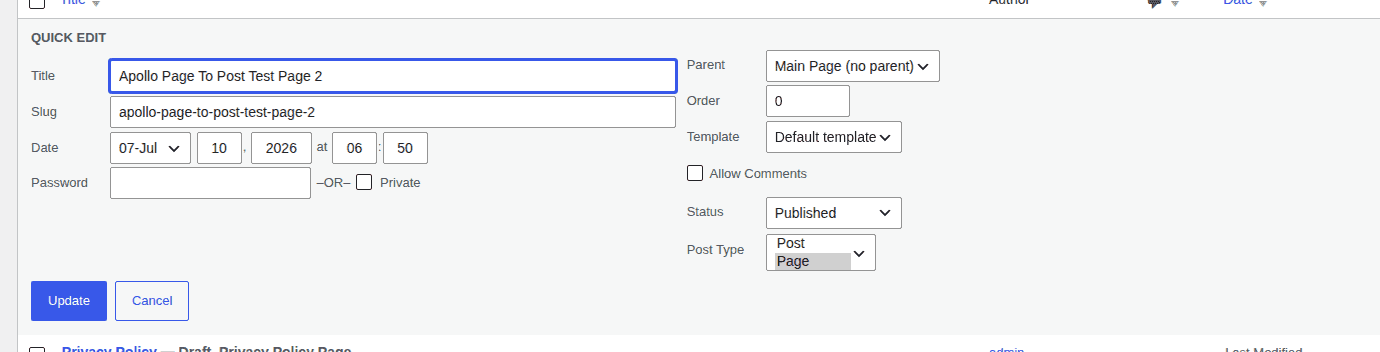
💡 Note: Quick Edit is often the cleanest path for one ordinary page. I still open the post afterward every time because the important problems are usually on the front end, where visitors see the page.
Convert a batch carefully
- Select only the right pages: From the pages table, tick only the items that truly belong in the blog.
- Open the batch editor: Choose Edit from Bulk actions and click Apply.
- Change the shared type: Set Post Type to Post and click Update.
- Review in small batches: Check categories, URLs, layouts, and menus before converting more.
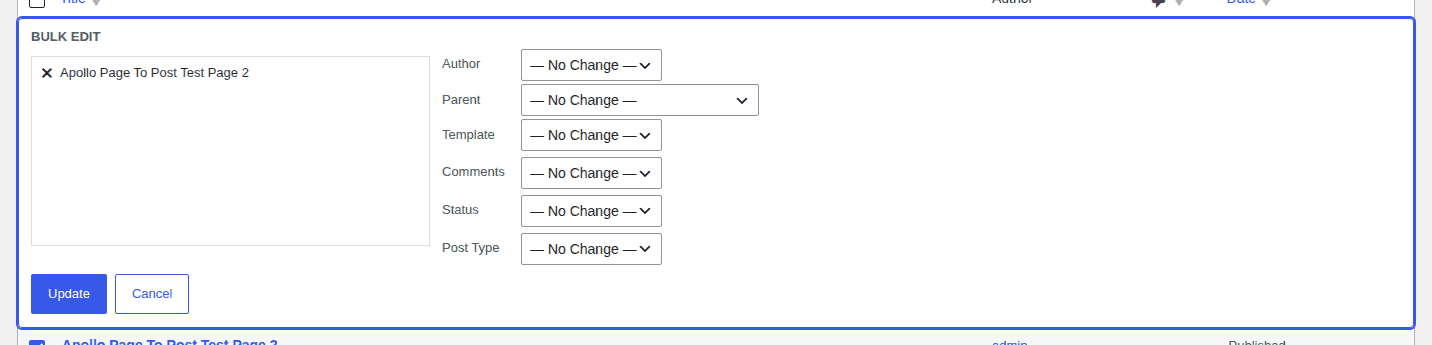
Bulk conversion is fast, but cleanup grows with it. Five converted pages can mean five missing categories. It can also mean five old URLs to test and five layouts to inspect. Test important batches on staging first.
Clean up the new post
The plugin changes where WordPress files the content. You still need to make the new post behave like a post.
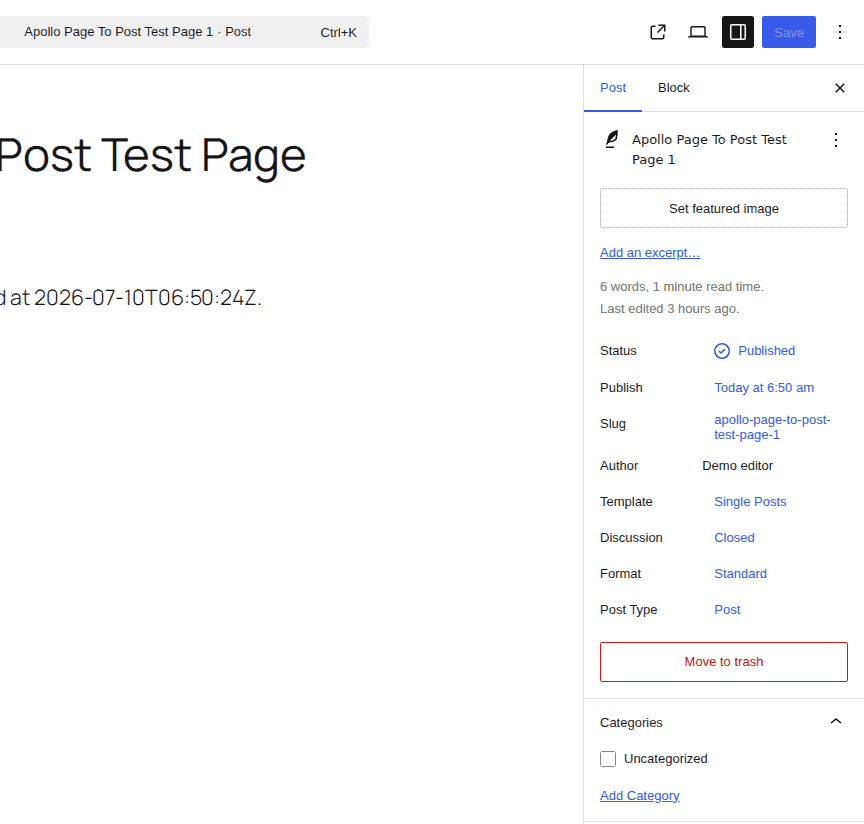
- Add the right category: Pages usually don’t have post categories, so assign one manually.
- Keep tags intentional: Add tags when they group related posts in a way readers actually use.
- Test the old URL while logged out: If the old page URL breaks or shows duplicate content, add a 301 redirect, which is a permanent redirect from the old address to the new one.
- Update menus and buttons: Header links, footer links, navigation blocks, and homepage buttons may still point to the old page path.
- View the post on a phone and a laptop: A post template may add author details, dates, comments, sidebars, or related posts.
- Review SEO settings: Check the SEO title, meta description, social image, canonical URL, and sitemap setting if your SEO plugin manages them.
- Set post details: Confirm the author, publish date, excerpt, and comment status.
Remove the plugin after checking
For a one-time conversion, you can usually remove Post Type Switcher after the change. WordPress saves the new type on the item, so it should remain under posts after the plugin is deactivated.
Do the checks first. Confirm the item appears in the Posts list. Open the public URL and test the old URL. Then deactivate the plugin and refresh the posts list. If the post still behaves normally, remove the plugin.
If you can’t install a plugin
Some WordPress.com sites and managed hosts block plugin installs. Client sites may have the same rule. You still have options, but they need more care.
Rebuild it as a new post
Create a new post and move the content into it. Add the missing post settings, publish it, and redirect the old page URL to the new post URL.
This works for simple content, but it isn’t a true conversion because you’re making a new item. Check the featured image, excerpt, author, and SEO fields before you unpublish the old page. If the page has forms or builder blocks, test those too. Those pieces can look fine in the editor and fail on the live page.
Ask a developer for the database route
A developer can change the content type directly in the database, which is the storage layer behind WordPress. That can be precise when they use the exact page ID, rehearse on a copy of the site, and keep a database backup ready.
I don’t recommend this for regular site owners. One broad database command can sweep up the wrong pages, and the damage may not be obvious until archives or menus look wrong.
Fix common issues
Here are some common issues and how you can fix them:
Post Type is missing
Make sure Post Type Switcher is active. Check the editor first, then try Quick Edit under Pages > All Pages. If it still doesn’t appear, your user role, editor setup, hosting rules, or WordPress.com plan may be limiting it.
The old URL breaks
Open the old URL while logged out. If it shows a 404, which means the page can’t be found, point that address to the new post with a 301 redirect and clear your cache.
If the old version keeps appearing, Airlift’s guide to WordPress caching issues is a useful next check.
The post has no category
Add one manually, then check your blog page and category archive. In our test, the converted page did not receive a category automatically.
The layout looks wrong
Check the post template and featured image first. Then review the sidebar, comments, excerpt, and author/date display. If the content was built like a landing page, the rough post layout may be a sign it should stay a page.
You converted the wrong page
Use Post Type Switcher to change it back from Post to Page, then check the URL and menus again. If several important pages were converted by mistake, stop editing and restore the site from the last clean backup.
Conclusion
Converting a WordPress page to a post is simple when the content truly belongs in the blog. Back up first, use Post Type Switcher when your site allows it, then check the parts WordPress won’t decide for you: category, URL, layout, menus, and SEO fields.
If the page matters to the business, don’t treat this as a casual dashboard tweak. Practice on a copy, keep a restore point ready, and if redirects behave strangely, use MalCare’s too many redirects checklist before you move on.
FAQs
Does WordPress have a built-in page-to-post converter?
Not as a normal dashboard control for most users. On self-hosted WordPress, Post Type Switcher is usually the simplest option. Plugin-restricted sites may need a manual rebuild or developer help.
Will converting a page to a post delete my content?
A proper post type switch should keep the main content because it changes the existing item. Take a backup anyway, especially if the page has forms, comments, custom fields, or a page-builder layout.
Will the URL change after conversion?
It can. Check the old URL after conversion. If it doesn’t reach the new post, add a 301 redirect so visitors and search engines land in the right place.
Do categories and tags transfer from the page?
Usually not in a useful way. Pages don’t normally use post categories and tags, so assign the right category and any needed tags after conversion.
Can I delete Post Type Switcher afterward?
Usually, yes. Confirm the item still appears as a post after deactivation, test the public URL, and then remove the plugin if this was a one-time job.

Akshat is the founder and CEO of BlogVault, MalCare, and WP Remote.