

You’ve decided to change your WordPress login URL alongside your existing security practices.
But you probably have questions. Is this change effective? And how do you avoid a lockout?
This guide provides the answers by walking you through three distinct methods, ensuring you can add this layer of defense confidently.
The easiest way to change your WordPress login URL for better security is with a plugin like WPS Hide Login. To avoid potential conflicts or lockouts during the process, always start with a full site backup from a reliable backup plugin.
The non-negotiable safety prep
Before you change anything, you must prepare a safety net. This is not optional. If a mistake happens, these steps are what will prevent a minor issue from becoming a major problem.
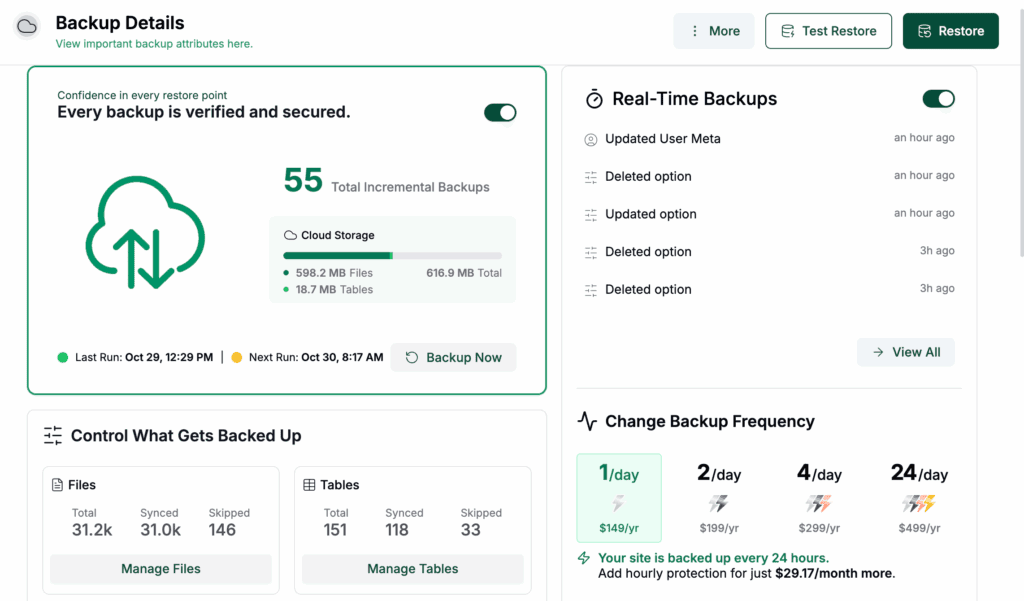
Create a full website backup. Use a reliable plugin like BlogVault to help you with this task.
Confirm your access credentials. Have your FTP or SFTP login details ready. This includes the server address, username, and password. Your hosting panel’s File Manager can work as an alternative if you are comfortable using it.
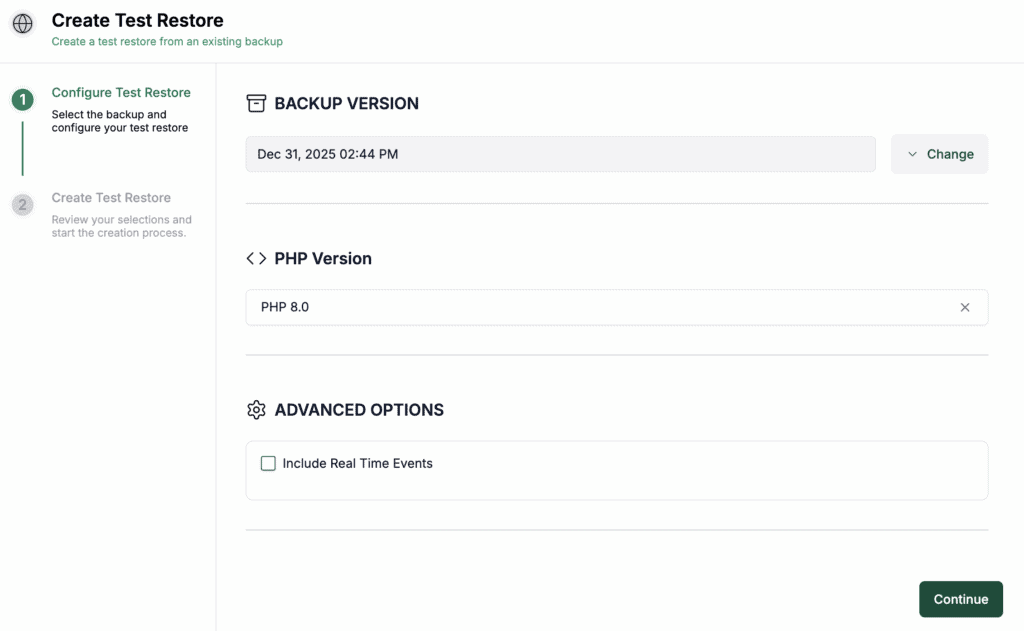
Test your backup. If you have a staging site, try restoring your backup there. This confirms your backup file is not corrupted before you might need it for real.
How to change WordPress login URL
We will cover three methods to change the URL. They range from extremely simple to technically advanced.
Method 1: Using a plugin (Easy)
For the vast majority of users, this is the correct choice. It is fast, safe, and avoids any need to handle code directly. We will be using the WPS Hide Login plugin for this article.
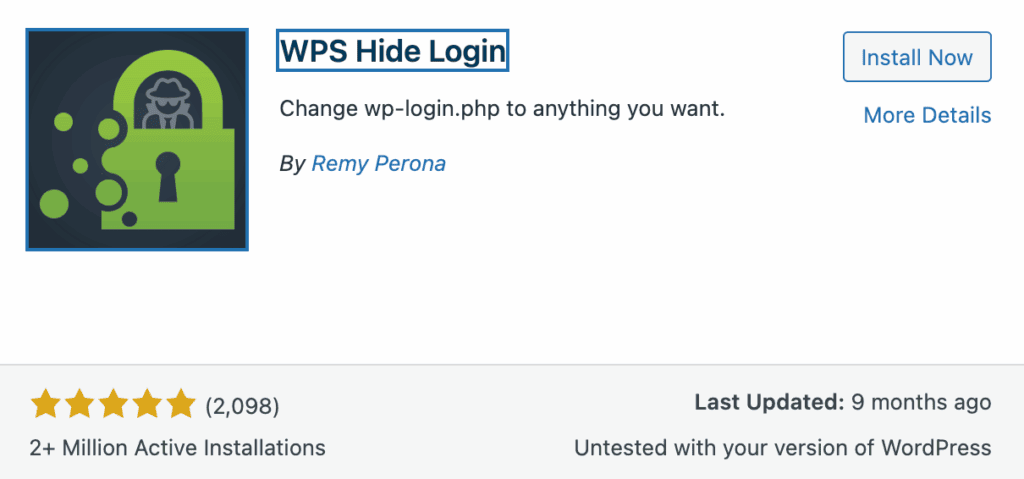
Get the plugin: Head to Plugins > Add New in your dashboard. Search for WPS Hide Login, then install and activate it.
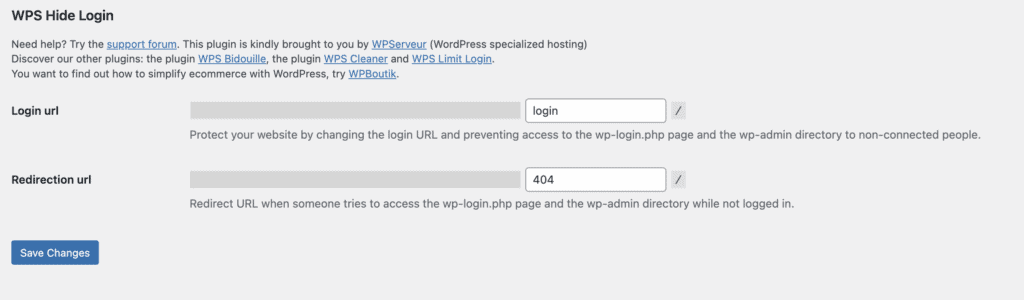
Configure the new path: Go to Settings > WPS Hide Login. Here you will find the Login URL field. Replace the placeholder with a unique slug that’s hard for bots to guess.
Finalize the setup: Confirm the Redirection url (the default 404 page is perfect for this) and click Save Changes. That’s it—your login page has been moved to its new, private URL.
Method 2: Using code in functions.php (advanced)
This method is for users who prefer not to add plugins and are comfortable editing theme files. It is a stable solution if done correctly.
You must use a child theme. Adding this code to a parent theme’s functions.php file will cause it to be deleted during the next theme update.

Connect to your server: Use a standard FTP client like FileZilla to access your site’s files.
Locate the correct file: Navigate to /wp-content/themes/your-child-theme-name/ and download the functions.php file.
Open the file in a code editor and add this exact code snippet to the very end. We recommend adding this to your child theme’s functions.php file.
function change_login_url( $login_url, $redirect, $force_reauth ) {

    $new_slug = 'my-new-login'; // Change this to your custom slug

    $url = site_url( '/' . $new_slug . '/' );

    if ( ! empty( $redirect ) ) {

        $url = add_query_arg( 'redirect_to', $redirect, $url );

    }

    if ( $force_reauth ) {

        $url = add_query_arg( 'reauth', '1', $url );

    }

    return $url;

}

add_filter( 'login_url', 'change_login_url', 10, 3 );

// Redirect from old login URLs to the new one

function redirect_old_login() {

    $new_slug = 'my-new-login'; // Must match the slug above

    $requested_path = trim( $_SERVER['REQUEST_URI'], '/' );

    if ( preg_match( '/^(wp-(login|admin|signup)|login)/', $requested_path ) && ! is_user_logged_in() ) {

        wp_redirect( site_url( '/' . $new_slug . '/' ) );

        exit();

    }

}

add_action( 'init', 'redirect_old_login' );
Finalize the code: First, change my-new-login in both places to your unique, single-word slug. After saving the file, upload it back to your server, overwriting the old one.

Activate the new path: To make WordPress recognize the change, go to Settings > Permalinks in your dashboard and click Save Changes. This action flushes the site’s rewrite rules.
Verify your work: The final and most important step is to test the new URL in an incognito window to confirm you can log in successfully.
Method 3: Manual file edit (Risky)
We are including this method for a complete picture, but it requires editing a WordPress core file. This is a fragile solution because a WordPress update will overwrite your work.
Download and rename the file: First, connect to your server via FTP, navigate to the root directory, and download the wp-login.php file. Once it’s on your computer, rename it to something unique, like my-secret-login.php.
Modify the file’s contents: Open the newly renamed file in a code editor (like VS Code). Use the Find and Replace function to change every occurrence of wp-login.php to your new filename.
Upload the final version: After saving your changes, upload the modified file back to your server’s root directory.
This is a brittle solution. Stick with the plugin or the functions.php method.
Post-change checklist
Do not skip this verification step. You need to confirm everything works as expected.
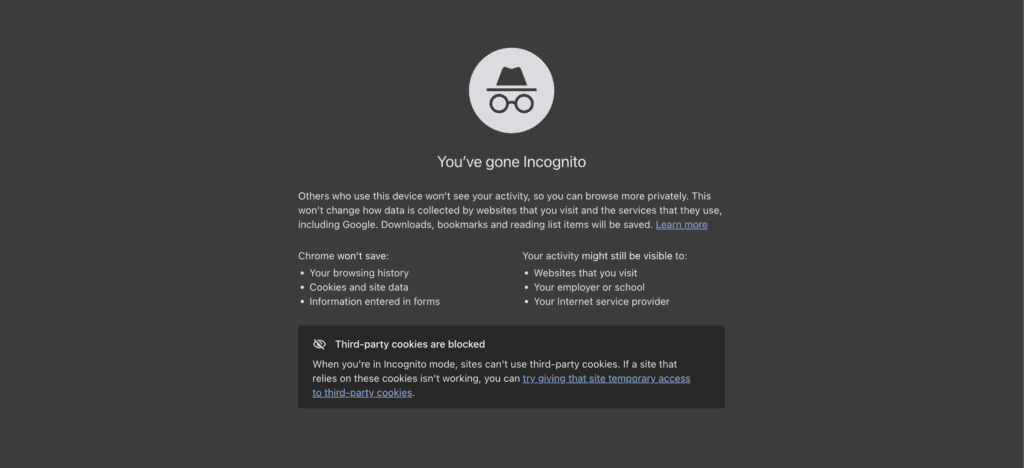
Verify access: First, log out, then open a new incognito window. Navigate to your new custom URL and confirm you can successfully log in with your admin credentials.
Confirm the old URLs are blocked: While still in the incognito window, try to visit /wp-admin and /wp-login.php. They should fail to load or redirect you.
Finalize and inform: Update your browser bookmarks and inform any other users or team members about the new login path.
Weighing the decision: Pros and a critical con
Is this change genuinely useful? Here is the practical breakdown.
Why you might want to change it
The primary benefit is that it stops 100% of automated bots that target default URLs. This immediately reduces failed login attempts in your logs and lowers the unnecessary server load caused by brute-force attacks.
It is a commonly recommended WordPress hardening practice because it provides a simple layer of “security through obscurity” that hides a major attack vector from unskilled attackers.
Why it’s sometimes not recommended
The biggest risk is developing a false sense of total security. Security through obscurity should never be your only defense. This change will not stop a determined attacker, who can still find the new URL.
The other major risk is accidentally locking yourself out during the change process. It can also create conflicts with poorly coded plugins or themes that have hardcoded the default login URL. Consider it one useful layer in a comprehensive security stack, not a complete solution.
What if you get locked out?
It is frustrating, but usually fixable. Do not panic.
- Clear all layers of cache. Start with your browser’s cache and cookies, then purge any caching from your WordPress plugins and your hosting provider’s server cache. Old redirect information can be stored in any of these places.
- Check the documentation for your specific plugin if you used one. Most provide instructions on how to regain access.
- Contact your website hosting provider. Their support team can often help you access files or find the source of the lockout.
- Review recent file changes. If you edited functions.php or .htaccess, a small error is the likely cause. If you have backups, you can restore a previous version of these files via FTP.
- Try a different browser or device to confirm the issue is not specific to your local setup.
Parting thoughts
Changing your login URL is just one security layer. Its real value appears when you combine it with other essential measures.
The goal is to create multiple obstacles for any attacker. True security comes from a layered defense. This means you must also use strong passwords and two-factor authentication (2FA). You must also keep your WordPress core, themes, and plugins updated at all times. For a full defense suite, consider a comprehensive security plugin.
FAQs
How do I change the default URL in WordPress?
To change the default site URL, you update the address in your WordPress dashboard under Settings > General. Ensure the new URL matches your hosting configuration, as a mismatch will make your site inaccessible.
How to get WordPress login URL?
You can get to the WordPress login page by adding /wp-admin or /wp-login.php to the end of your domain name. If a security plugin has changed this, you must use the custom URL created by the site administrator.
What is the login URL?
The login URL is the specific web address where you enter your username and password to access the WordPress admin dashboard. By default, it is yourdomain.com/wp-login.php, but this is often changed for security.
What is a custom login URL?
A custom login URL is a unique web address that replaces the default wp-login.php to enhance security. This makes it harder for automated bots to find and attempt to brute-force their way into your website.
How to hide WordPress login URL?
You hide the WordPress login URL by changing it to a custom, secret address with a plugin or custom code. This is a common security tactic that prevents bots from targeting the known, default login page.

Shivani enjoys crafting guides that make every aspect of using WordPress simple and easy to follow. When she's not glued to her laptop, you can find her buried in a good book or occasionally, painting.


