When your site is down, the goal of Debugging in WordPress is to find the cause without randomly deactivating themes and plugins.
To do this, you need information, which is where WordPress debug mode comes in.
But here’s the crucial part: debug mode doesn’t fix anything. It’s a diagnostic tool that reveals the errors, giving you the necessary facts to implement the correct solution.
Always use a staging site for debugging if you have one. This keeps your main site safe and available to visitors. The process is: first, take a complete backup. Then, enable WP_DEBUG to log errors to a file (while keeping them hidden from the browser). Recreate the issue to capture the error, check the debug.log file for the cause, and then immediately turn off debug mode.
What debugging in WordPress mode shows
WordPress runs on its own core files, plus plugins, the active theme, and PHP, the server language behind most WordPress sites. When something fails, the public page often hides the useful details. Debug mode brings those details into view.
The main setting is WP_DEBUG. It tells WordPress to report the different errors, warnings, notices, and old code patterns that may cause trouble with WordPress or PHP versions.
I wouldn’t start by blaming WordPress core unless you edited core files or recently changed PHP versions. In everyday work, the cause is more often a plugin, theme, custom code snippet, server setting, or conflict between two pieces of code. That doesn’t mean core can never be involved. It means you should follow the evidence before you start replacing WordPress files or disabling half the site.
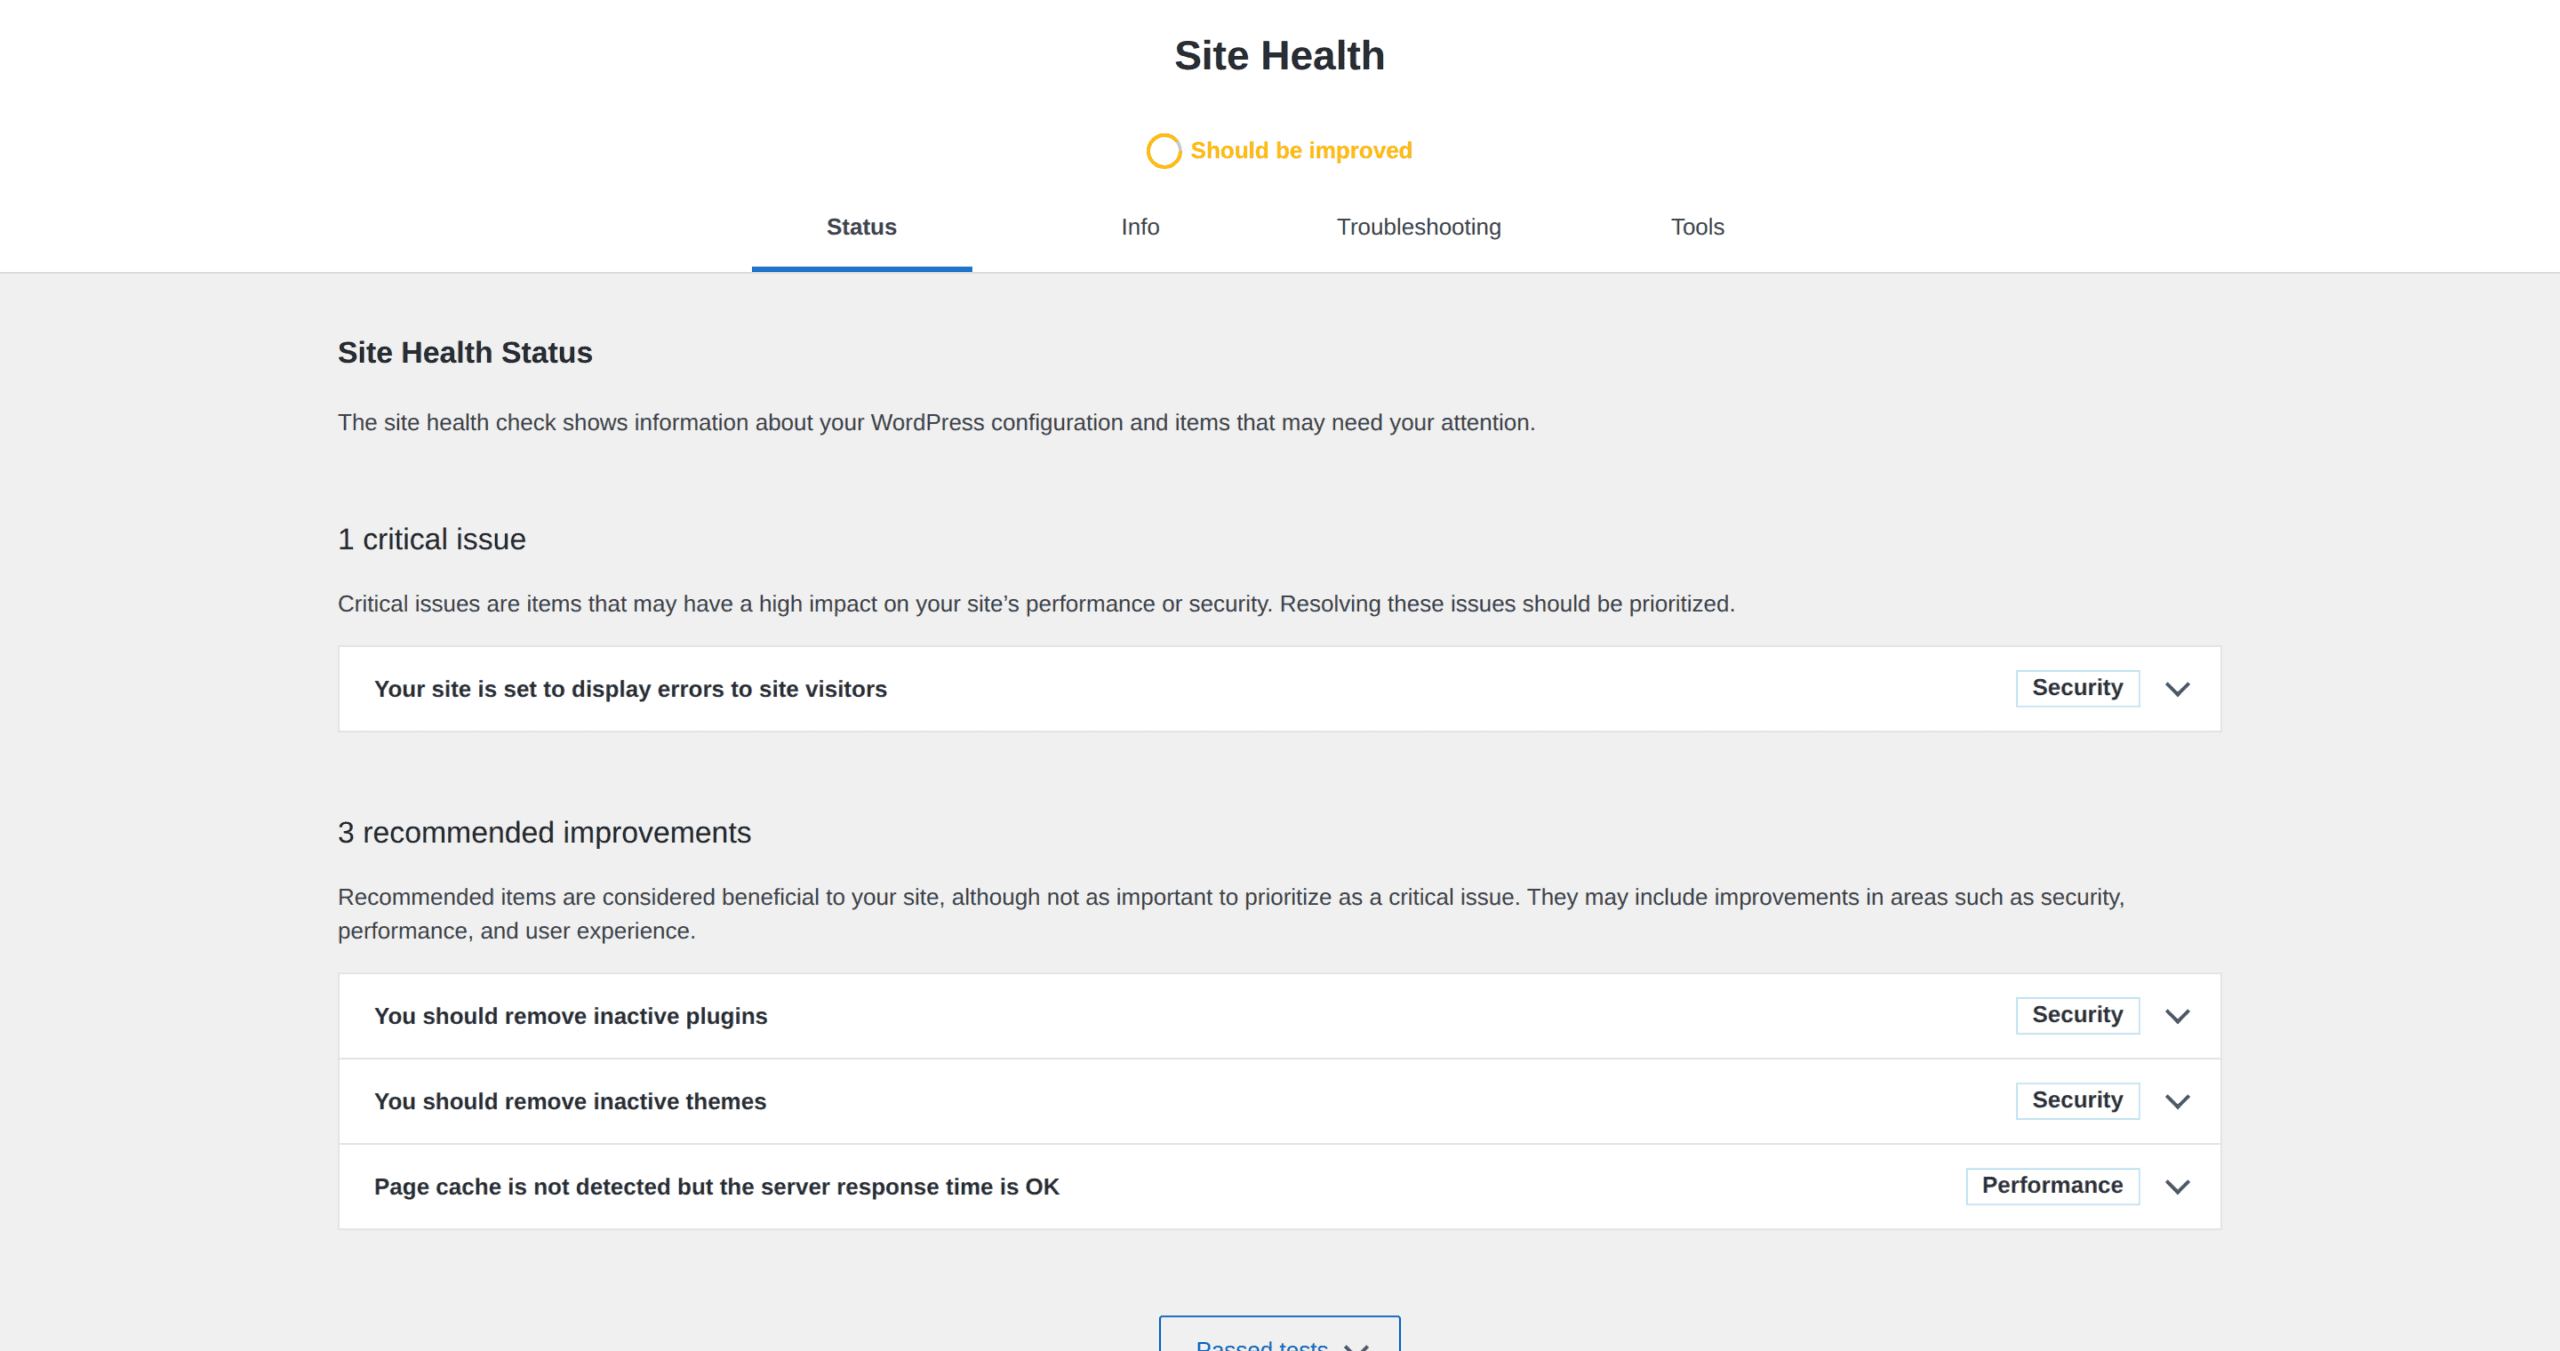
This matters because debugging should narrow your next move. A warning from an old plugin calls for a different response than a fatal error in a payment gateway. The log helps you stop treating them the same.
Get the site recoverable first
Before changing wp-config.php, download the current file and back up your WordPress site completely. That file controls important WordPress settings, and one typo can cause a new error. If you can open the file but aren’t sure what a line does, leave it alone and change only the debug settings below. This isn’t about being timid. It’s about knowing how you’ll recover.
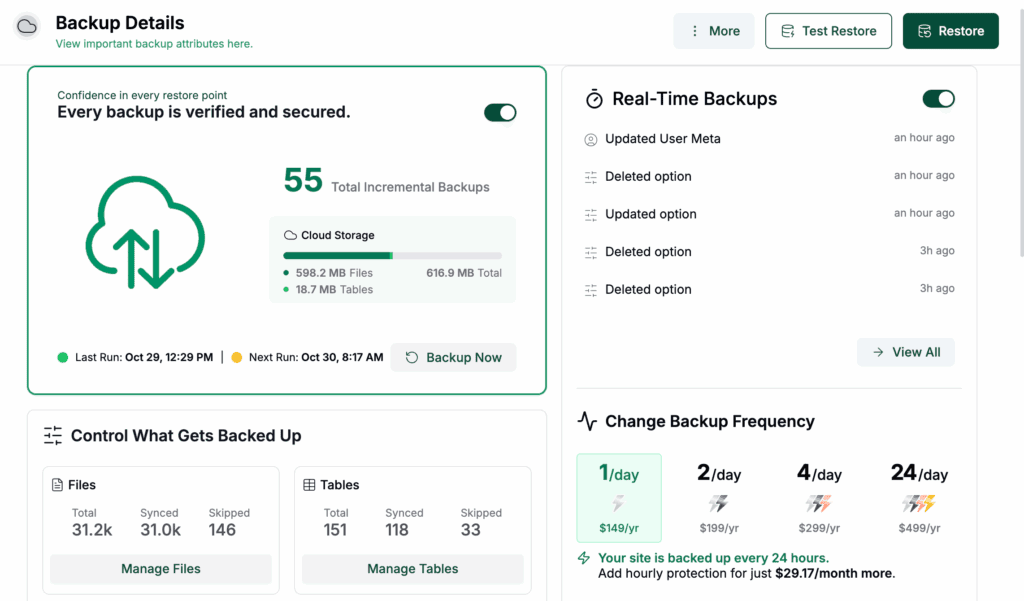
If you use BlogVault, create a fresh backup first and run the investigation in a WordPress staging environment where you can. The point is simple: if a fix makes things worse, you’ll have a restore point instead of a second emergency.
Enable debug logging manually
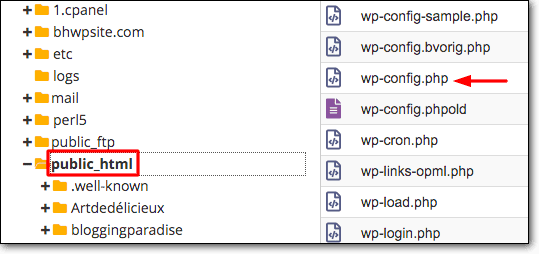
To Enable debug log Open wp-config.php through your hosting file manager or a secure file-transfer app such as FileZilla. If you need a slower walkthrough, use this guide to edit the wp-config.php file before adding the debug settings. Add them before this line:
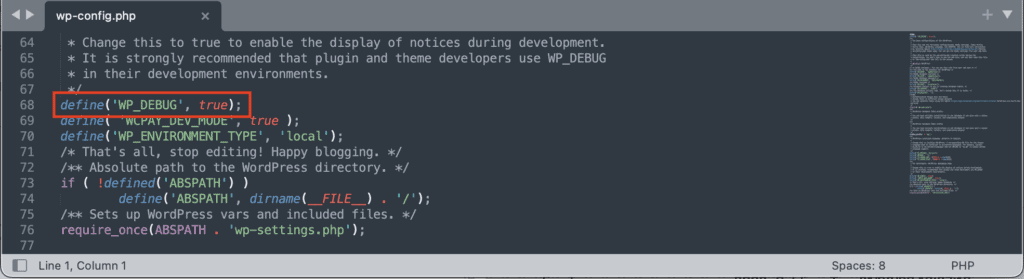
/* That's all, stop editing! Happy publishing. */Use this block for most live-site debugging:
define( 'WP_DEBUG', true );
define( 'WP_DEBUG_LOG', true );
define( 'WP_DEBUG_DISPLAY', false );
@ini_set( 'display_errors', 0 );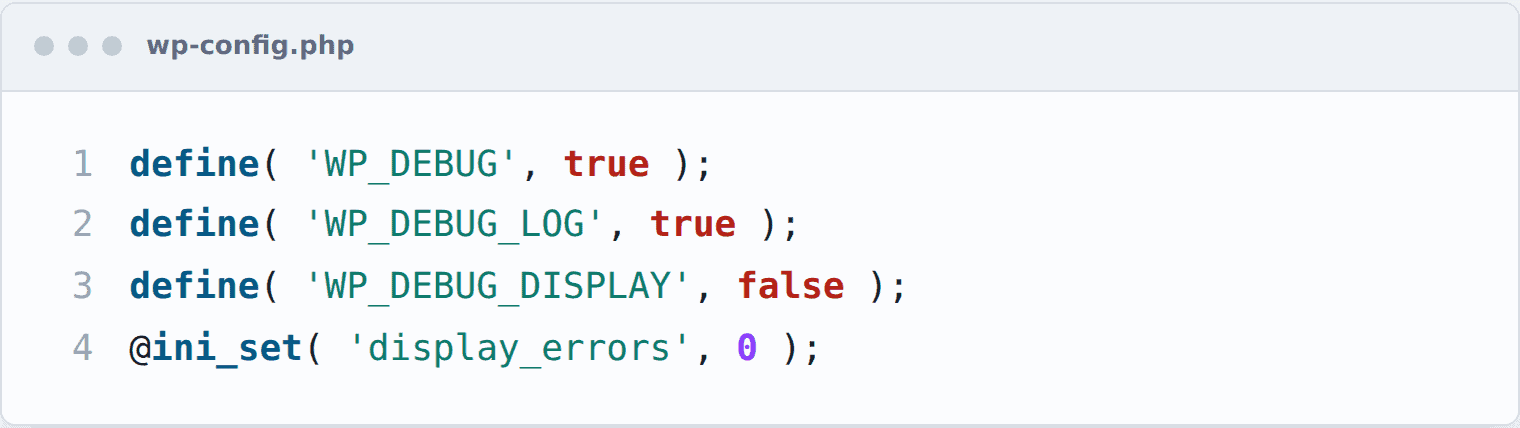
Here’s what each line does:
- WP_DEBUG turns on WordPress debug mode.
- WP_DEBUG_LOG writes errors into a file, usually wp-content/debug.log.
- WP_DEBUG_DISPLAY stops those errors from appearing on the public page.
- display_errors asks PHP not to print errors in the browser.
Use true and false without quotes. In PHP, quoted text is different from a true or false setting, and a quoted ‘false’ can behave like it’s turned on. Also search the file for older debug settings. If WP_DEBUG already exists, edit that line rather than adding another version lower down.
Make WordPress show errors only on test sites
On a local site or staging copy, you may want errors to appear on the page while you test. In that case, set WP_DEBUG_DISPLAY to true.
define( 'WP_DEBUG_DISPLAY', true );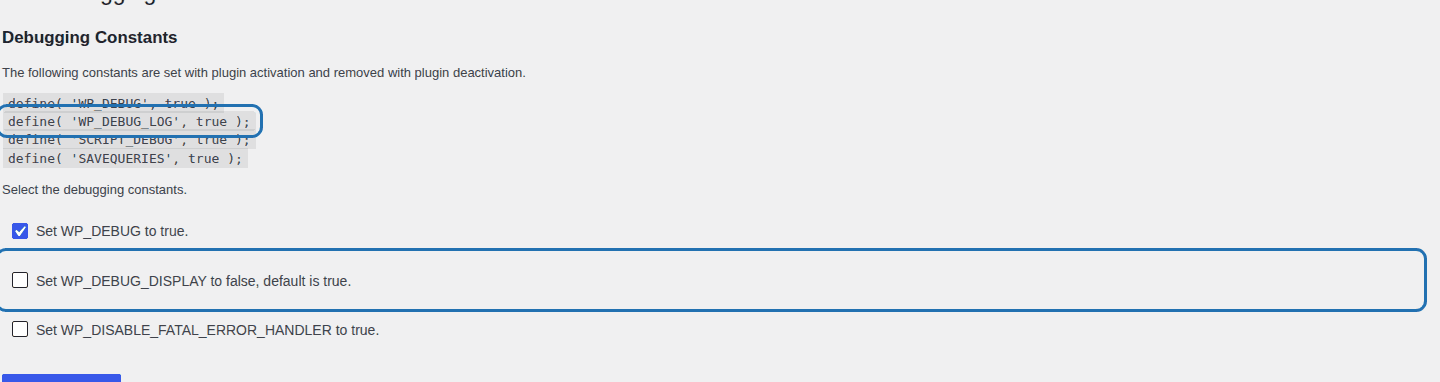
Don’t leave that on for a public site. Visitors don’t need to see file paths, PHP warnings, or plugin details. On production, write errors to a log and keep the page output clean.
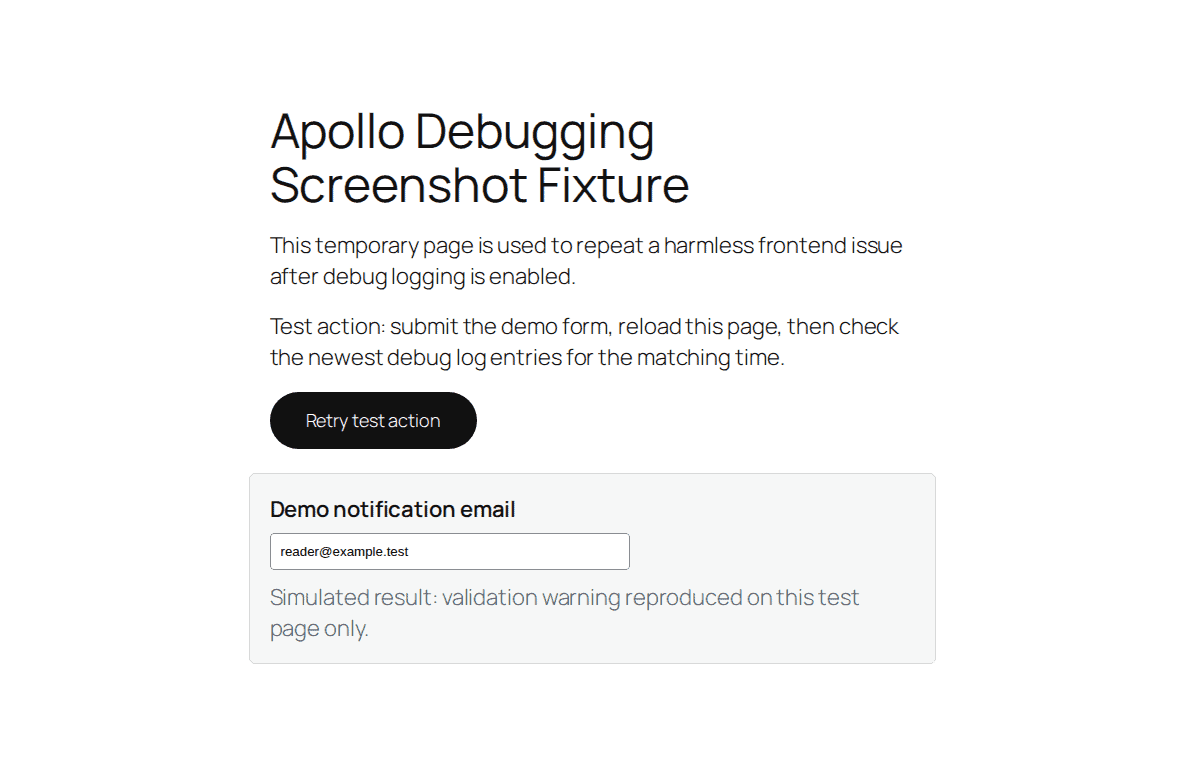
Recreate the error
Debug logging starts collecting useful evidence after the problem happens again.
- Repeat the failed action: Open the broken page, submit the form, run the update, clear the cache, or load the admin screen that failed.
- Match the original conditions: Test the same user role, browser, plugin setting, checkout step, or page where the issue appeared.
- Check the newest log entries: Open wp-content/debug.log after the test and read from the latest timestamp upward.
If the log file doesn’t exist yet, don’t assume debug mode failed. WordPress may be waiting for the broken request to happen again.
Read the debug log
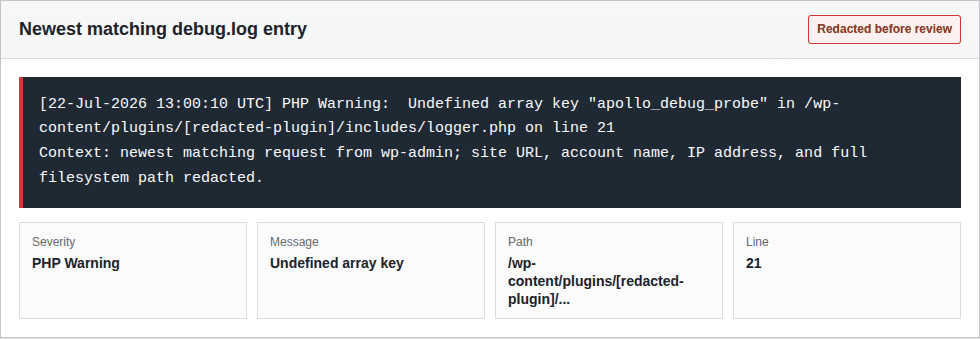
A debug log can look worse than the site feels. That happens a lot. Old notices, repeated warnings, and harmless plugin messages can pile up quickly. Your job isn’t to fix every line in one sitting. Start with the entry that appeared when you recreated the problem.
Read the newest entry that matches the time you tested the issue. Look for these details:
- Severity: Fatal error and parse error are urgent. Warning and notice may still matter, though they may not explain the visible problem.
- Message: This is the plain description of what failed.
- File path: A plugin path points toward a plugin. A theme path points toward the theme that is currently running.
- Line number: This tells a developer where the error happened.
Use the path as your map. wp-content/plugins usually means plugin code. wp-content/themes usually means theme code. Mentions of functions.php, snippets plugins, or mu-plugins should send you to recent custom code first. An mu-plugin is a must-use plugin, loaded by WordPress automatically and often hidden from the normal plugins list.
Act on the clue
Once the log points somewhere, make the smallest useful test.
- When a plugin appears in the path: Test a plugin update, rollback, or temporary deactivation on staging first. If the plugin runs payments, forms, memberships, or store checkouts, check if turning on woocommerce debug mode helps capture store-specific errors before contacting support.
- When the theme appears in the path: On staging, temporarily activate one of WordPress’ default themes and run the same test again. If the error stops, the theme needs the fix.
- When custom code appears in the path: Undo the last change first. A missing bracket or semicolon can break the whole site.
- When the message mentions memory, permissions, execution time, or missing PHP extensions: Send your host the full error text. Those are often server-side settings.
- When the log shows suspicious files or redirects: Stop testing random fixes on production. Restore from a known-good backup if needed and treat it as a WordPress security issue.
That last case deserves care. A debug log isn’t a malware scanner, but it can surface strange file paths or injected code that shouldn’t be there. Use a proper malware scan before you assume the log caught everything.
Fix WP_DEBUG_LOG when it fails
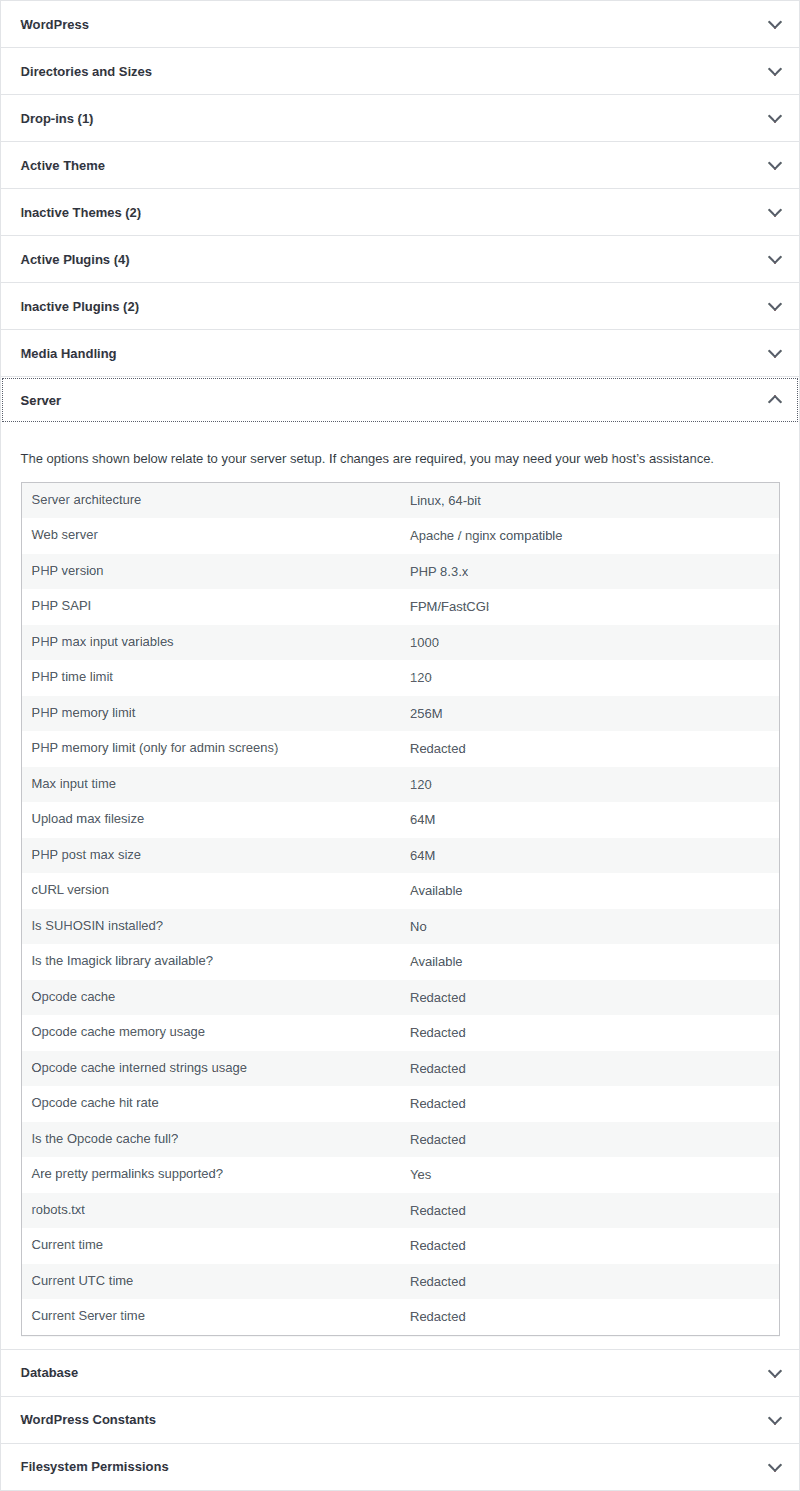
If debug.log is missing or stale, check the basics in this order:
- Confirm debug mode is actually on: WP_DEBUG and WP_DEBUG_LOG both need to be true.
- Confirm the code is in the right place: Put the block above the stop-editing line in wp-config.php.
- Confirm there are no duplicate settings: One debug block is much easier to read than several conflicting edits.
- Trigger the issue again: No new error means no new log entry.
- Check file permissions: The server must be allowed to write to wp-content or to your chosen log location.
- Check host-level logs: Some hosts send PHP errors to a control-panel log instead of WordPress’ local file.
You can set a full custom path for WP_DEBUG_LOG, but do it only after you confirm the folder exists and the server can write there. A wrong path creates a second problem.
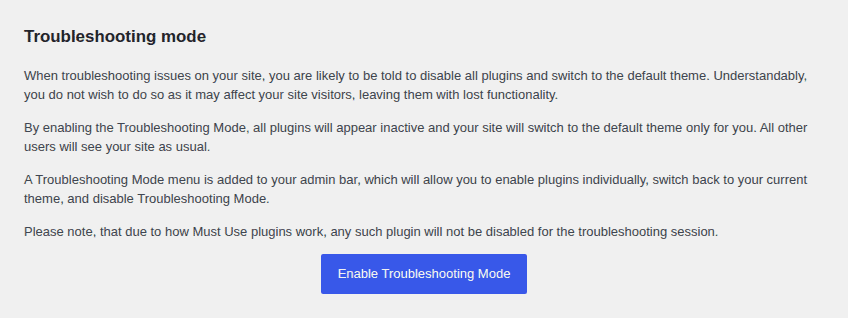
Use a debug plugin if file edits feel risky
A WordPress debug plugin can be the right choice if you’re comfortable in wp-admin but not in server files.
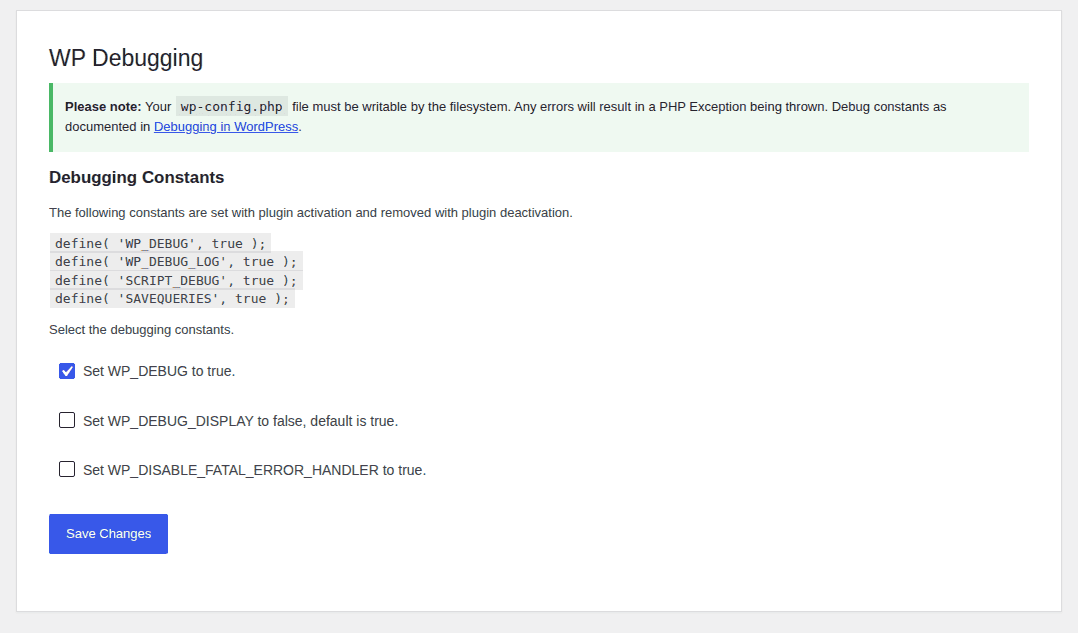
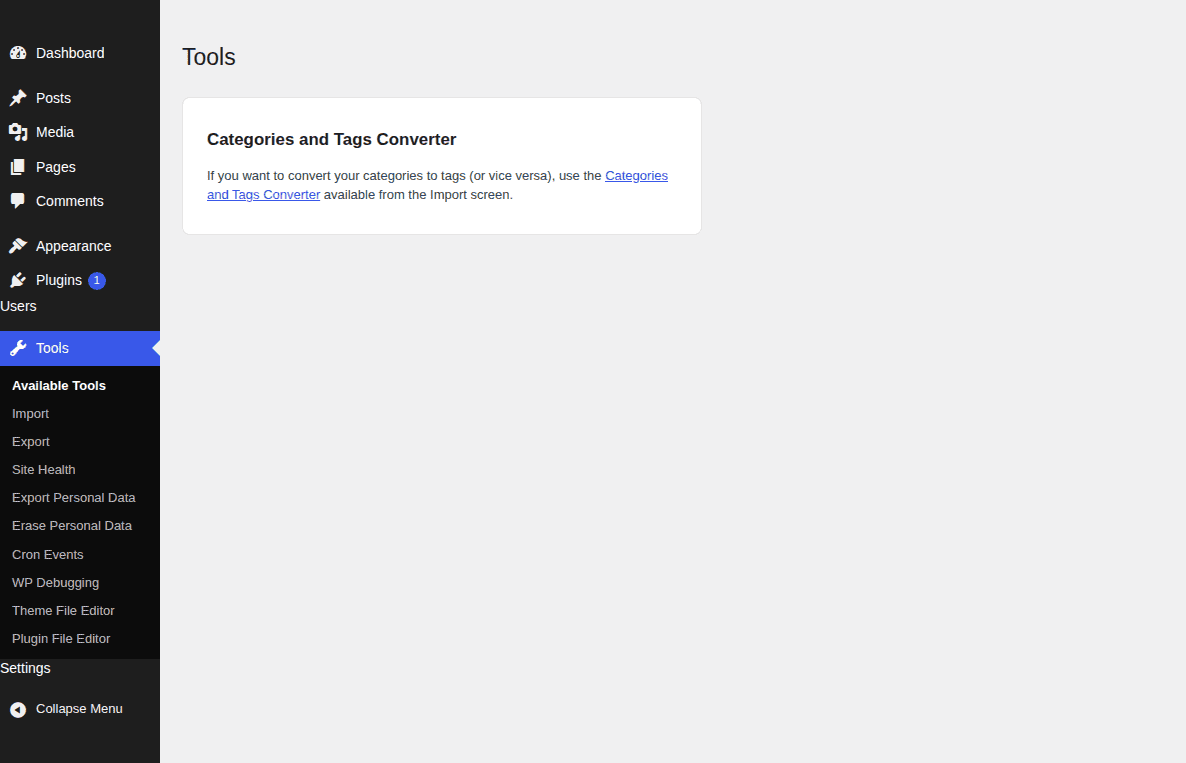
Plugins such as WP Debugging, Debug, and WP Debug Log – Config Tool help turn debug settings on from the dashboard. Some also let you view logs inside wp-admin, which is easier than opening files over SFTP.
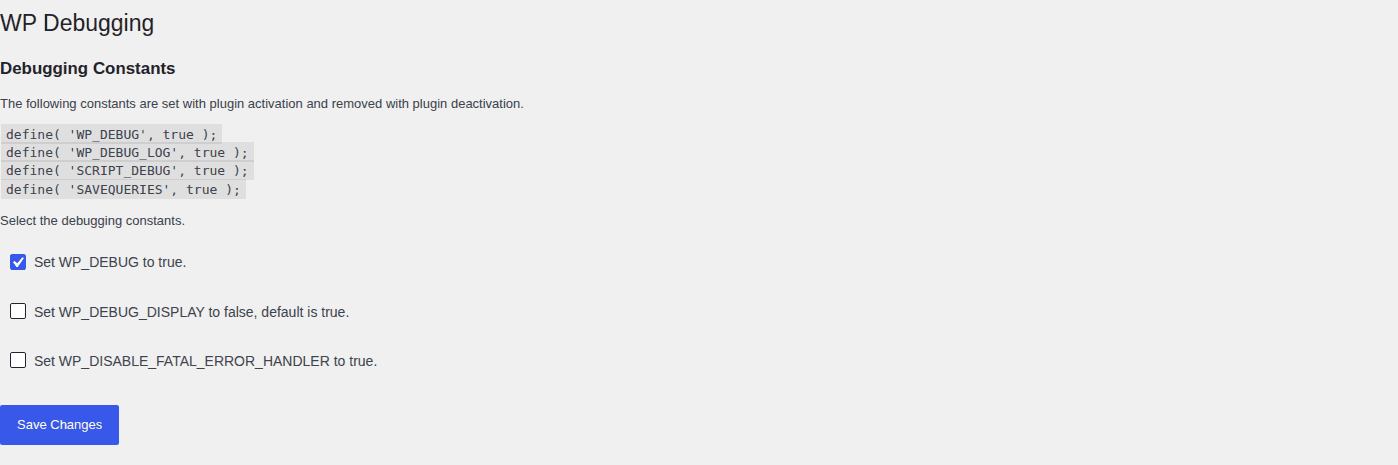
I like debug plugins for short investigations. I don’t like leaving them active after the issue is solved.
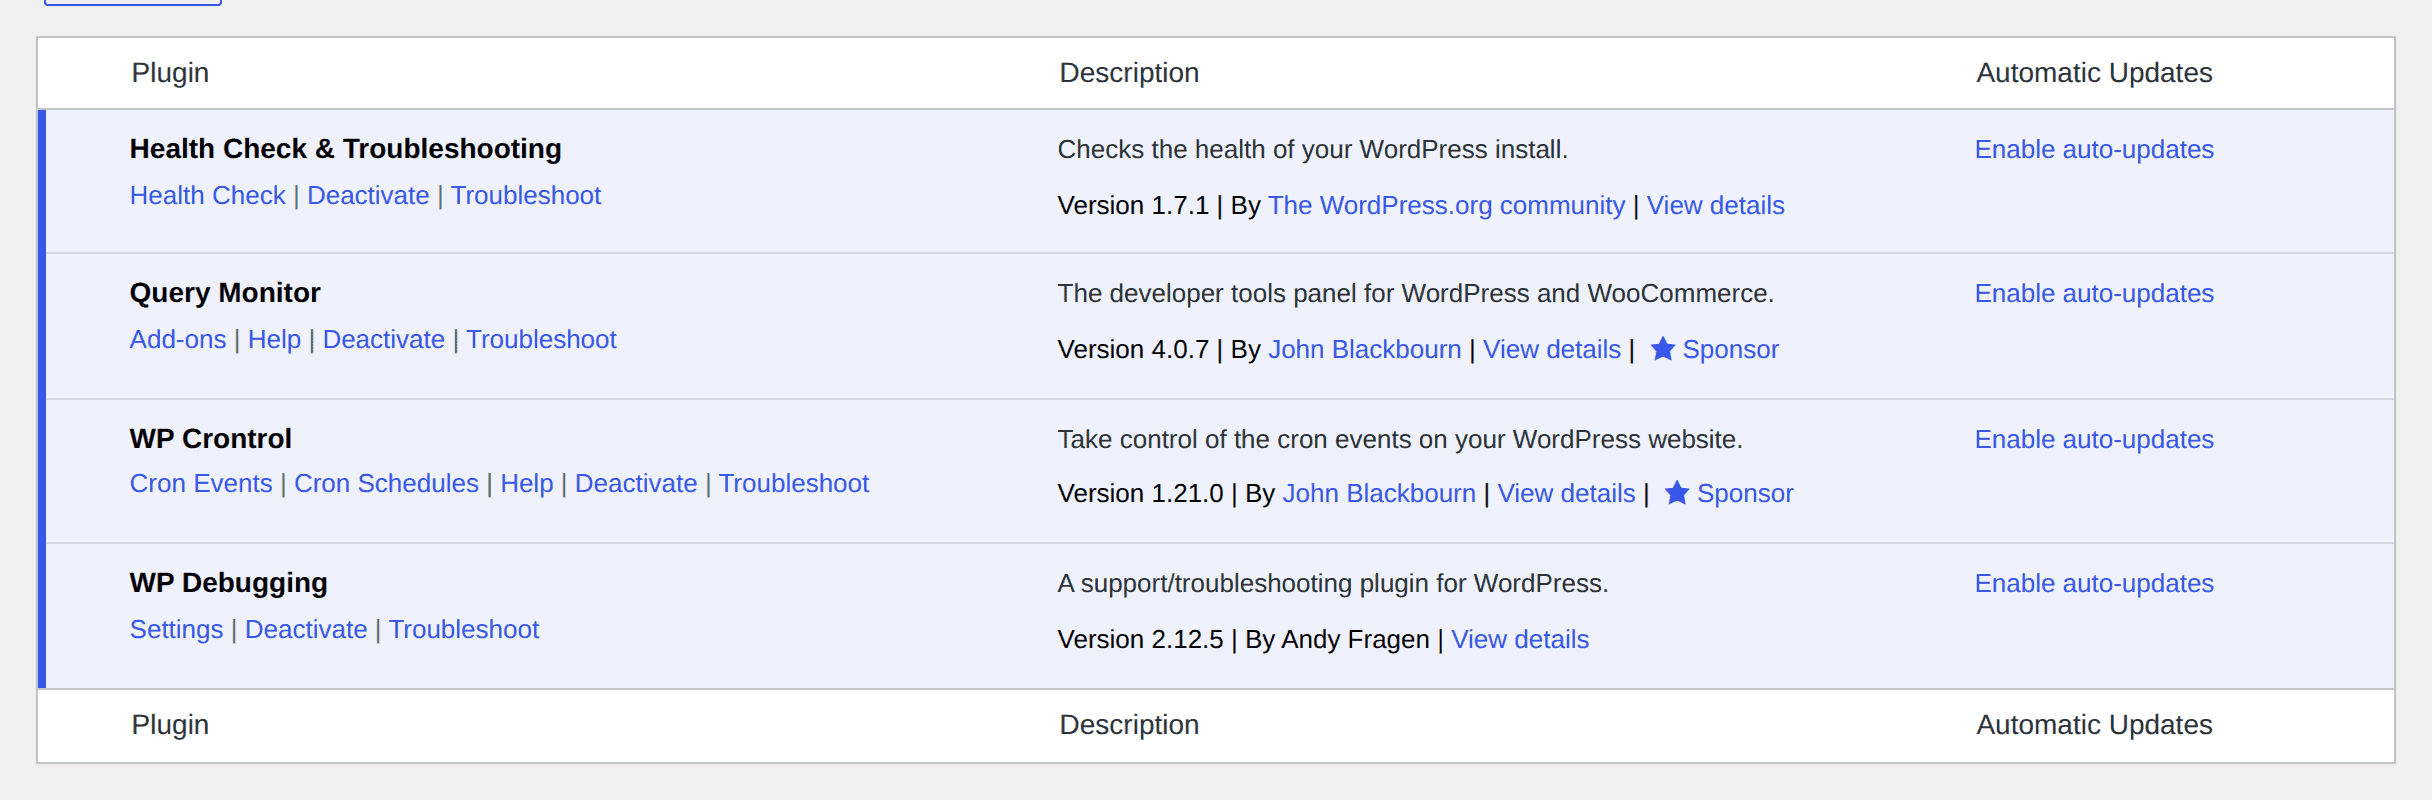
Choose the matching tool
WP_DEBUG is mainly for PHP errors. If the symptom points somewhere else, use the right tool sooner.
| Problem you see | Tool to use |
|---|---|
| PHP error, white screen, warning, deprecated notice | WP_DEBUG and WP_DEBUG_LOG |
| Slow admin page, database query issue, block editor problem | Query Monitor |
| Theme or plugin conflict | Health Check & Troubleshooting on a test site |
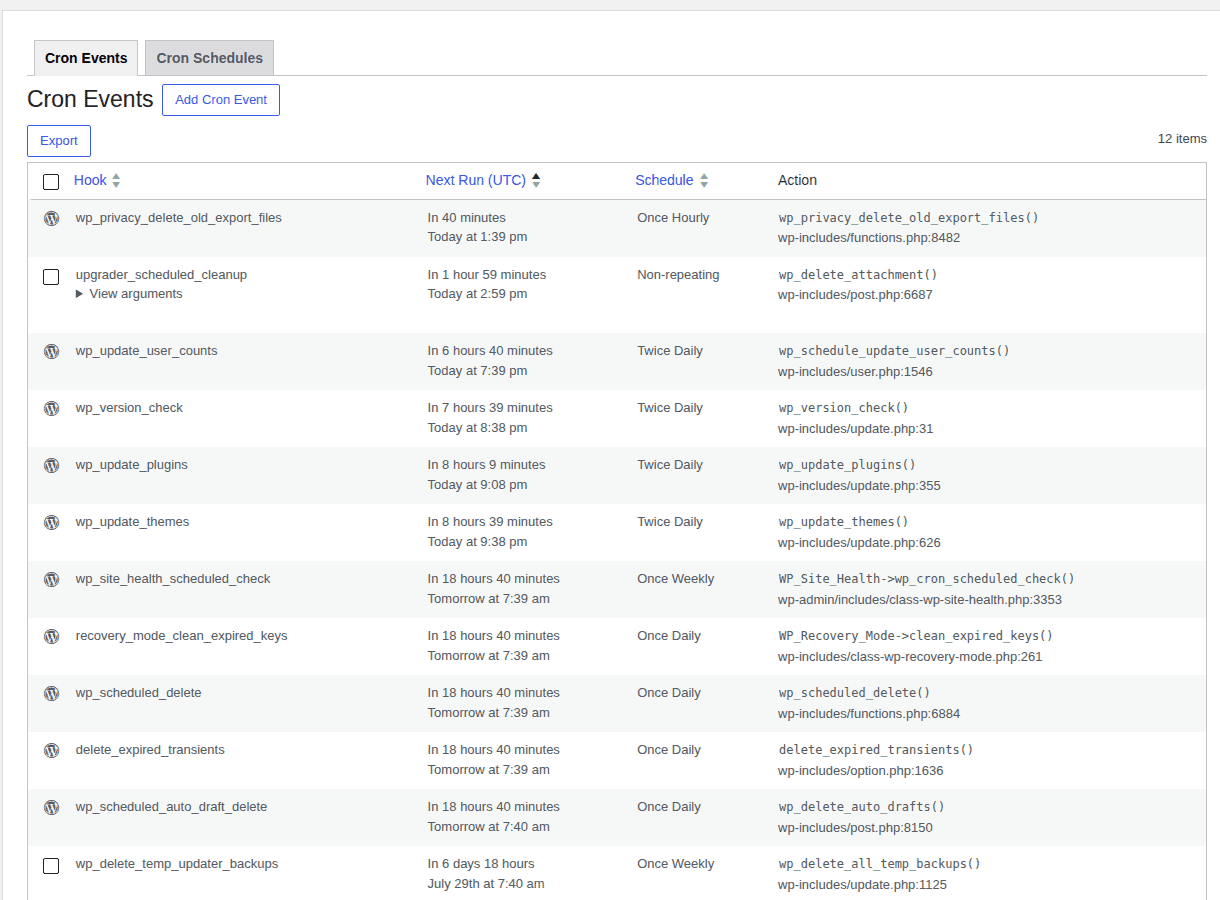
| Missed scheduled posts or background jobs | WP Crontrol or Advanced Cron Manager |
| Broken button, failed AJAX request, missing script | Browser console and network tab |
| Custom plugin or theme development | Xdebug, a developer tool that lets you pause PHP code and inspect what is happening |
Two extra WordPress settings are worth knowing, though you won’t need them for most broken pages.
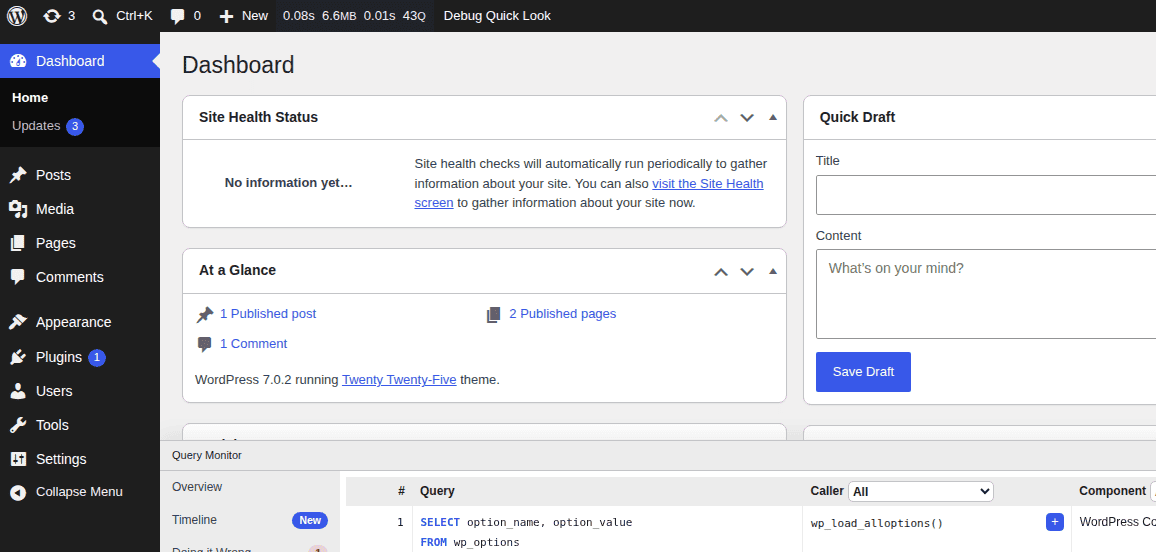
- SCRIPT_DEBUG loads uncompressed WordPress core scripts and styles. Use it when you’re debugging WordPress JavaScript or CSS files.
- SAVEQUERIES stores database query details for each request. It can slow the site, so use it briefly on staging and turn it off. If a developer asks you to enable it, ask when they want it disabled too.
Turn debug mode off
When you have the evidence you need, clean up.
- Switch debug mode off: Set WP_DEBUG back to false.
- Disable the extra debug switches: Remove the added lines or set WP_DEBUG_LOG and WP_DEBUG_DISPLAY to false.
- Remove advanced settings: Turn off SCRIPT_DEBUG and SAVEQUERIES if you used them.
- Handle the log file: Save it if a developer or host needs it, then delete it or move logging to a protected location.
- Check plugin cleanup: If you used a debug plugin, confirm it removed or disabled the settings it changed.
A calm debugging order
- Make recovery easy before touching files: Create a backup and save a copy of wp-config.php.
- Keep the investigation off customer-facing pages: Use staging for busy sites, revenue pages, and anything customers are using right now.
- Turn on private logging: Enable WP_DEBUG with log writing on, and keep public display off.
- Reproduce the exact failure: Repeat the action that created the error.
- Read the freshest matching entry: Focus on severity, message, file path, and line number.
- Test the smallest likely fix: Update, roll back, deactivate, undo custom code, or contact the host based on what the log shows.
- Close the loop after the fix: Turn debugging off and remove or protect the log.
That’s the habit worth building. The settings matter, but the loop keeps you out of guesswork.
Conclusion
WordPress debug mode works best when you use it to gather evidence before you repair anything. Turn it on carefully, reproduce the problem, read the newest relevant log entry, and let the file path guide your next move. You’ll fix more issues that way, and you’ll break fewer things while trying.
Keep the safety steps even when the fix looks obvious. Start with a backup, use a test copy when possible, hide public errors, and shut debugging down after the test. That’s the difference between a controlled investigation and a live-site mess.
FAQ
What is debugging in WordPress?
Debugging in WordPress means finding why the site broke and fixing the right cause. The source may be core WordPress, an add-on, the active design layer, a code snippet, PHP settings, or the server. Debug mode shows hidden WordPress messages and helps you trace where the failure started.
How do I enable debug mode in WordPress?
Edit wp-config.php, set WP_DEBUG and WP_DEBUG_LOG to true, and set WP_DEBUG_DISPLAY to false. Add the settings before WordPress’ stop-editing comment, then repeat the failed action.
Where is the WordPress debug log?
The default location is wp-content/debug.log. It may not appear until logging is enabled and the problem happens again.
Should I show WordPress errors on a live site?
No. Showing errors on a live site can expose private setup details and scare visitors. Use log files instead.
Why is WordPress not creating debug.log?
The usual reasons are disabled WP_DEBUG, disabled WP_DEBUG_LOG, misplaced code, no fresh error after logging was enabled, file permissions, a bad custom path, or host-level logging that sends PHP errors somewhere else.

Shivani enjoys crafting guides that make every aspect of using WordPress simple and easy to follow. When she's not glued to her laptop, you can find her buried in a good book or occasionally, painting.