After you’ve installed your WordPress site, you might realize the language isn’t right. Maybe you:
- Chose the wrong language when first setting up your site.
- Are handing the finished site over to a new client.
- Inherited a project set in a language you don’t speak.
- Want your audience to access your site in their language.
Each scenario requires a different fix. This guide shows you exactly how to change WordPress language based on your specific goal.
To change your WordPress language, use the main settings for a site-wide switch, edit a user profile for a single admin, or install a translation plugin for a multilingual audience. Before you start, always have a recent backup from a plugin to quickly fix potential mishaps.
What do you need before getting started?
Before making any changes, a little preparation is essential. Taking a few moments now can prevent significant issues later:
- Administrator access. You must have an admin role for your WordPress site. Other roles like Editor or Author don’t have the necessary permissions for these system-wide settings.
- A complete site backup. If a setting change causes an unexpected issue, a recent backup is the fastest way to restore your site. Always have one before you proceed.
- Knowledge of your theme’s support. Check if your theme is fully translated into your target language. A good tip is to look at the theme’s description or reviews; users often mention translation quality.
- Confirmation from your host. In rare cases, hosting providers have region-specific configurations. A quick check with their support can confirm there are no language restrictions.
A) How to change the WordPress site language
This is the global switch. Use this method when you want to change the entire site’s language for every visitor and every user. Be aware that this changes everything, from your dashboard to the Leave a Comment text on your posts.
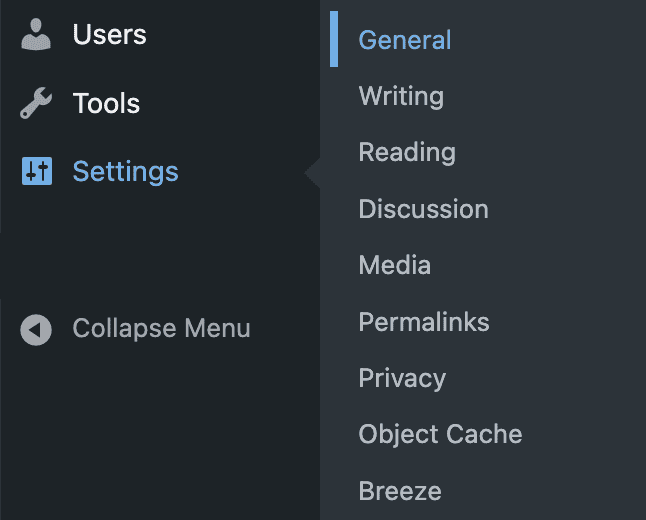
Log in to your WordPress administrator dashboard. In the left menu, navigate to Settings > General.
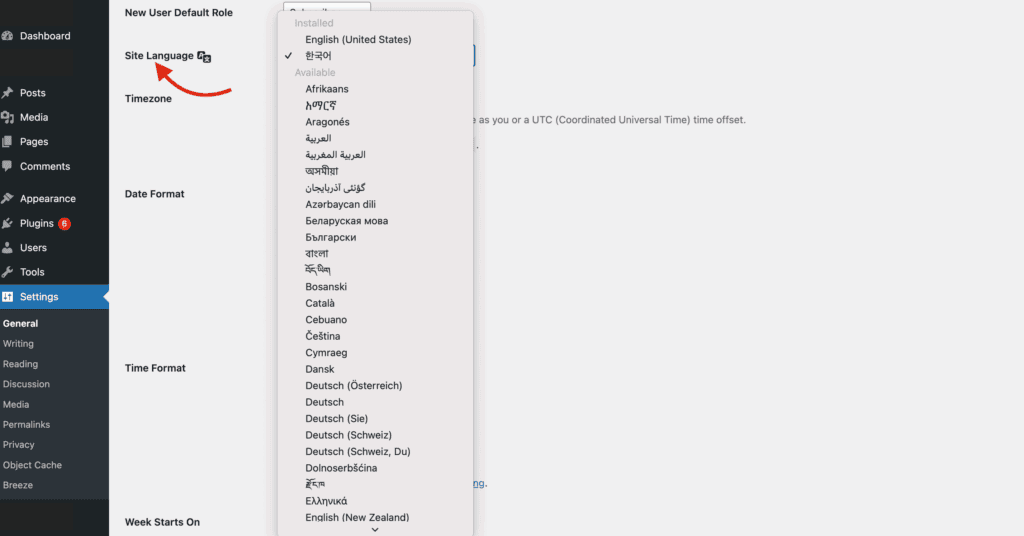
Look for the dropdown menu labeled Site Language. Scroll and select your target language. If you don’t see it, go to Dashboard > Updates. At the bottom, there is usually an option to install new translation files.
Click the Save Changes button at the bottom of the page.
Finally, open your website in a new browser tab to verify the frontend changes are active.
B) How to change a user’s dashboard language
This setting is perfect for teams. It changes the admin dashboard language for only one specific user, leaving the public-facing website completely untouched.
This is extremely helpful for multilingual teams where everyone has a different working preference.
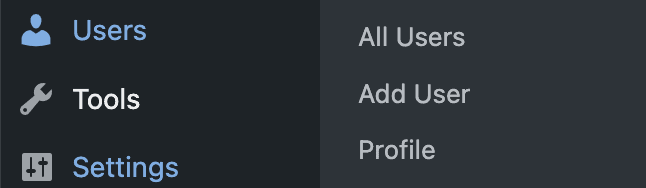
- To change your own language, navigate to Users > Profile.
- To change it for another user (as an admin), go to Users > All Users and click Edit under their username.
Inside the user profile, the steps are simple:

Find the Language dropdown menu. Select the desired language for that user’s dashboard. Once done, click the Update Profile button at the bottom of your page to save the setting.
The change is instant for that user. It does not alter the site’s frontend language for visitors in any way.
C) Turn your site into a multilingual site
If your goal is to let visitors switch between languages, you need a different approach. The built-in WordPress settings can’t manage multiple languages for your content. For that, you must use a translation plugin.
This method is for translating your actual content, like posts and pages, not just the interface text.
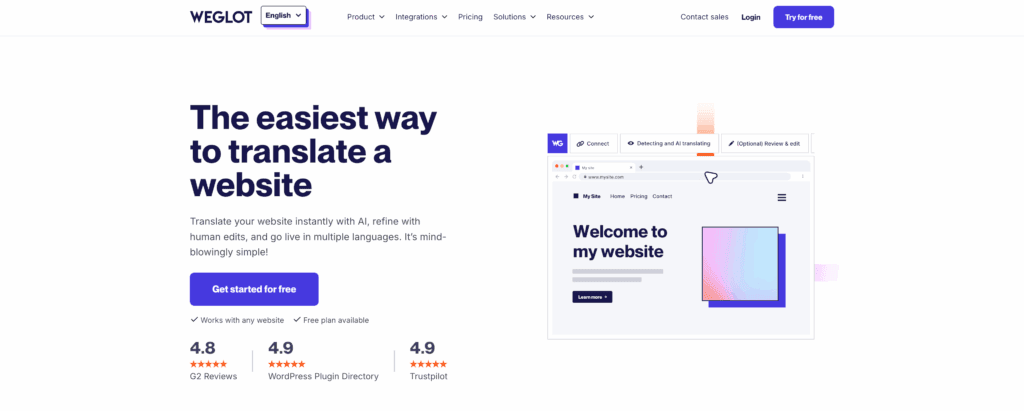
First, install a multilingual plugin. Well-regarded options include Polylang and WPML, but for its ease of use and comprehensive approach, we recommend Weglot.
After installing and activating your chosen plugin, follow its setup wizard to add your required languages and set a primary default language.
Configure a language switcher, which lets visitors choose their language.
A key benefit is that these plugins also handle SEO by creating unique URL structures for each language, which is critical for search engines.
The differences and how to choose
Feeling unsure? This table breaks down which method to use and when. It’s the fastest way to find your solution.
| Feature | Change Site Language | Change User Language | Multilingual Site (Plugin) |
| Scope | Entire website (frontend & backend) | Individual user’s admin dashboard only | Frontend content for all visitors |
| Translation | Default WordPress text is translated | Dashboard UI is translated for user | Your custom content is translated |
| Requires Plugin? | No, it’s a built-in feature | No, it’s a built-in feature | Yes, external plugin is required |
| Best For | Single language websites | Multilingual admin teams | Sites targeting a global audience |
WordPress change language troubleshooting
Even when you follow the steps, things can go wrong. Don’t worry, most issues are common and have a straightforward fix. Here are the problems we see most often and exactly how to solve them.
My site shows a mix of the new and old language.
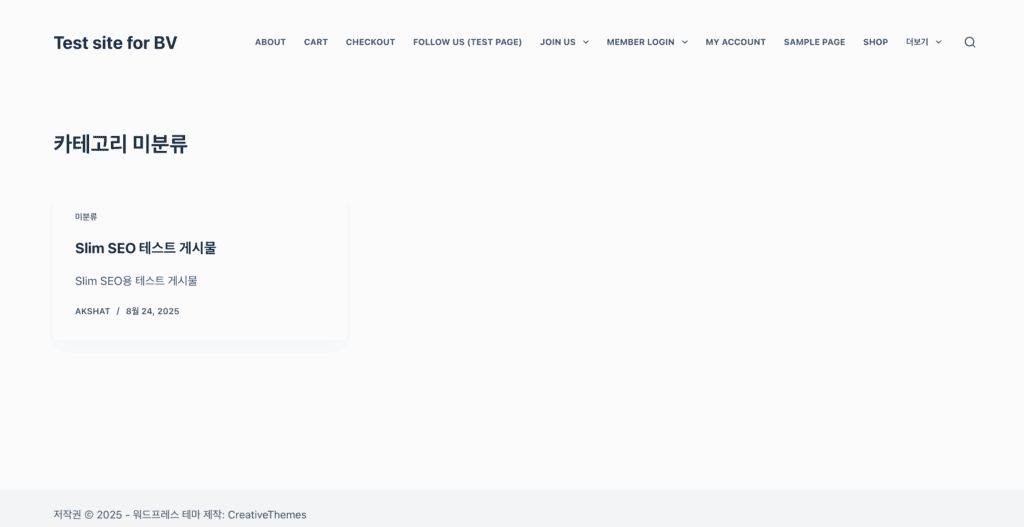
Why it happens: This is almost always caused by one of two things: caching, or an incompletely translated theme or plugin.
I can’t read the dashboard to change it back!
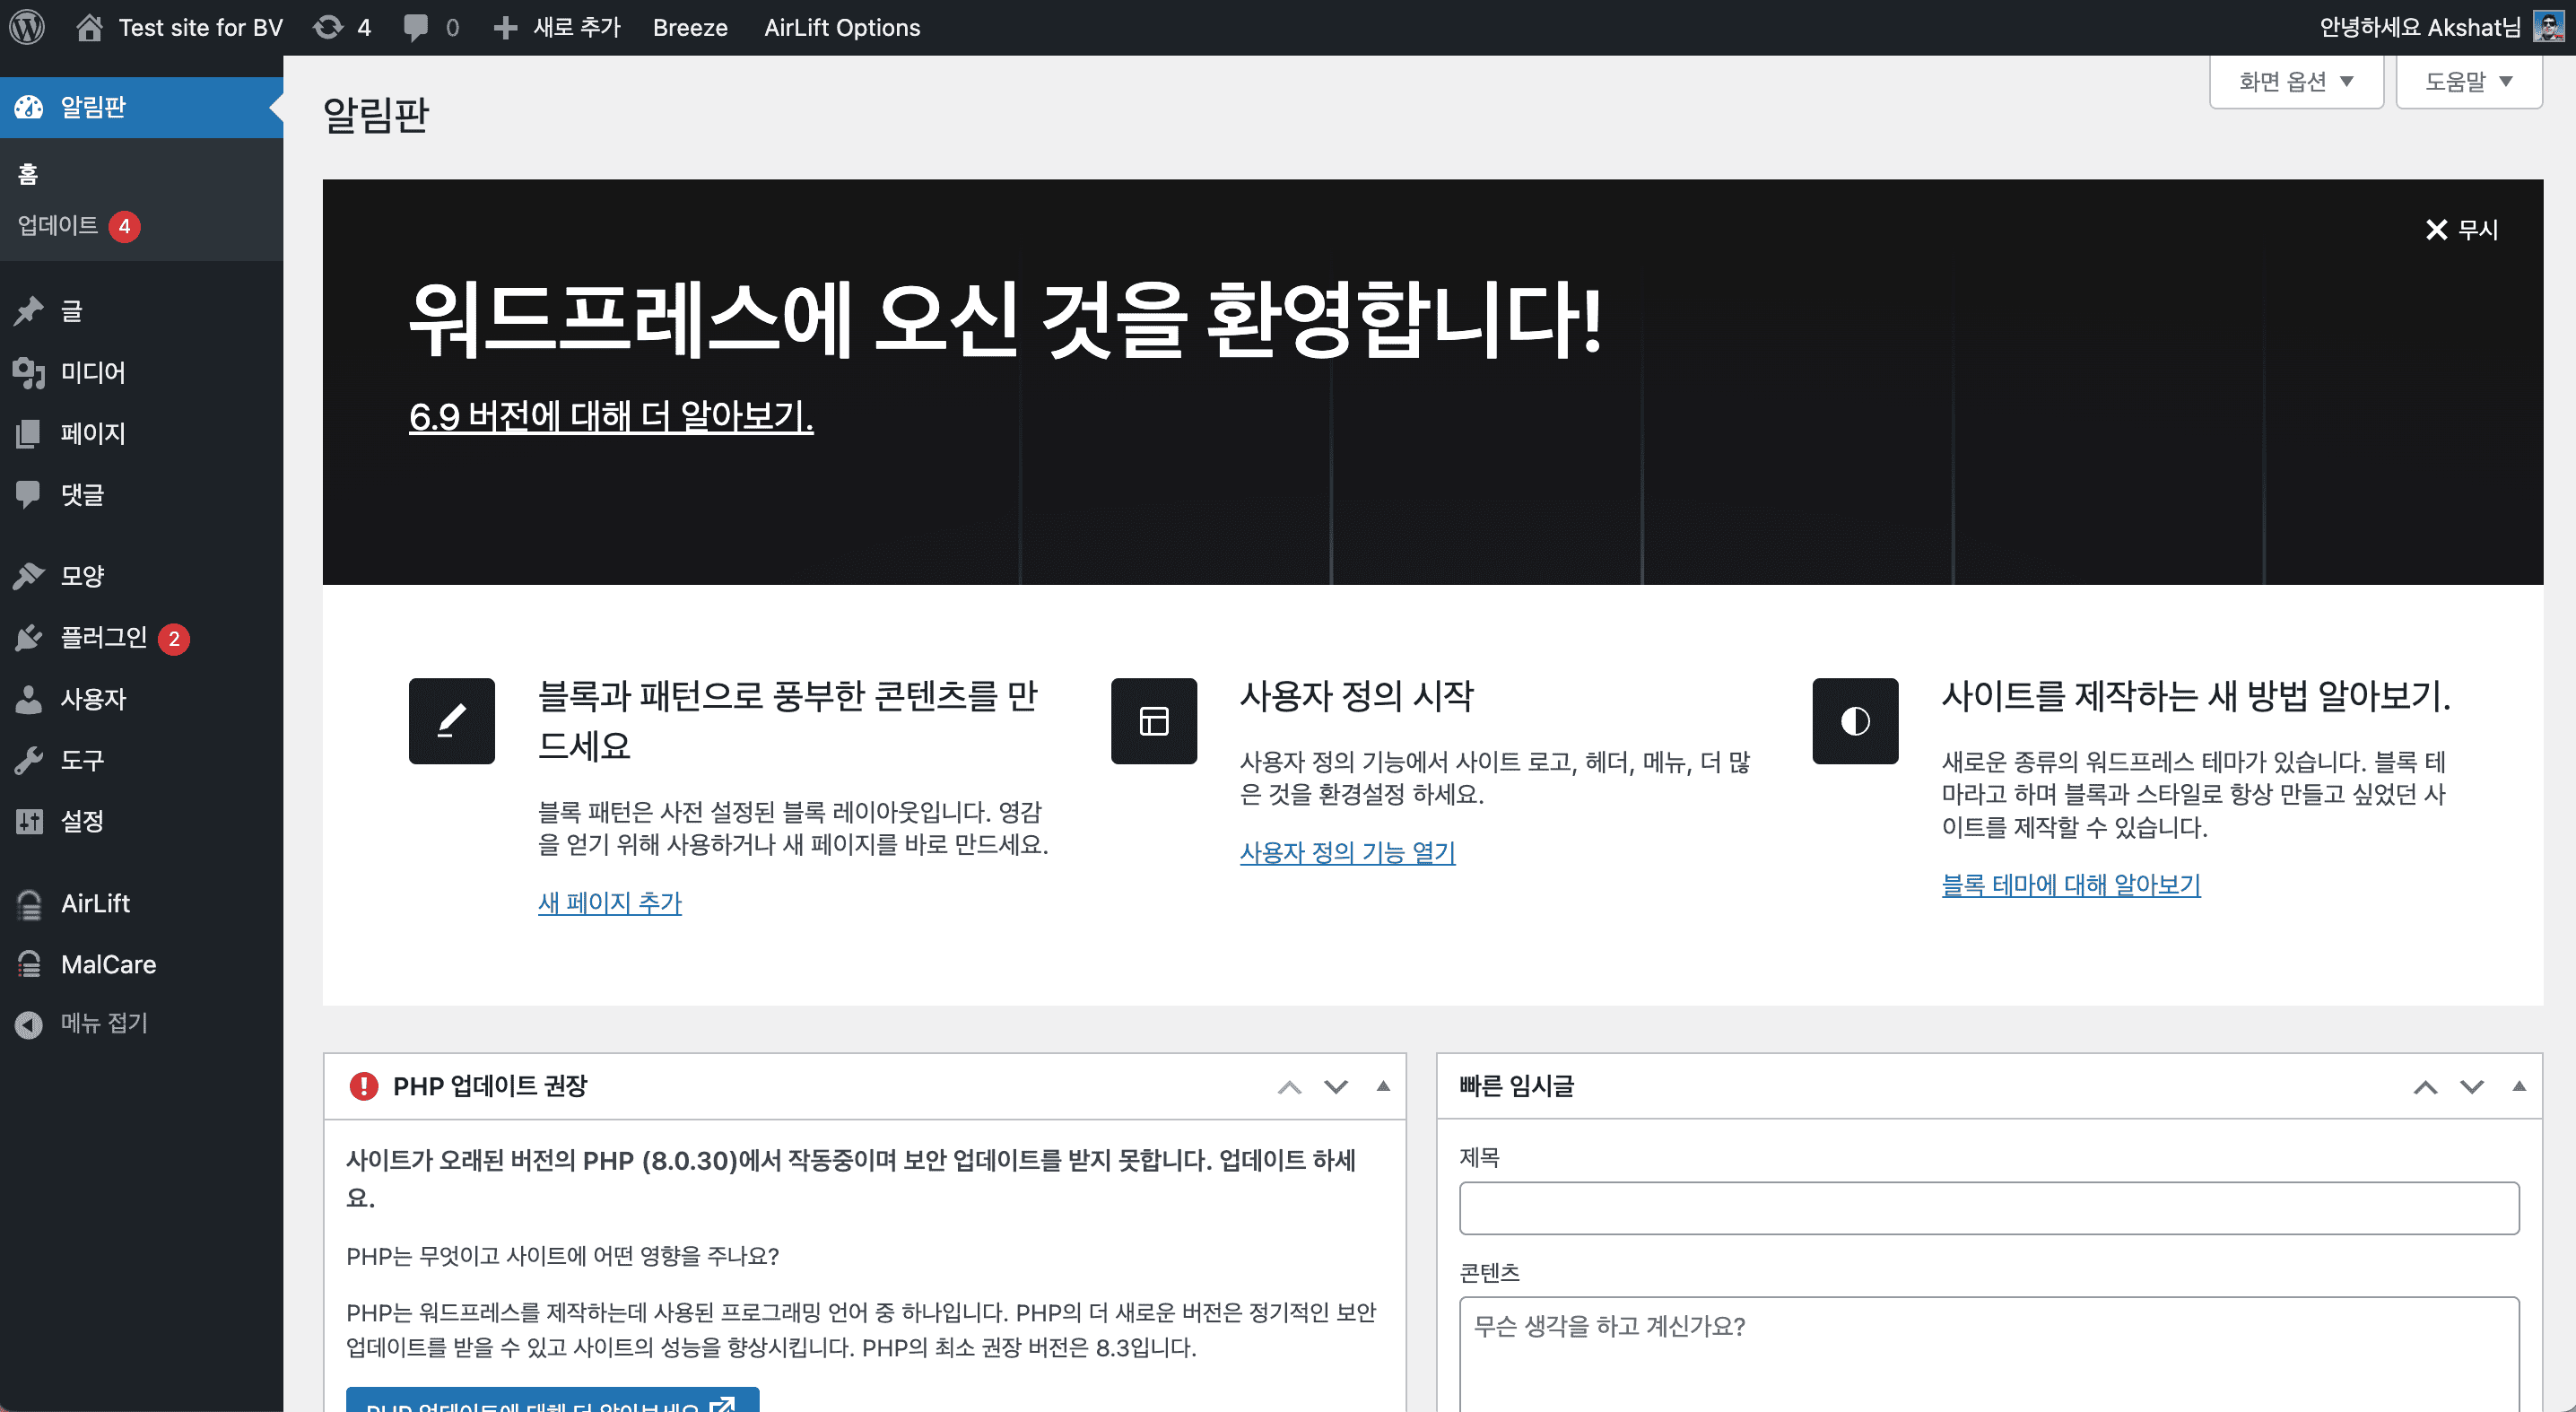
Why it happens: You’ve accidentally switched to a language you don’t understand and are now stuck.
The main menu looks broken or wraps onto two lines.
Why it happens: Translated words are often longer than their English counterparts (for example, “Shop” vs. “Boutique”). This increased length can break the design of a tightly-spaced menu.
Parting thoughts
As we established at the start, the right method depends entirely on your why. For a single-language site, use the native settings for a clean solution. If you’re building for a global audience, a dedicated translation plugin is essential. Just remember this doesn’t translate your actual content. Always test your site thoroughly after making global changes.
FAQs
How do I change the default site language in WordPress?
You can change the default site language by navigating to Settings > General and selecting your choice from the Site Language dropdown. This action changes the language for all users and visitors across your entire website.
Can I change the WordPress admin language for just one user?
Yes, you can change the admin language by editing an individual’s profile under Users > Profile and selecting their preference. This setting only affects that specific user’s dashboard and does not change the public-facing site.
How do I translate my actual website content into multiple languages?
To translate your content, you must install and configure a dedicated multilingual plugin like TranslatePress. These plugins provide the structure for you to then manually add translations for your posts and pages.
What should I do if my language is not in the dropdown menu?
If your language is missing, go to your Dashboard > Updates page and click the button to install the available translation files. After the installation, the new language will appear in the Site Language dropdown.
Will changing the site language translate my blog posts?
No, changing the site language does not automatically translate any of your custom content, like posts or pages. It only translates the default theme and WordPress interface text, such as Read More or Comments.
How do I add a language switcher to my WordPress site?
A language switcher is a feature that comes with multilingual plugins, not a default WordPress feature. You can typically add it to your site’s menu or as a widget from the plugin’s settings page.
Why is my WordPress dashboard still in English after changing the language?
Your dashboard is likely still in English because your individual user profile has a language preference set that overrides the main site setting. You can change this by going to Users > Profile and updating the Language dropdown.

Shivani enjoys crafting guides that make every aspect of using WordPress simple and easy to follow. When she's not glued to her laptop, you can find her buried in a good book or occasionally, painting.