Launching a WordPress site is stressful because the biggest problems are often small settings. A contact form says “sent” but no email arrives. A store still uses test payments. A redesign looks finished, but Google is blocked by a noindex setting.
That is why a wordpress launch checklist needs an order, not just more boxes to tick. Start by backing up your WordPress site, then test what visitors and search engines will actually use.
Use this WordPress launch checklist to choose and verify your WordPress backup plugin, then check staging, content, forms, SEO, speed, security, and launch-day settings before your site goes public. Start with a restorable backup and a staging test, then run the live-site checks again after launch.
The safest launch sequence is: protect the site, test the site, publish the site, then watch the site under real use.
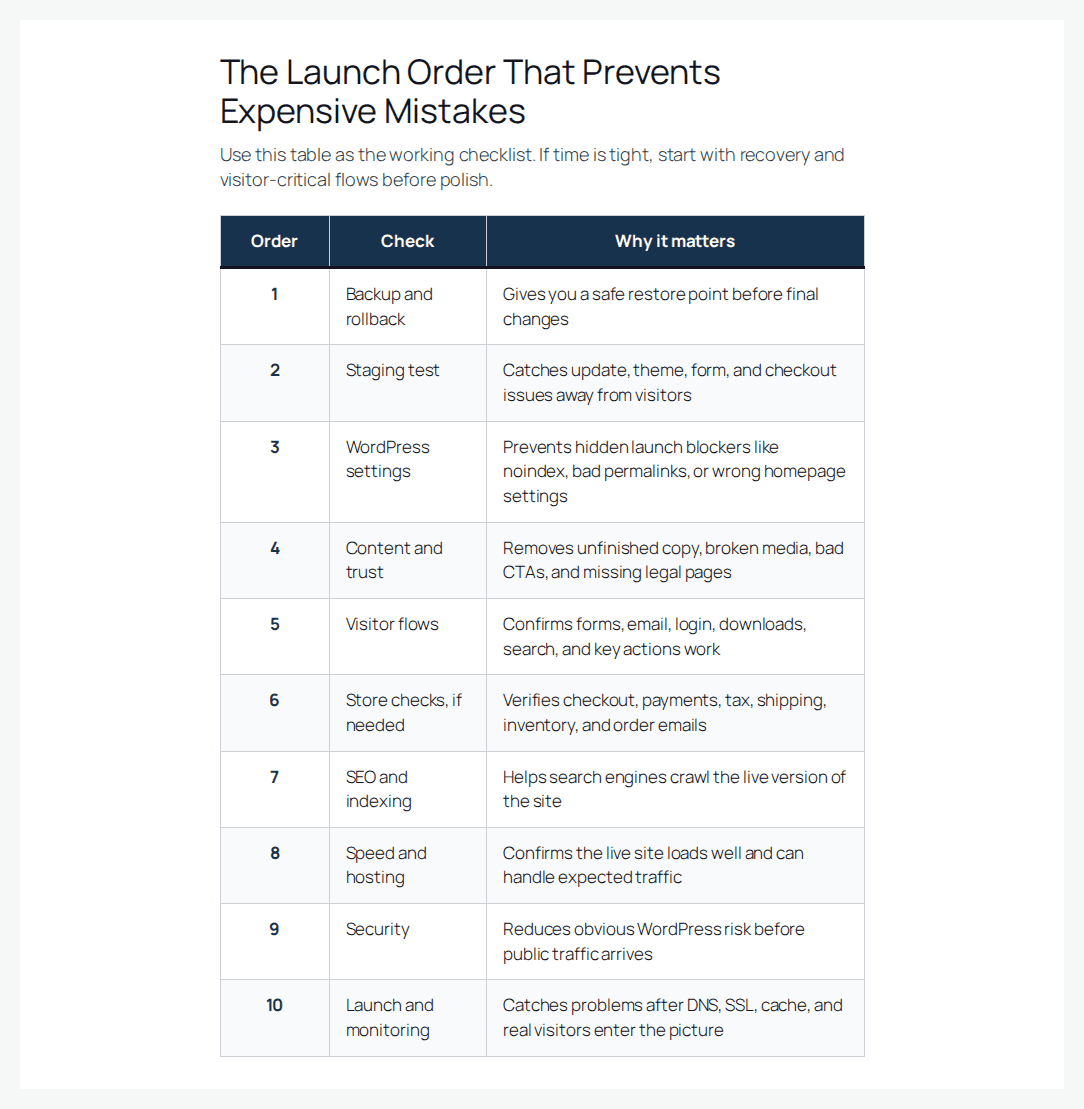
Ideal Launch Order
Use this table as the working checklist. If time is tight, do not start with polish. Start with anything that helps you recover or protects a visitor-critical flow.
| Order | Check | Why it matters |
|---|---|---|
| 1 | Backup and rollback | Gives you a safe restore point before final changes |
| 2 | Staging test | Catches update, theme, form, and checkout issues away from visitors |
| 3 | WordPress settings | Prevents hidden launch blockers like noindex, bad permalinks, or wrong homepage settings |
| 4 | Content and trust | Removes unfinished copy, broken media, bad CTAs, and missing legal pages |
| 5 | Visitor flows | Confirms forms, email, login, downloads, search, and key actions work |
| 6 | Store checks, if needed | Verifies checkout, payments, tax, shipping, inventory, and order emails |
| 7 | SEO and indexing | Helps search engines crawl the live version of the site |
| 8 | Speed and hosting | Confirms the live site loads well and can handle expected traffic |
| 9 | Security | Reduces obvious WordPress risk before public traffic arrives |
| 10 | Launch and monitoring | Catches problems after DNS, SSL, cache, and real visitors enter the picture |
The table is deliberately ordered by risk. A typo is embarrassing. A failed restore, broken checkout, blocked indexing setting, or cached account page can cost money and trust.
1. Create A Safety Net
Do this before updates, migrations, DNS changes, or removing maintenance mode. A launch without a tested restore point is a gamble.
Check these first:
- Before anything else, back up your WordPress site with the database, uploads, themes, plugins, custom code, and configuration files included.
- Store the backup off-site, not only on the same server.
- Test that the backup can restore on staging or another safe copy.
- Decide who can pause the launch and roll back.
- Write down rollback triggers, such as checkout failure, fatal errors, or forms not sending leads.
The mistake is treating a backup file as proof of safety. It is not. The safety net is the ability to restore WordPress from a backup quickly. BlogVault fits this part of the launch because it handles off-site backups, staging, test restores, and rollback from one workflow. Use it as launch insurance, not as a replacement for checking the site.
2. Test Changes On Staging
Staging is where you find breakage before visitors do. Use a recent copy of the site, especially if the live site already has orders, leads, comments, memberships, or new posts. Run final updates on staging first:
- WordPress core
- plugins
- themes
- page builder changes
- checkout or form plugin changes
- custom code changes
Then open the pages that matter: homepage, main landing pages, blog posts, contact page, login page, and any page that captures leads or revenue.
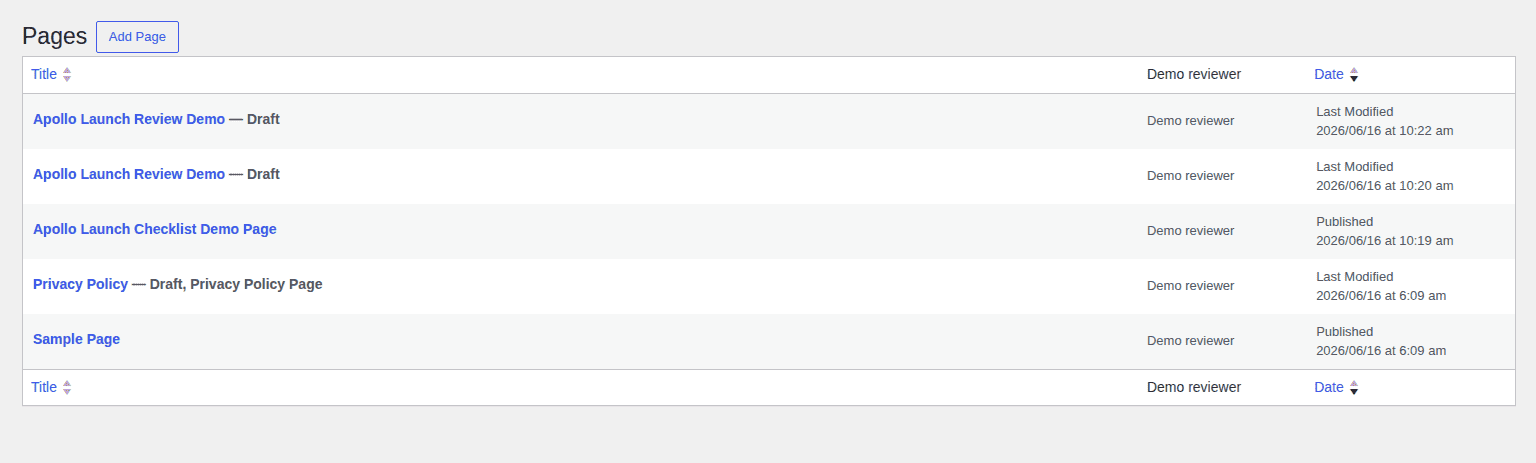
Do not test a business-critical update on production five minutes before a campaign. If you do not already have one, create a WordPress staging site before the final update round. If an update breaks the quote form or payment field, staging is a warning. Production is an incident.
3. Prepare WordPress For Traffic
Small WordPress settings can quietly block a launch. Check them before design polish.
- Go to Settings > Reading and make sure Discourage search engines from indexing this site is off.
- Head to Settings > Permalinks and confirm the final URL structure.
- Confirm the correct homepage and posts page in Settings > Reading.
- Check the site title, tagline, logo, and favicon.
- Set the admin email and timezone in Settings > General.
- Remove sample posts, placeholder pages, demo imports, and test comments.
- Delete unused plugins and themes.
- Remove staging-only users and extra admin accounts.
- Give each user the lowest role they need.
Permalinks deserve a careful look. Changing them after launch can create broken links unless you already have redirects planned. Also search for staging URLs in menus, buttons, images, canonical tags, and embedded files. A site can look live while still pointing visitors or search engines back to the test domain.
4. Review Content, Design, And Trust Signals
This is the part visitors notice first. The goal is not perfection; it is to remove anything that makes the site feel unfinished or untrustworthy.
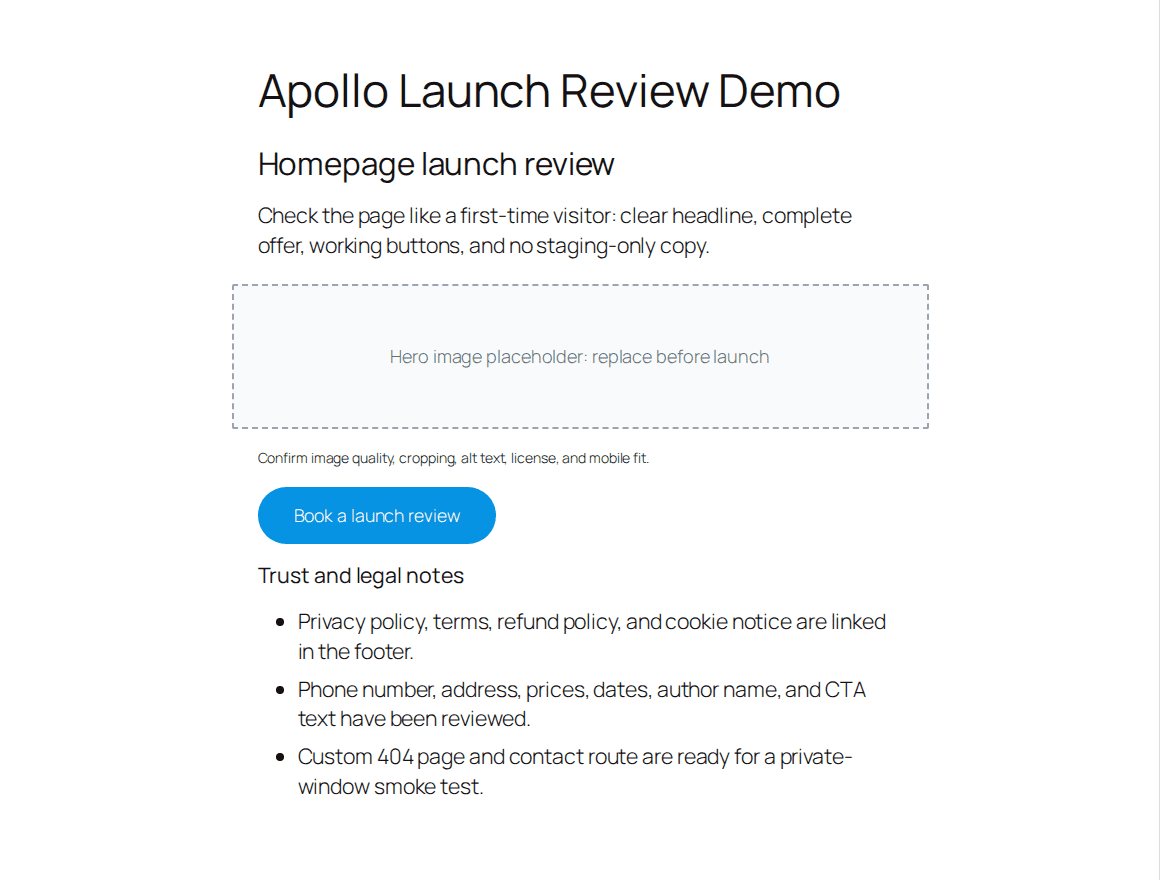
Check:
- Homepage, service pages, product pages, pricing, about, contact, and main landing pages
- Header, footer, menus, breadcrumbs, sidebars, and buttons
- Phone numbers, addresses, prices, dates, author names, and CTAs
- Image quality, cropping, compression, alt text, licenses, videos, maps, PDFs, and downloads
- Privacy policy, terms, cookie notice, refund policy, disclaimers, and custom 404 page where relevant
Use a phone and a private browser window. Admins often miss problems because they can see drafts, cached previews, or restricted files that normal visitors cannot.
For client or team launches, get a fresh reviewer. The person who built the page is usually too familiar with it to catch the last awkward headline or wrong phone number.
5. Test Every Visitor Flow
A site is not ready because the homepage loads. It is ready when visitors can complete the actions the site exists to support.
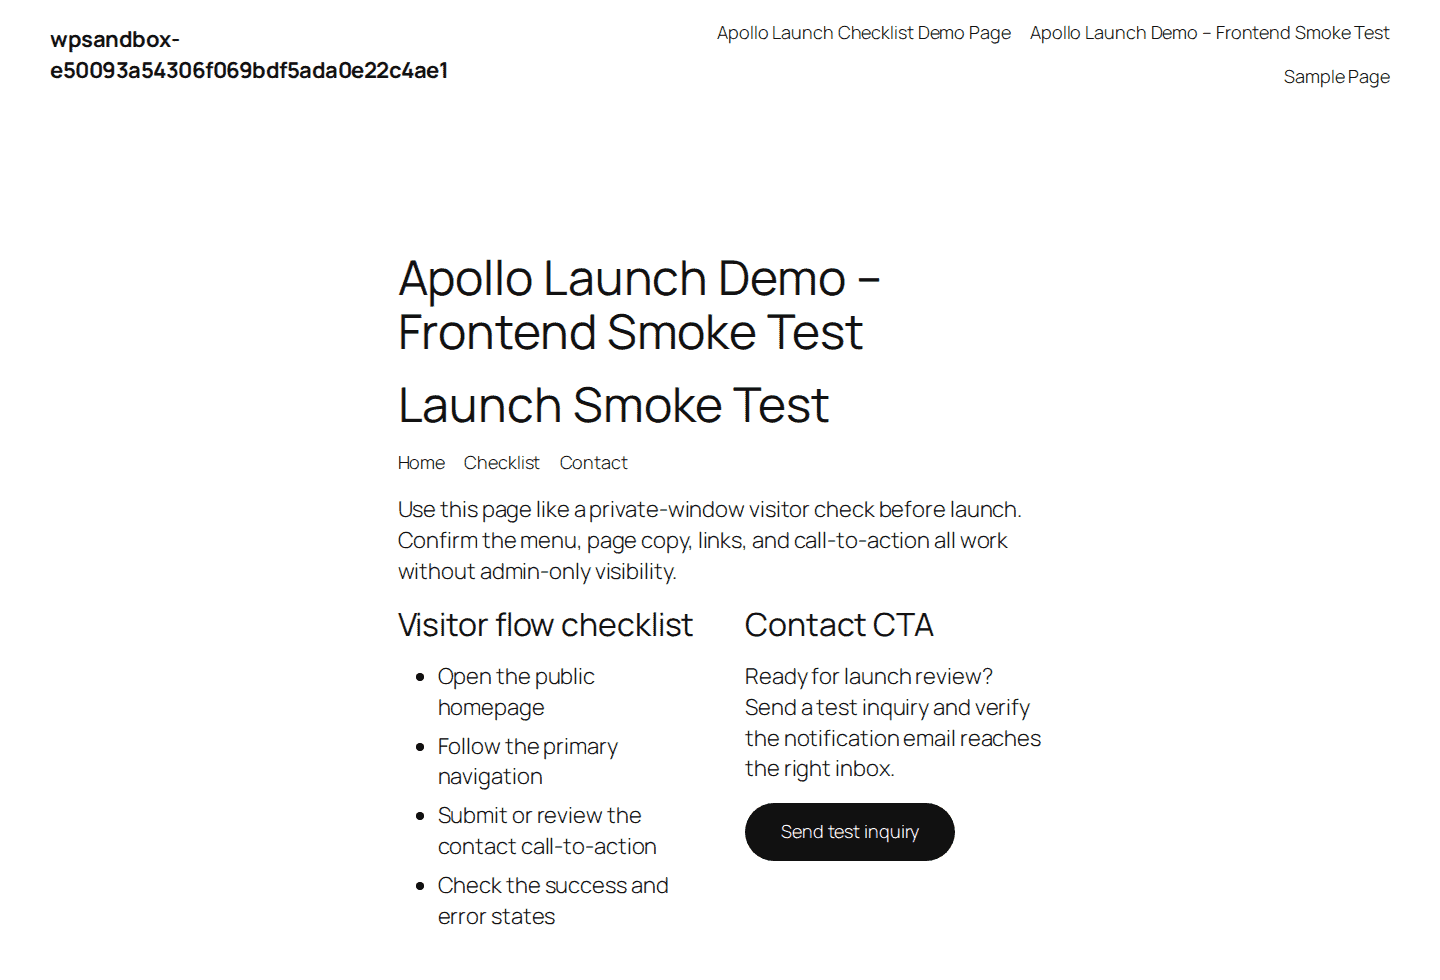
Test the common flows:
- contact forms
- quote or booking forms
- newsletter signup
- password reset
- login and logout
- account registration
- downloads
- search
- comments
- popups
- chat widgets
- maps
- social profile links
- gated content or memberships
For each form, check the success message, error messages, spam protection, thank-you page, notification email, autoresponder, and CRM or mailing-list capture.
The quiet failure is email. WordPress may say a message was sent even when it never reaches the inbox. Test admin alerts, password resets, form emails, order emails, and account emails. If WordPress is not sending emails reliably, set up SMTP before launch.
6. Add Store Checks If You Sell Something
Skip this section if the site does not sell products, bookings, courses, memberships, services, or downloads. If it does, checkout is launch-critical. A beautiful store that cannot take payment is not launched.
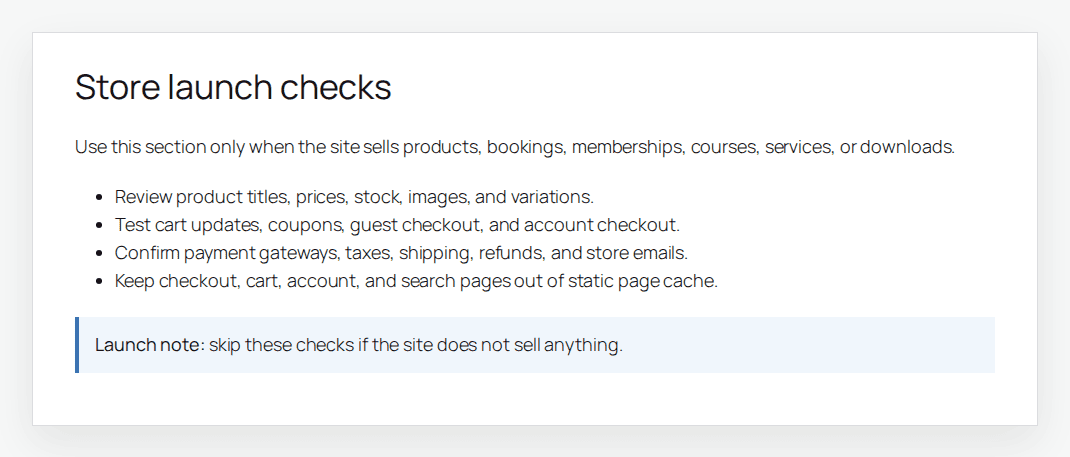
Check:
- product titles, prices, sale prices, images, variations, stock status, categories, filters, and search
- cart updates, coupons, guest checkout, account checkout, and failed payment messages
- payment gateways in live mode
- shipping zones, pickup or local delivery notes, tax rules, and fulfillment settings
- order records, customer emails, admin emails, refunds, cancellations, and inventory changes
- digital downloads, course access, license keys, or membership access
Place a low-value test order and refund it if that matches your store setup. Also make sure cart, checkout, account, and search pages are not cached like static blog posts. Those pages change per visitor. Treat WooCommerce updates like launch changes: test them on staging, confirm checkout, and keep a rollback point ready. If checkout fails, pause the launch. Fix it, restore, or roll back before sending traffic.
7. Set Up SEO And Indexing
SEO launch work is mostly about making sure search engines can find the right live pages. Check:
- noindex settings in WordPress and your SEO plugin
- robots.txt
- XML sitemap
- title tags, meta descriptions, and one main H1 on important pages
- canonical tags pointing to the live domain
- image alt text on important images
- redirects from old URLs to new URLs
- social preview titles, descriptions, and images
- Google Search Console and analytics access
A sitemap does not fix blocked crawling, noindex tags, or bad redirects. It only gives search engines a list of URLs to look at. For redesigns and migrations, test old URLs before launch day. Use permanent 301 redirects when a page has moved for good. This is where many relaunches lose traffic: the site looks new, but the old paths lead nowhere.
8. Check Speed, Caching, And Hosting
Performance can change after launch because the final domain, SSL, CDN, cache, and hosting rules are now involved.
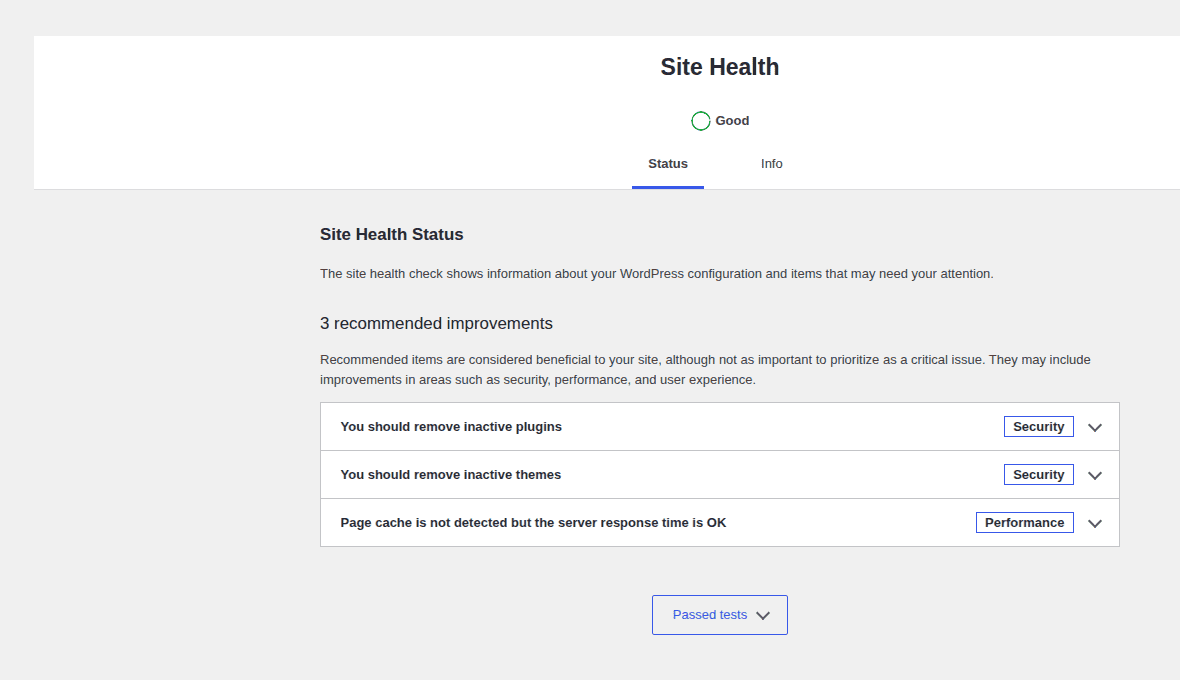
Start with the pages people actually use:
- homepage
- one key landing page
- one important blog post or content page
- product category, checkout, or search page if relevant
Compress large images, use modern formats where appropriate, enable caching carefully, and clear all cache layers after final changes. That includes plugin cache, server cache, CDN cache, and browser cache.
Then confirm HTTPS works cleanly. Mixed content means an HTTPS page is still loading some files over insecure HTTP. Browsers may warn visitors or block those files, especially when a page was loaded over HTTPS but requested an insecure file.
For larger launches, ask your host or developer to review PHP version, memory limits, workers, object cache, OPcache, slow database queries, cache purge rules, and expected traffic. Most small sites do not need a formal load test. They do need clean images, valid HTTPS, sensible caching, and a live page-speed check.
9. Lock Down Basic Security
Security should reduce obvious risk without turning launch day into panic.
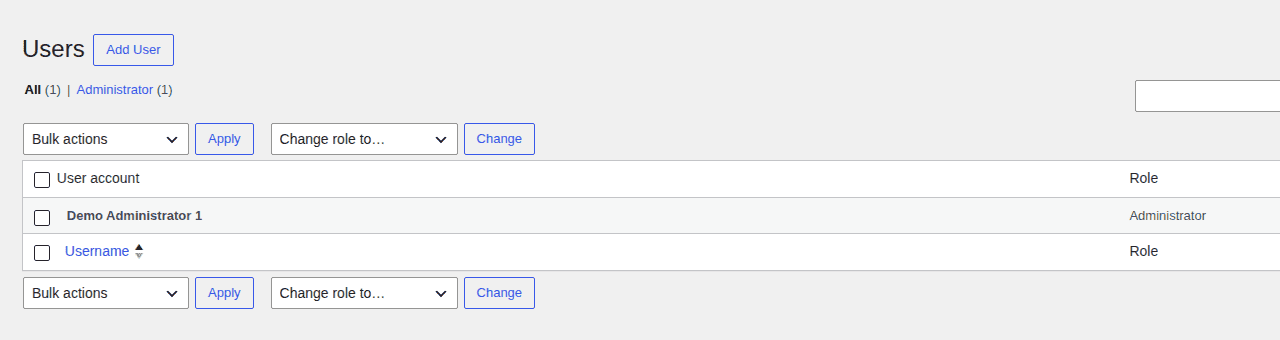
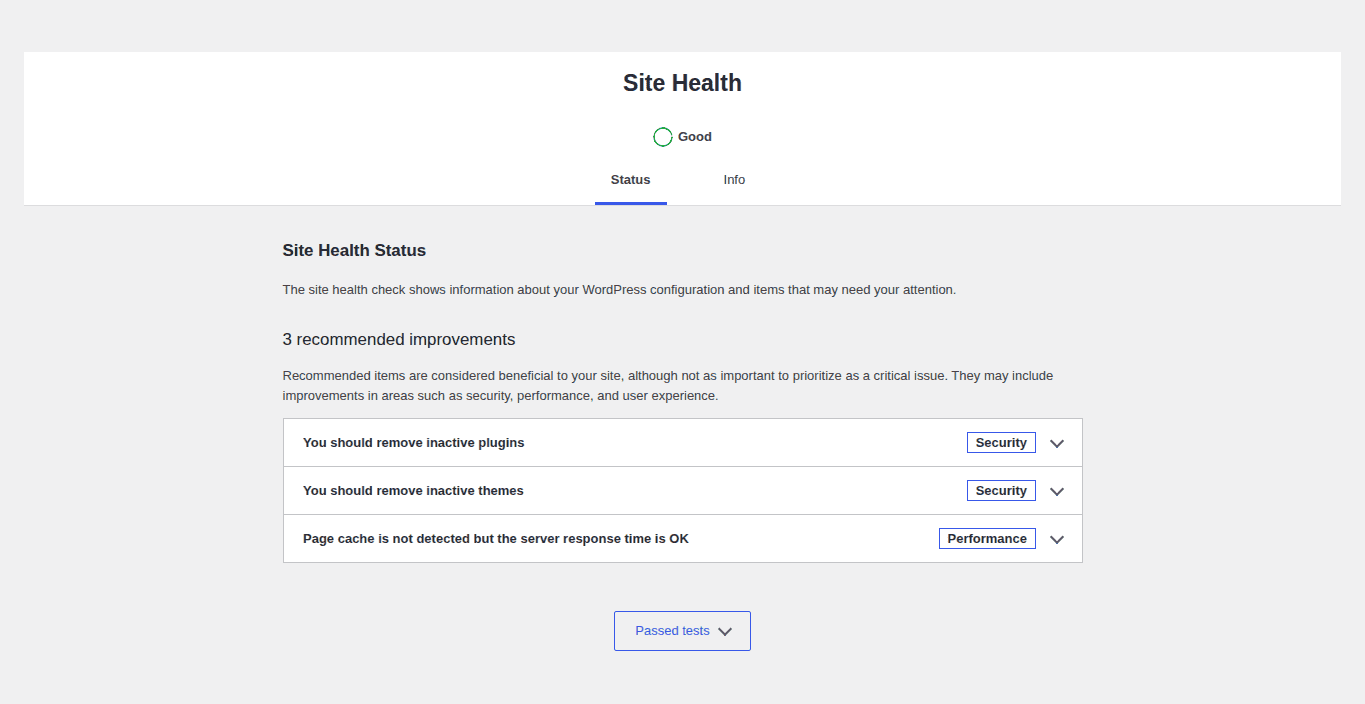
Do the beginner checks yourself:
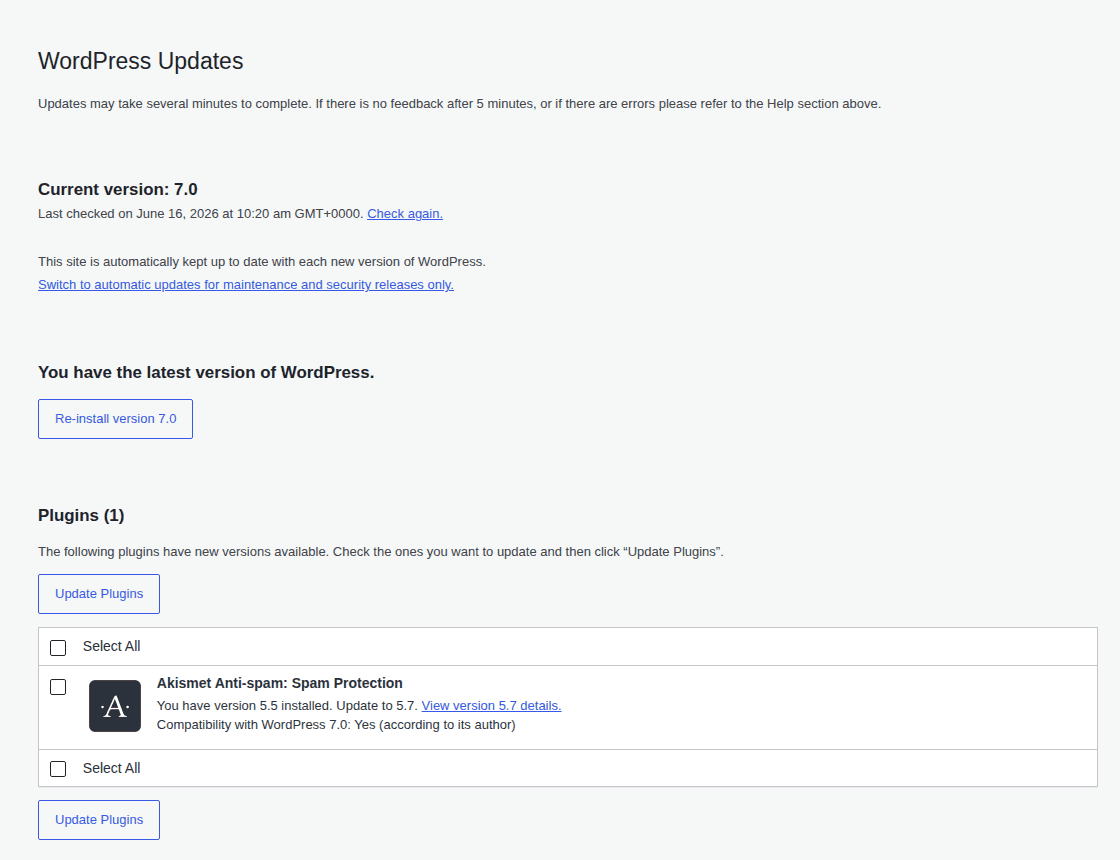
- update WordPress safely across core, plugins, and themes after backup and staging tests
- remove unused plugins and themes
- use strong passwords and unique admin usernames
- enable two-factor authentication for admins
- keep only necessary admin accounts
- add login protection, a firewall, malware scanning, vulnerability monitoring, and alerts; MalCare’s WordPress security checklist is a useful companion for this part
- hide public debug messages
Ask your host or developer about advanced hardening if the site handles payments, personal data, high traffic, or client revenue. That includes file permissions, upload restrictions, security headers, server logs, and disabling risky file editing. The practical rule is simple: remove what you do not use, restrict who can change the site, and make sure someone will see the warning if something goes wrong.
After launch, review whether automatic WordPress updates should run for low-risk patches, and keep major changes behind backup and staging checks.
10. Follow A Launch-Day Sequence
Launch day should be boring. That is the point.
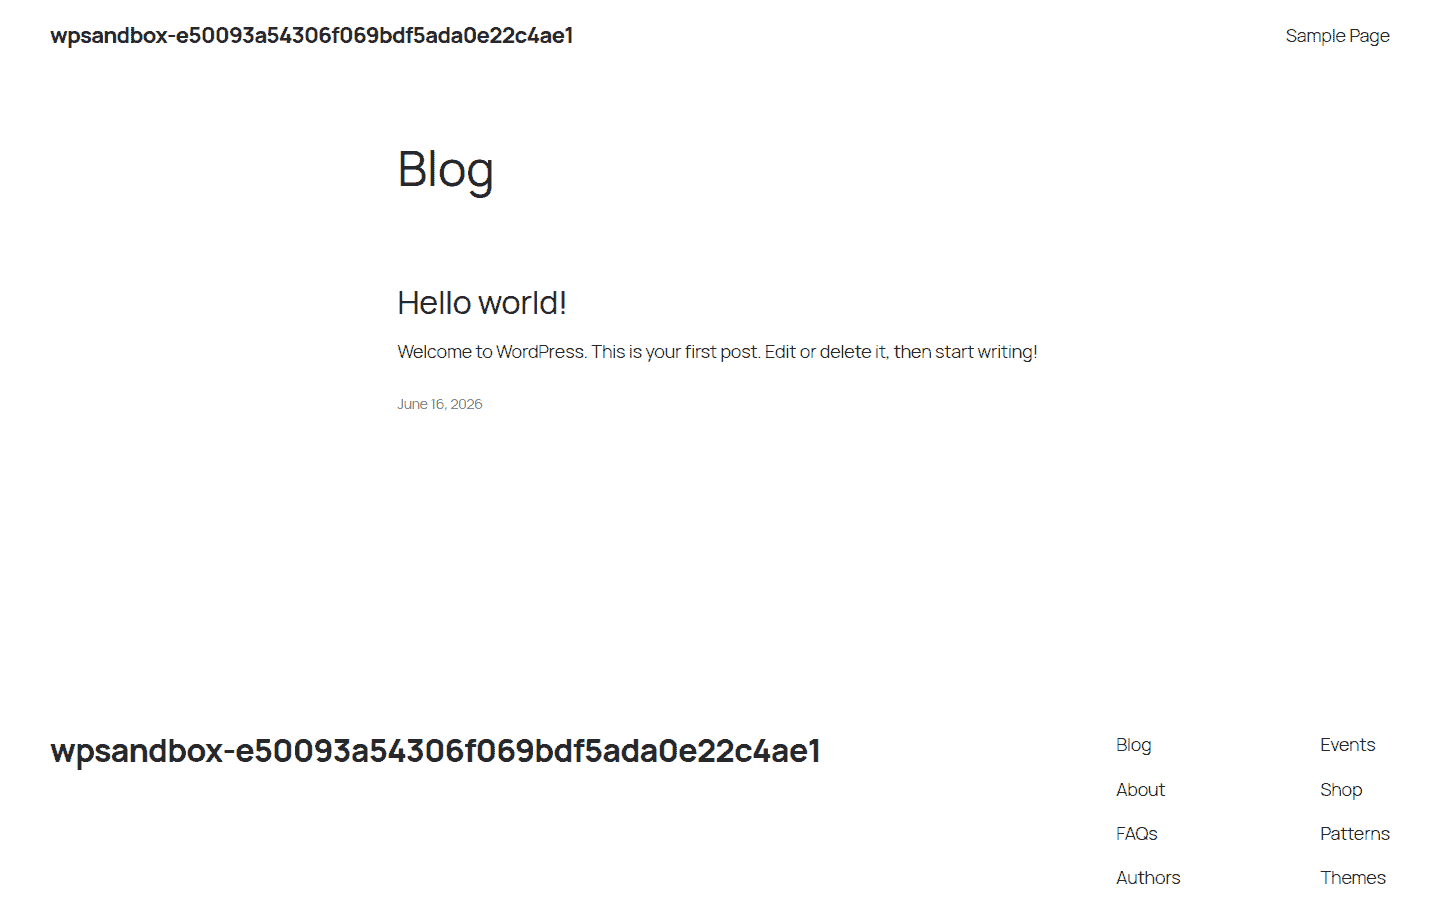
Use this order:
- Choose a low-traffic launch window.
- Take one final backup.
- Confirm DNS, domain, SSL, redirects, and staging-to-live search replacement.
- Remove coming-soon or maintenance mode.
- Clear plugin, server, CDN, and browser caches.
- Open the site in a private browser window.
- Run a live smoke test.
- Announce only after the smoke test passes.
The smoke test should include the homepage, main menu, one key page, contact form, checkout if relevant, HTTPS, analytics, sitemap, robots.txt, login, and password reset if accounts matter.
If a major flow fails, do not promote the launch. Restore or roll back first, then test again.
11. Monitor After Launch
The live site can reveal problems staging cannot: DNS delays, SSL warnings, cache behavior, email delivery, crawler access, and real visitor paths.
| Timeframe | What to check |
|---|---|
| First hour | Uptime, homepage, key pages, forms, checkout, SSL, analytics, visible errors |
| First day | Sitemap, Search Console, 404s, redirects, speed, email delivery, backups, security scan |
| First week | Traffic, conversions, feedback, logs, uptime, backup schedule, unresolved 404s, security alerts |
Watch support inboxes and form submissions closely. Visitors often find the path nobody tested: an old bookmarked URL, a mobile field bug, a missing download, or a payment option the team forgot. Keep notes on fixes made after launch. If traffic drops or leads slow down later, you will want a clear record of what changed.
What To Skip, Defer, Or Escalate
The best checklist is not the longest one. It is the one that catches hard-to-reverse and visitor-visible problems first.
- Skip ecommerce checks if the site does not sell anything.
- Defer tiny design polish if backups, forms, SEO visibility, SSL, or checkout still need attention.
- Escalate DNS changes you do not understand, SSL errors, persistent 500 errors, database errors, large redirect maps, payment failures, and server capacity questions.
If you remember only one rule, make it this: do not announce the site until the live smoke test passes.
FAQs
What is a WordPress launch checklist?
A WordPress launch checklist is an ordered set of checks you run before and after a site goes live. It covers recovery, WordPress settings, content, visitor flows, SEO, speed, security, launch-day steps, and post-launch monitoring.
What should I check first before launching a WordPress site?
Check your backup first. Make sure it includes the database, uploads, themes, plugins, and site files, then test that it can restore.
Should I use staging before launching WordPress?
Yes, if you can. Staging lets you test updates, layouts, forms, checkout, and settings before visitors or customers are affected.
How do I make sure Google can index my WordPress site?
Turn off Discourage search engines from indexing this site in Settings > Reading, remove noindex settings from key pages, check robots.txt, review canonical tags, and submit the live sitemap in Google Search Console after launch.
What should I check after the site goes live?
Check uptime, key pages, forms, checkout if needed, SSL, analytics, sitemap, redirects, 404s, email delivery, backups, and security alerts.
What extra checks are needed for WooCommerce?
Test product pages, cart, coupons, checkout, payment live mode, tax, shipping, inventory, order emails, refunds, and account pages. Keep cart, checkout, and account pages out of normal page cache.
Conclusion
A good WordPress launch is not a bigger checklist. It is the right order of checks.
Start with a backup you can restore. Test changes on staging. Verify the settings, pages, forms, checkout, SEO, speed, and security that affect real visitors. Then launch in a planned window and keep watching the site after it goes live. That is how a launch becomes a controlled release instead of a public memory test.

Shivani enjoys crafting guides that make every aspect of using WordPress simple and easy to follow. When she's not glued to her laptop, you can find her buried in a good book or occasionally, painting.