How to Safely Move WordPress Site To Root Domain (Step-by-Step Guide)
Bulletproof Backups for Your WordPress Website
Fortify your business continuity with foolproof WordPress backups. No data loss, no downtime — just secure, seamless operation.
Do you wish to move WordPress from subdirectory to root directory? While the process may seem simple, there is a possibility of something going wrong and messing up your WordPress installation.
In this article, I’ll show you how to move WordPress site to root directory with step-by-step instructions.
TL;DR: Moving WordPress from a subdirectory to the root directory can be risky. You can eliminate this risk by using the free plugin Migrate Guru. Migrate Guru will do all the heavy lifting for you, moving your site safely and quickly in a few clicks. Moreover, it works with all web hosts out of the box.
What to do before moving WordPress from Subdirectory to root directory
A subdirectory is a part of the website that lives under the site’s root directory and is visually represented as a suffix to the root domain. For example, in blogvault.net/blog, blog is a subdirectory of the root domain blogvault.net.
Like moving a website to a new host or domain, you can move WordPress from subdirectory to root domain either the easy way via a plugin or the hard way by doing it yourself. I’ll cover both approaches in this article. Before you start, it’s a good idea to do the following:
- Back up your entire site, i.e., the WordPress files and databases for both the subdirectory and the root directory. If anything goes wrong, you can revert to a fully functional version of your site.
- Remove all old site files from the root directory. There will be files with the same name in both the root directory and the subdirectory, like the critical wp-config.php file. When the migration is taking place, WordPress can get confused regarding which file(s) to keep. To ensure a smooth migration, it’s best to delete these files from the root directory, or better, save them to a different location either on your hard drive or on the cloud. It’ll act as a backup for said files.
- Clear everything cached by any caching plugins that you use, then disable said plugins as such plugins can cause issues during migration.
- Put your site in maintenance mode using a plugin like Themeisle’s WP Maintenance Mode & Coming Soon. It will ensure that nobody can make real-time changes to your site during the migration process, which can cause errors.
- Disable any firewall and redirection plugins. Such plugins, like caching plugins, can issues during migration. You can re-enable them on your site after the migration is complete.
Recommended read: Complete WordPress migration checklist
Move WordPress from subdirectory to root using a plugin
While using a plugin can be pretty straightforward, you want a WordPress migration plugin that is reliable and has a high success rate. Migrate Guru is such a plugin. It has a great UI and gets the job done for you in a few clicks. I’ll be using Migrate Guru to demonstrate the process of moving a WordPress site from a subfolder to the root directory.
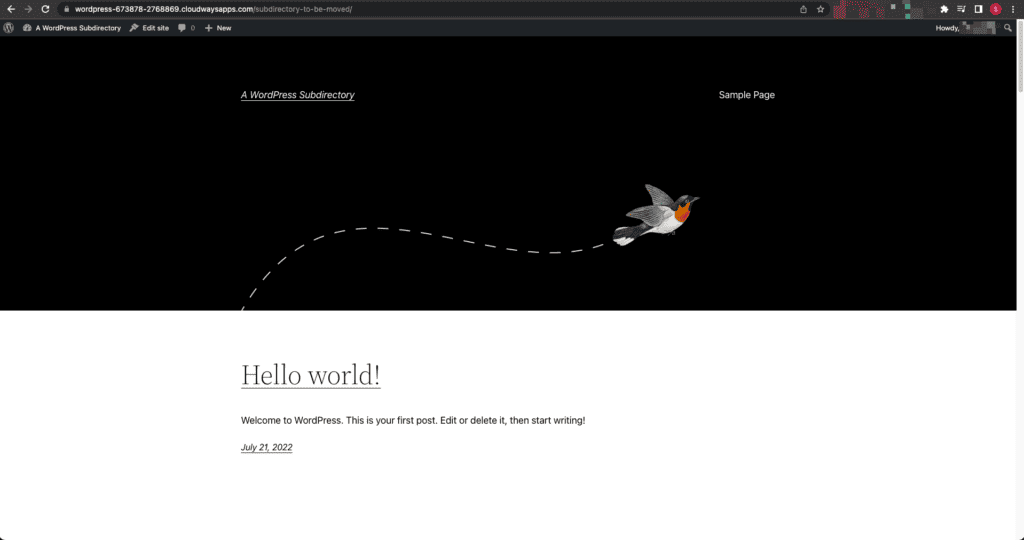
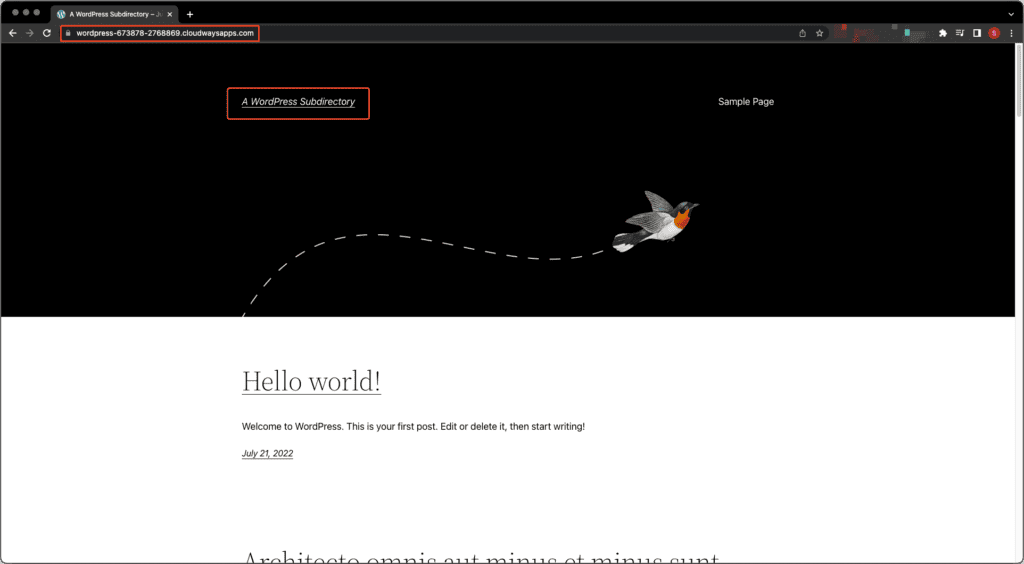
For this example, I’ll be moving the WordPress site at https://wordpress-673878-2768869.cloudwaysapps.com/subdirectory-to-be-moved/ to https://wordpress-673878-2768869.cloudwaysapps.com/.
This is what the subdirectory looks like right now:
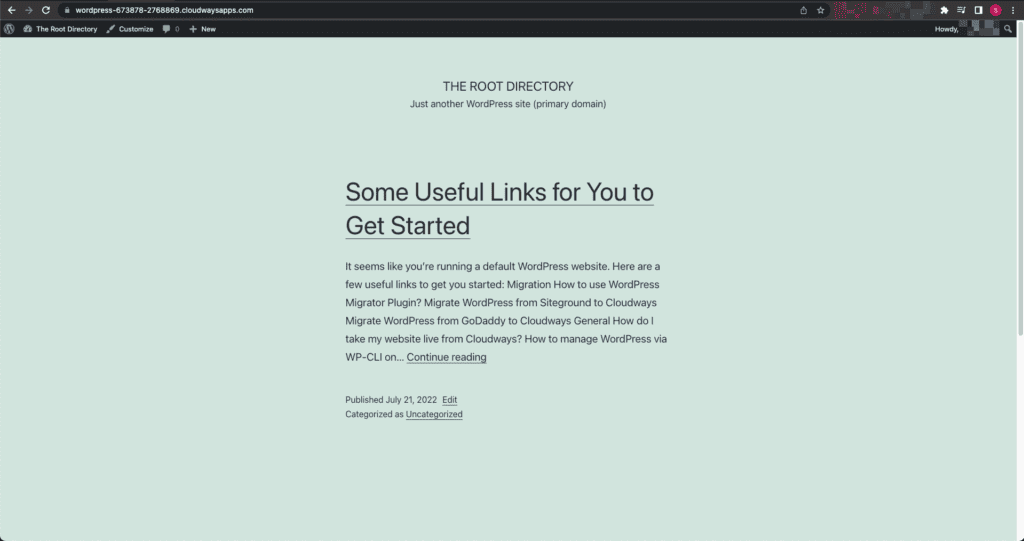
And this is what the root directory (primary domain) looks like right now:
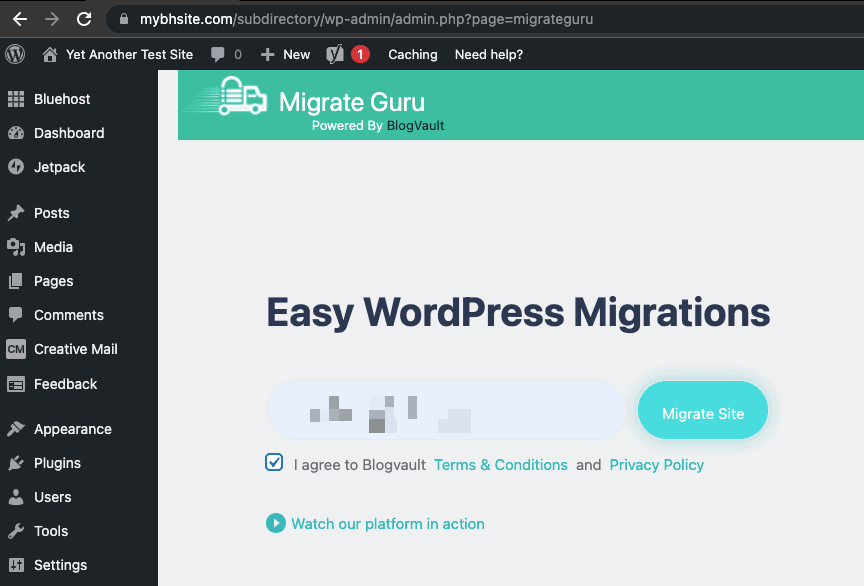
- Install and activate the Migrate Guru plugin on your subdirectory just like you would for any other WordPress website. You’ll be taken to the Migrate Guru page on your WordPress dashboard.
- Enter your email address to create an account, agree to the terms & conditions and privacy policy, and then click on Migrate Site.
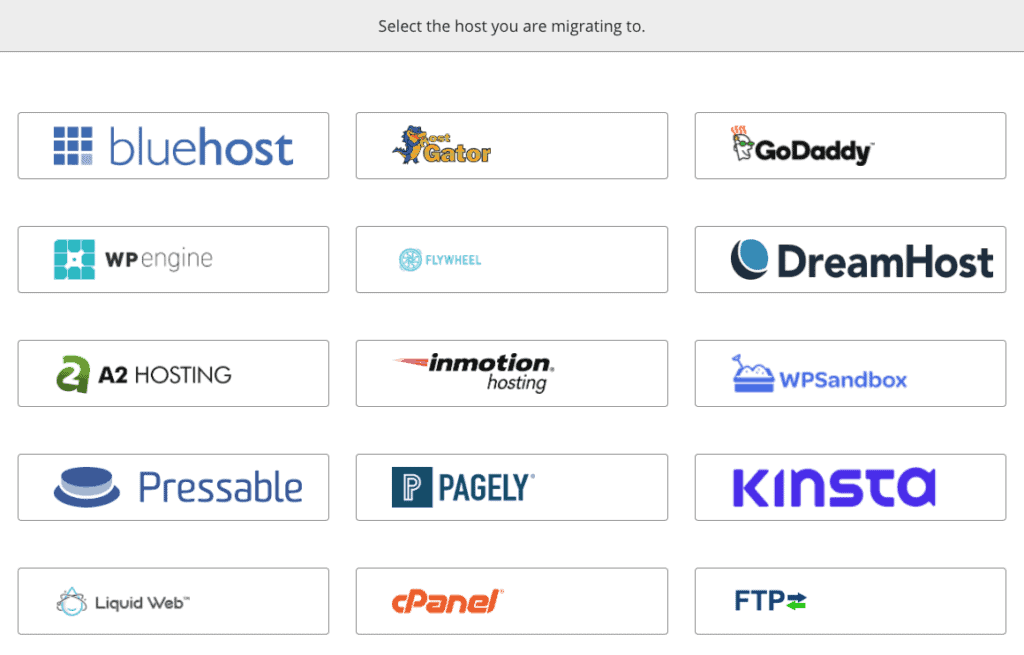
- You’ll be taken to your Migrate Guru dashboard where you’ll be asked to pick the host you want to migrate to. Since Cloudways isn’t an explicit option on Migrate Guru, I’ll go ahead and choose FTP to continue. As I said before, Migrate Guru will work regardless of which host you use.
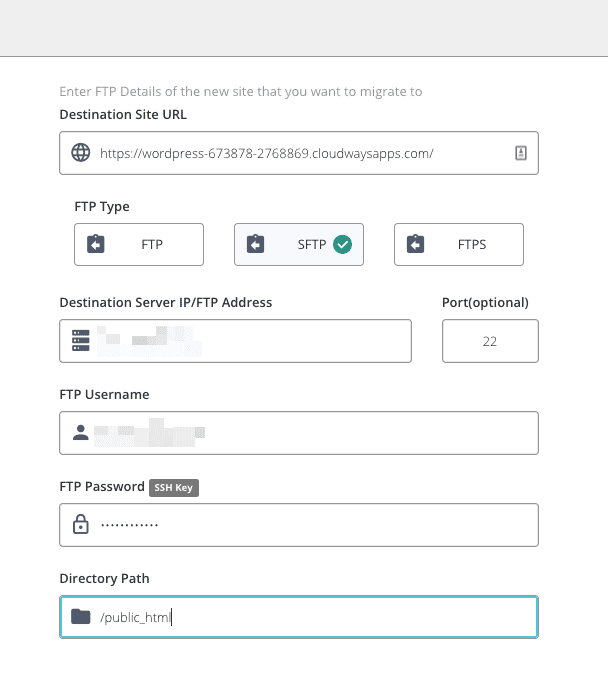
- On the next screen, enter the required details. You can obtain the destination server IP address, FTP username, and FTP password from your web host.
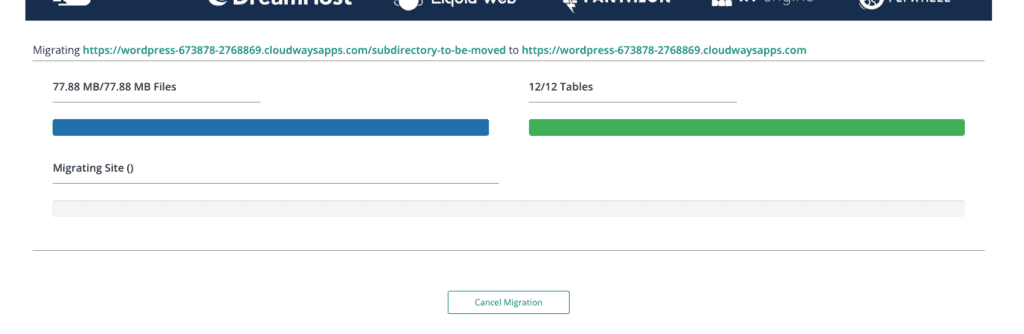
- Click Migrate to continue. On the next screen, you’ll see your source and destination URLs and the progress made in migrating the files and folders.
That’s it! Upon successful migration, you should see a message as follows:
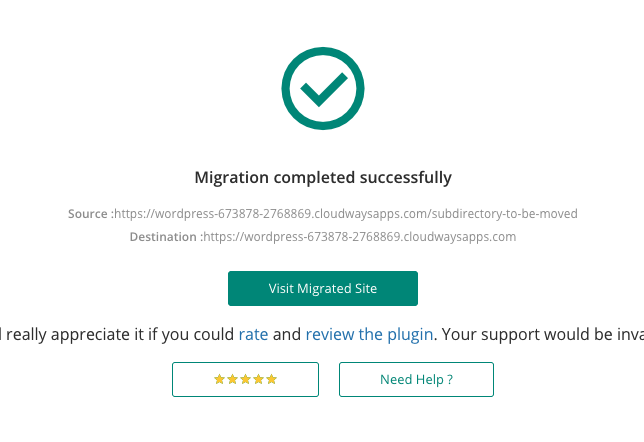
Click on Visit Migrated Site and you’ll see that your subdirectory has moved to the root directory (the primary domain).
Move a WordPress from subfolder to root manually
Migrate Guru is the safest way to move a WordPress site to the root directory. However, if you’re in the mood for some virtual DIY, you might enjoy carrying out the migration manually. Anyway, I only recommend doing it as a last resort. Before you start, you need to have an FTP client to connect to your site remotely via FTP.
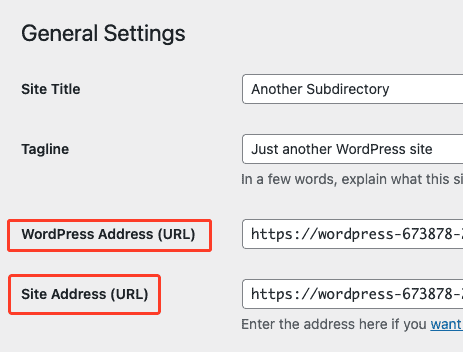
I’ll be using the popular client FileZilla to demonstrate the process of moving https://wordpress-673878-2768869.cloudwaysapps.com/another-subdirectory to https://wordpress-673878-2768869.cloudwaysapps.com/. Before you start, go to Settings > General and change the WordPress Address (URL) and Site Address (URL) fields to the URL of your root directory.
- Connect to your primary domain via FileZilla. You can either use Quickconnect or go to File > Site Manager to do so.

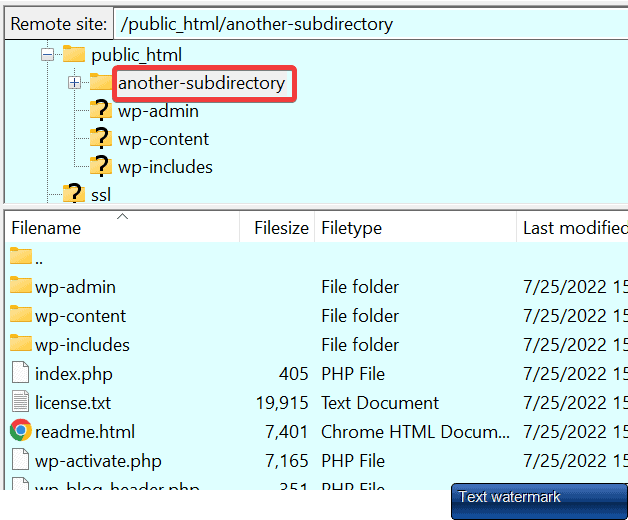
- Enter the subdirectory you want to move from the ‘Remote site’ area of FileZilla.
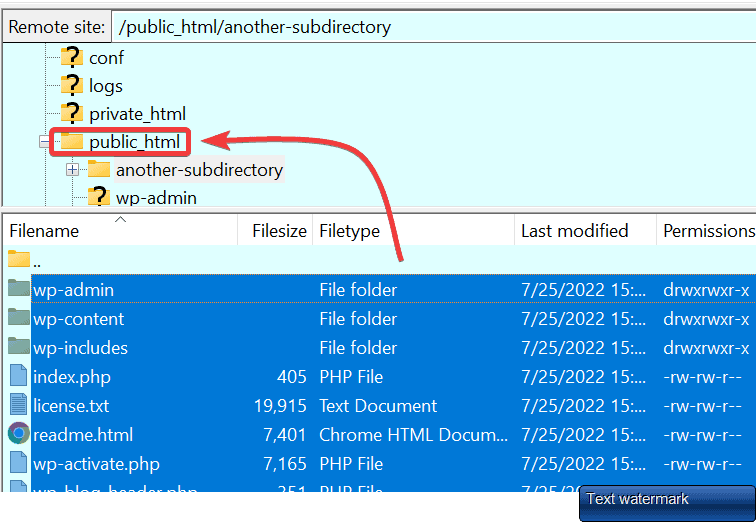
- Select all the files and directories inside this subdirectory, then drag and drop them to the root directory. This would be the public_html directory unless you installed WordPress specifically in a different directory for your primary domain.
FileZilla will now start moving all the files and folders from your subdirectory to your root directory. This process will take a lot of time. Even for the small test site I used for this example, I had to wait more than 15 minutes for the process to complete.
But wait! We’re not done yet. There are some things we need to take care of, namely, configuring the wp-config.php file and setting up redirects in the .htaccess file. You don’t have to do these if you use Migrate Guru to migrate your site as it performs those things for you. You could save yourself a lot of time with Migrate Guru!
- Update the wp-config.php file
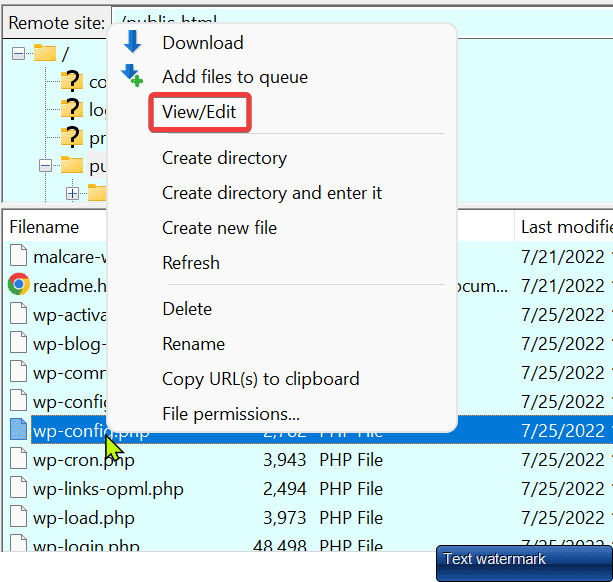
Right-click on the file and click on View/Edit to edit the file.
Insert the following lines of code above the comment that says “That’s all, stop editing! Happy publishing.”
define(‘WP_HOME’, ‘http://example.com’);
define(‘WP_SITEURL’, ‘http://example.com’);
Replace ‘example.com’ with your root domain. These lines will tell WordPress that the new domain name for your website is the root domain. Save and close the file, then re-upload it to the site server.
- Fix broken permalinks and update URLs in your WordPress settings
Some permalinks on your website may not work properly after the migration. To fix broken permalinks, we have to make some changes:
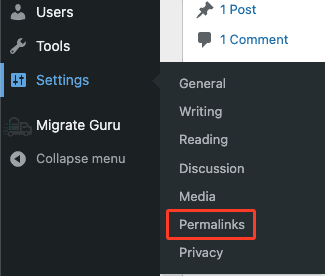
- Go to Settings > Permalinks on your WordPress dashboard.
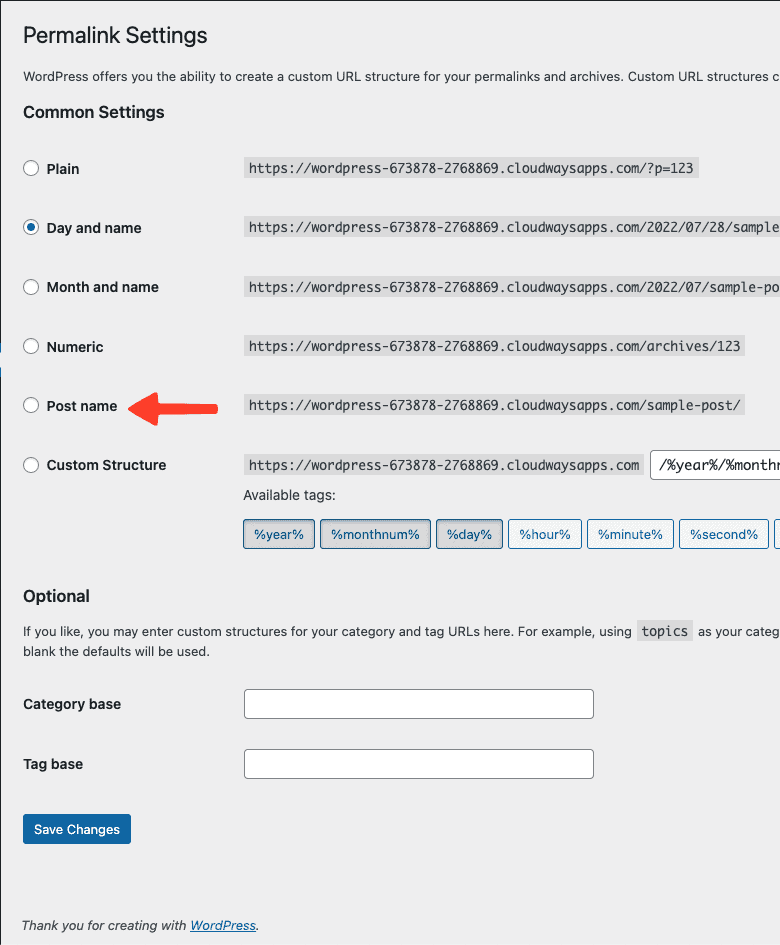
- On the following page, choose any other URL structure for your permalinks and then save the changes. For example, if your default URL structure is ‘Day and name,’ change it to ‘Post name.’
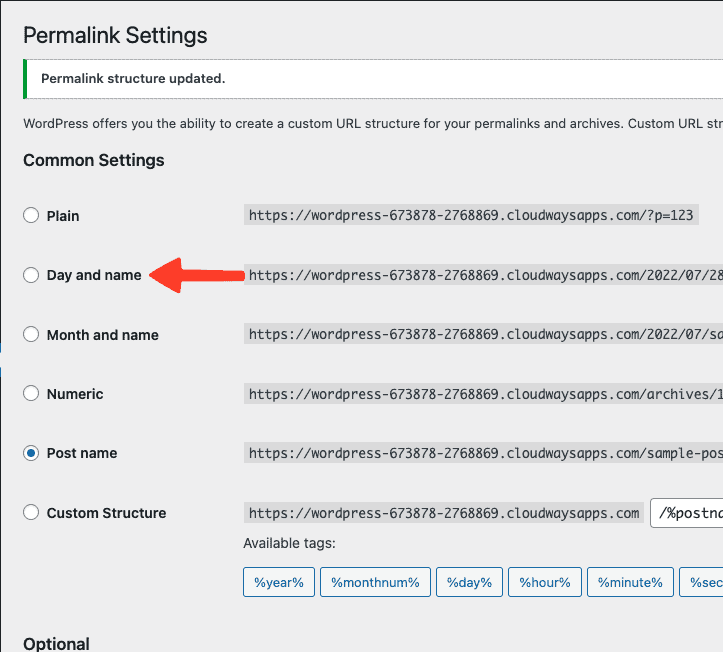
- Next, revert to your previous URL structure. For our example, that would be changing from ‘Post name’ to ‘Day and name.’ Save your changes.
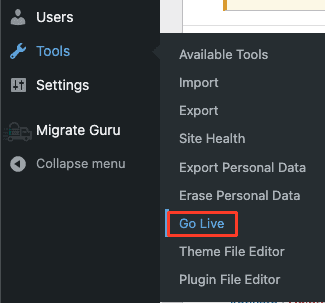
Now, the internal links on your website may still point to the old domain, i.e., your subdirectory. The best way to fix internal links so that they point to the correct domain name, i.e., the root domain, is to use the Go Live Update URLs plugin. Here are the steps:
- Install and activate the plugin on your root domain.
- Go to Tools > Go Live from your WordPress admin dashboard.
- On the next screen, enter your old and new URLs in their respective fields. The plugin will update all instances of the old URLs in the checked databases. Uncheck any databases that you don’t want to get updated.

- Click on Update Urls to finish.
- Set up redirects in the .htaccess file
After updating the URLs and internal links in your database, when you now try to visit your subdirectory, you’ll get a 404 Error.

While you may leave this page as it is, it’s better to make the subdirectory’s URL redirect to your root domain. That way, visitors who aren’t aware of your site migration won’t be affected and will be able to interact with your site as if nothing happened. It’s also good for SEO because you won’t be losing any traffic; any traffic to your old URL will be redirected to your new URL.
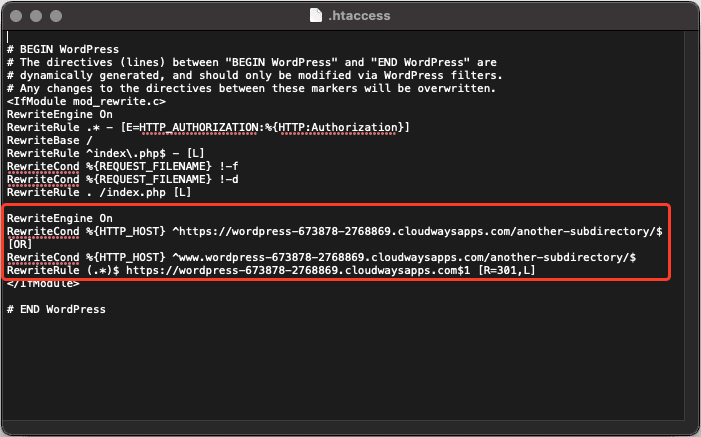
First, download and open the .htaccess file from your root directory using FTP. The .htaccess file is a hidden file, so if you don’t see it, you’ll have to enable the option to show hidden files in your FTP client. For FileZilla, you’ll see the option under the Server menu. Next, insert the following lines of code in the file, between the # BEGIN WordPress and # END WordPress comments:
RewriteEngine On
RewriteCond %{HTTP_HOST} ^example.com/subdirectory$ [OR]
RewriteCond %{HTTP_HOST} ^www.example.com/subdirectory$
RewriteRule (.*)$ http://www.example.com/$1 [R=301,L]
Replace ‘example.com’ with your root domain name and ‘subdirectory’ with the name of the subdirectory that you moved. For the RewriteRule line, only include ‘www’ if your URL actually uses it. See the image below for reference.
Things to consider when moving a WooCommerce site to root
As I mentioned in our article on moving a WordPress site to a new domain, migrating a WooCommerce site takes a little more care. Since an e-commerce site has transactions taking place in real-time as people make purchases, trying to move it while it’s live can cause database errors, or worse, break the site.
If you have a WooCommerce site, put it in maintenance mode first before trying to move it to the root directory. Themeisle’s WP Maintenance Mode & Coming Soon plugin is a really good tool to do so. Maintenance mode essentially “pauses” your site so that nobody can make changes to it. You can disable it once the migration is complete.
What to do after moving WordPress from a subfolder to root
So, you think you’ve moved your site from a subdirectory or subfolder to the root directory, but there are still some things you need to do afterward to ensure a smooth transition. If you used Migrate Guru to migrate your site, then you don’t need to do the following. It will automatically take care of them for you.
- Needless to say, visit your site at the root domain. Verify that it now shows the contents of what was your subdirectory a while ago.
- Disable maintenance mode if you enabled it before the migration started.
- Clear all caches of your site. Caches store copies of your site so that it loads faster, but they may store copies of your old site, which could be a problem.
- If you used a different database for your subdirectory, make the following changes:
- Edit the wp-config.php file with the correct database information, i.e., the database info for your root directory, and siteurl parameter. See our guide for more information.
- Set up redirects on your subdirectory by editing the .htaccess file so that when a visitor visits it, they’ll be automatically redirected to your root domain.
- Re-enable any plugins you had deactivated before you started.
- Now, hyperlinks on your existing content, excerpts, media, etc. may still refer to the subdirectory you had and, therefore, must be updated to point to your root domain. You can use the Velvet Blues Update URLs plugin or do it manually via WP-CLI.
Troubleshooting issues after the migration
While moving a site from a subdirectory to the root directory is a simple, straightforward process, you can still face some issues after the migration. I’ll enumerate some of the common ones below, along with how to fix them.
- HTTP 500 ERROR: Notorious for being hard to diagnose and fix, the HTTP 500 internal server error means the server hosting your site is having problems, and hence can’t fetch your site. To minimize the chances of encountering this error, disable any firewall and caching plugins and make sure that the PHP versions of the WordPress installations on both the subdirectory and the root directories are the same before you start. If you’re unfortunate enough to get this error, head on over to our guide for troubleshooting it.
- Error establishing database connection: This error is usually caused by incorrect credentials in the wp-config.php file. Check that the values for DB_NAME, DB_USER, DB_PASSWORD, DB_HOST, and table_prefix are correct.
Is it a good idea to move WordPress site to the root directory?
A visitor will likely visit your root domain first. So, it’s always a good idea to have your primary WordPress installation in the root directory. If you’ve been testing your site on a subdirectory, say example.com/wordpress, and are now ready to show your site to the world, then moving it to the root directory makes sense. Say you initially launched your site on example.com and made a separate blog on example.com/blog, for instance. If you wanted to have a site with different pages like an About page, a Contact page, and so on, but you’ve now decided that your site will be a blog and nothing else, then moving it to the root directory is a wise decision.
Best practices for moving WordPress site to root
We’ve reached the end of the article. Before we part ways, I’d like to leave with some advice when it comes to moving a website from a subdirectory to the root.
- Take a backup of your site, which includes both the WordPress files and the database. I can’t stress this enough.
- Deactivate firewall, caching, and redirection plugins before you start. These types of plugins can cause issues during the migration, which can be a pain to deal with later. Before deactivating any caching plugins, clear all pages cached by them.
- Note down all necessary information and keep them handy, including FTP credentials, database information, etc.
- If you have a WooCommerce site, use a maintenance mode plugin to prevent others from making changes to your site during migration.
Conclusion
Moving a WordPress site essentially involves moving all the WordPress files and folders. The process is simple, however, it’s always a good idea to take a full backup of your site should anything go wrong.
While you can move WordPress from subdirectory to root either manually or via a plugin, we highly recommend using a plugin, and Migrate Guru in particular, since it’s easy to use, can do the job really quickly, and requires no setup from your end.
Recommended read: How to safely move WordPress site from subdomain to root
FAQs
Q – How can I move my site from a subdirectory to the root directory?
A – There are two main ways:
- Use a dedicated migration plugin like Migrate Guru; or
- Do it yourself (via FTP).
Q – What is the easiest way to move WordPress from subfolder to root domain?
A – The easiest way is to use a dedicated plugin. We highly recommend Migrate Guru since it’s easy to use, has no downtime, does the job quickly, and works with all the popular web hosts out of the box.
Tags:
Share it:
You may also like

How to Limit Form Submissions with Droip in WordPress
Forms are an indispensable part of any website because of their versatility, letting you collect information for various purposes! However, people with ill intentions often attempt to exploit these forms…

How To Manage Multiple WordPress sites
Management tools help agencies become well-oiled machines. Each task is completed with the least amount of effort and highest rate of accuracy. For people managing multiple WordPress sites, the daily…

PHP 8.3 Support Added to Staging Feature
We’ve introduced PHP version 8.3 to our staging sites. Test out new features, code changes, and updates on the latest PHP version without affecting your live website. Update PHP confidently…
How do you update and backup your website?
Creating Backup and Updating website can be time consuming and error-prone. BlogVault will save you hours everyday while providing you complete peace of mind.

Updating Everything Manually?
But it’s too time consuming, complicated and stops you from achieving your full potential. You don’t want to put your business at risk with inefficient management.

Backup Your WordPress Site
Install the plugin on your website, let it sync and you’re done. Get automated, scheduled backups for your critical site data, and make sure your website never experiences downtime again.


