
When I troubleshoot “The link you followed has expired. Please try again” message, I start by replaying the few seconds before the message appeared. Did the admin screen reject a theme ZIP, stop while installing a plugin, or return to an edit form after you clicked Save?
The wording makes each event sound like a dead URL, but those are different requests with different failure points.
That distinction matters because the message often appears when WordPress gives up on a request, not because a link has expired. An upload may have reached a PHP size or time limit, while a normal save may have sent an old security token from a stale page.
If you are looking at the message now, note the action you just took and avoid changing several settings at once. The message does not automatically mean that your site or your work is damaged.
Identify what failed first. For uploads, check the limits in Media → Add New and Tools → Site Health → Info → Server, then use a backup plugin before changing server settings. For other admin actions, refresh or re-authenticate, then check caching, security rules, and plugin conflicts.
Find the cause before changing settings
Start with the failed action, not a random PHP value. This message is a classifier, not a diagnosis.
- If the message appeared during an upload or installation, check the file size, request limits, processing time, and memory. An installation also needs time to unpack and copy the files after the ZIP reaches the server.
- If it appeared during an admin action, such as editing content, saving settings, or deactivating a plugin, check the page session, caches, security layer, and active plugins instead. This is why raising upload limits is not a universal fix.
WordPress uses a short-lived security token called a nonce for many admin actions. A page that has been open for a long time, a duplicate tab, or a cached admin page can contain an old token. Refreshing the screen creates a new token.
Fix an upload or installation failure
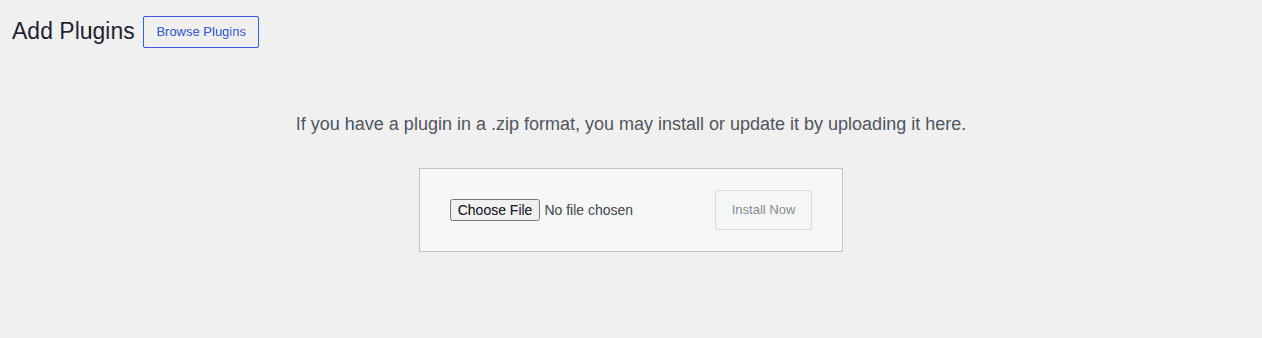
If the message appeared while you uploaded or installed something, begin by checking the limits WordPress can see. Do not assume that a value you added to a file is active, because the host may be using a different configuration source.
Check the limits WordPress is using
Use this order so each check tells you something useful:
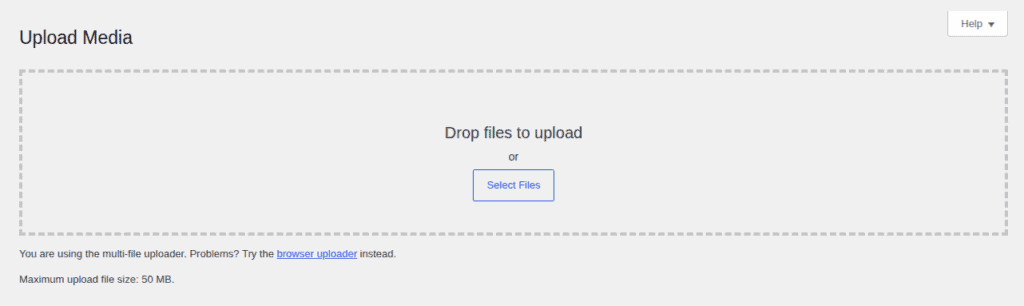
- Open Media → Add New and look for the maximum upload file size. This is the quickest way to see the largest individual file that WordPress currently accepts.
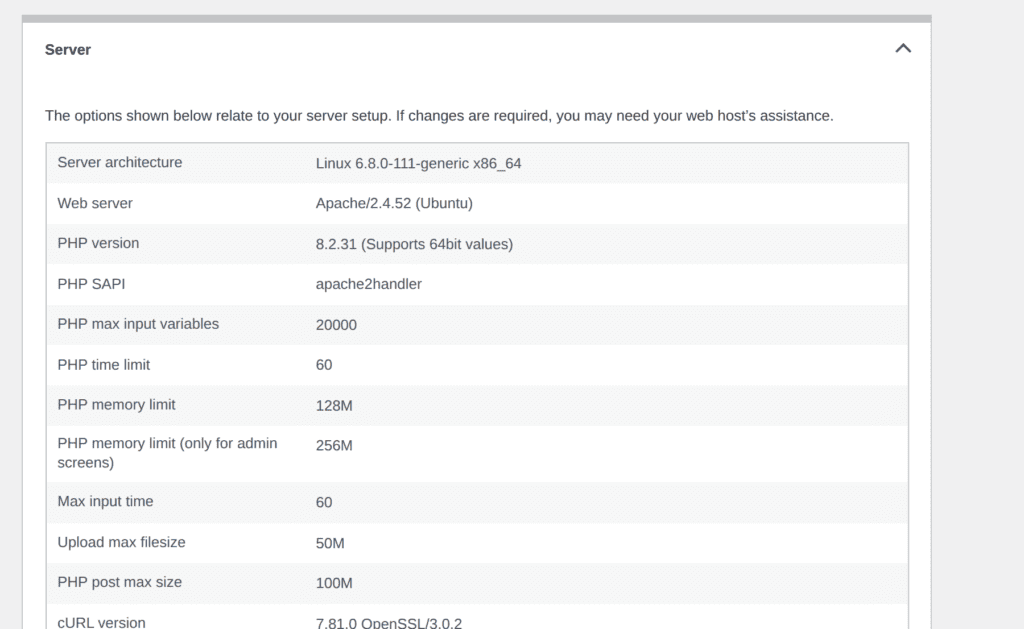
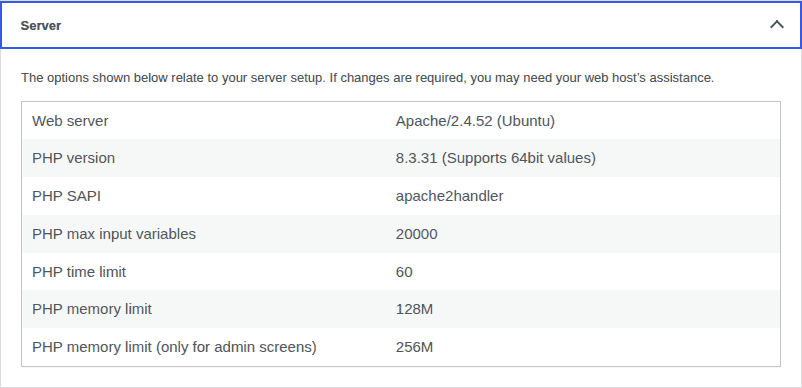
- Open Tools → Site Health → Info → Server, expand the server details, and record the values before changing anything.
- Compare the file or ZIP size with the effective values, then decide whether the problem is size, request processing time, memory, or something outside the upload limits.
| Setting | What it controls | What to check |
|---|---|---|
| upload_max_filesize | The largest individual uploaded file | It must be at least as large as the file or package. |
| post_max_size | The full request sent to the server | It should be equal to or larger than the upload limit. |
| max_execution_time | How long PHP can process the request | It must allow the upload or installation to finish. |
| max_input_time | How long PHP can receive request data | It must allow the file to reach the server. |
| Memory limit | Memory available while WordPress processes the request | It matters during unpacking or processing, not as the file-size ceiling. |
Now compare the actual file size with the effective values. If a small file works but the real package fails, that is useful evidence. A package can fit the size limit and still run out of time while unpacking.
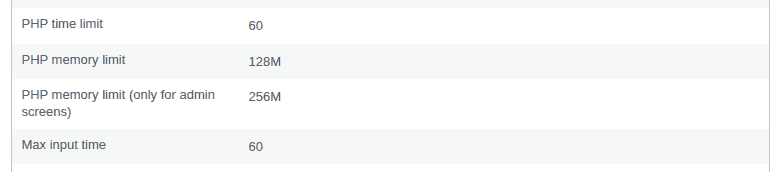
Our WordPress check on September 16, 2026 showed upload_max_filesize at 50M, post_max_size at 100M, 60-second PHP time and input limits, 128M memory, and 256M for admin screens. Media showed “Maximum upload file size: 50 MB,” matching Site Health. These are observations from one site, not settings that every host should copy.
Increase only the limit that blocks the request
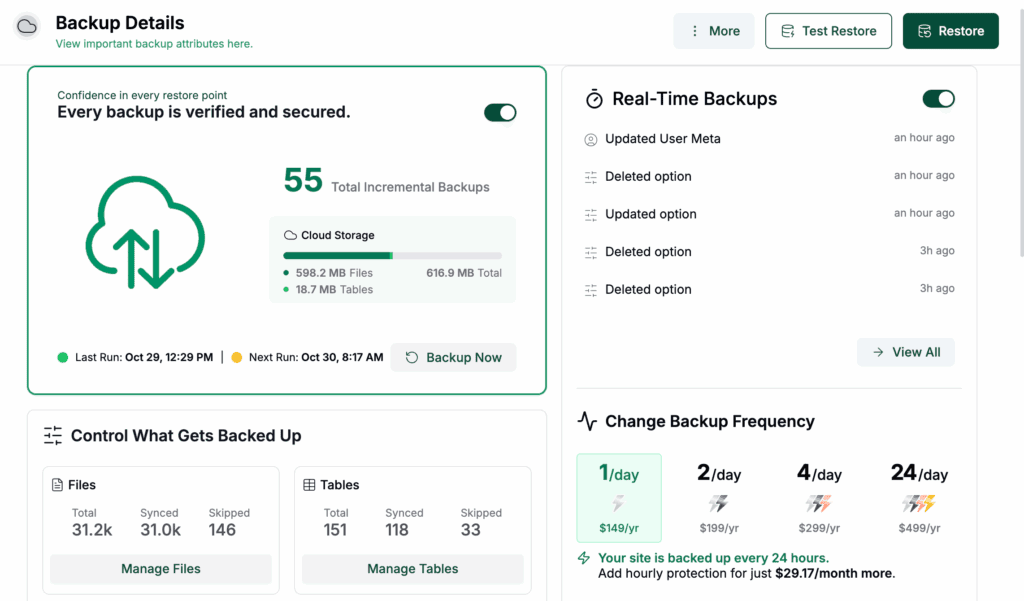
Back up the site before changing a file or host setting. A backup plugin can give you a restore path if a configuration edit or update makes the site unstable, so backup your WordPress site before you edit a configuration file. Keep the change focused on the limit your checks point to.
If the host panel controls PHP, use it rather than guessing which file is loaded. On some servers the effective setting is in php.ini, .user.ini, or a PHP-FPM pool configuration, and a local edit may be ignored.
Use .htaccess only on a compatible server. Apache and some LiteSpeed setups may accept PHP directives, while Nginx generally needs a host-level PHP or PHP-FPM change. Unsupported directives can cause a server error. wp-config.php is a memory route only: WP_MEMORY_LIMIT can help with a memory error, but it does not increase upload_max_filesize or post_max_size.
Increase only enough to give the real file room and enough processing time. Large limits can use more server resources and make unwanted uploads more costly, so extreme values are not a safer fix.
After each change, return to Tools → Site Health → Info → Server. Confirm that the effective value changed before trying the upload again. Some hosts require a service restart, and some block local overrides. If the value stays the same, revert an unhelpful edit and ask the host which PHP configuration controls the site.
Install the folder manually when the ZIP is too large
If the dashboard cannot accept the ZIP, unzip it on your computer and upload the resulting folder through FTP or your host’s File Manager.
For a theme, upload the extracted folder to wp-content/themes/. The plugin folder belongs in wp-content/plugins/. Then open the normal Themes or Plugins screen in WordPress and activate the item there.
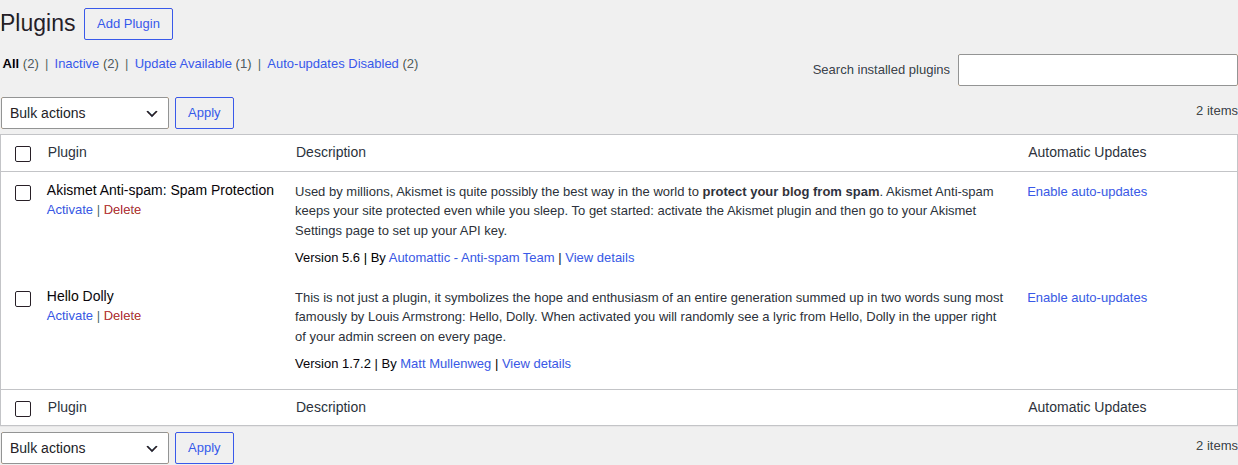
Check that the extracted folder contains the expected theme or plugin files, not an extra folder wrapped around the package. Manual installation bypasses the dashboard ZIP upload, but not file permissions, incompatible code, or activation errors.
Fix an edit, save, or deactivation failure
When no file was involved, raising the upload limit is usually a distraction. Start with the admin page and its session. Try these checks in sequence:
- Refresh the exact admin screen before sending the action again.
- Sign out and authenticate again so WordPress creates a new session and new action tokens.
- Close older copies of the page and retry in a private window to separate the problem from stale cookies, extensions, and browser data.
- Purge only the relevant browser, page-cache, host, or CDN cache that could have served an old admin page.
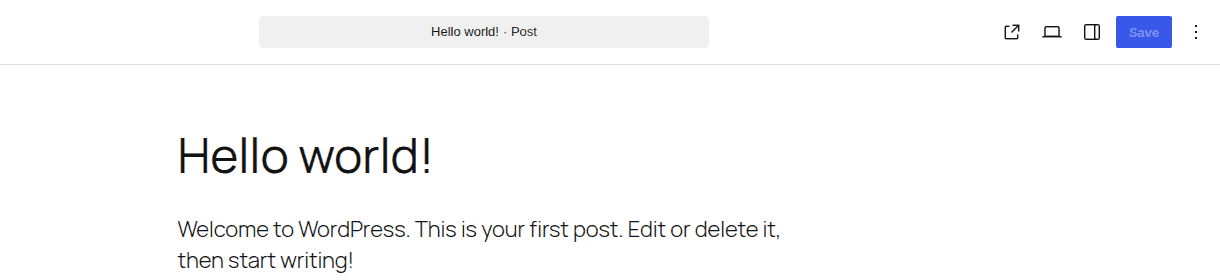
The wp-admin area and logged-in pages should not be cached. If a cache plugin or CDN serves an old form, the form can contain a nonce that WordPress no longer accepts. Purge the relevant cache and test again.
A security plugin or web application firewall can also block a request that looks unusual. Check its event log around the time of the failure. Avoid disabling protection globally on a production site. If you must test an exception, use a narrow, temporary change and restore protection as soon as the test ends.
Isolate a plugin or theme conflict safely
If the fresh-session checks do not help, isolate the component that may be changing or blocking the request. Use a staging copy or session-scoped troubleshooting mode when possible.
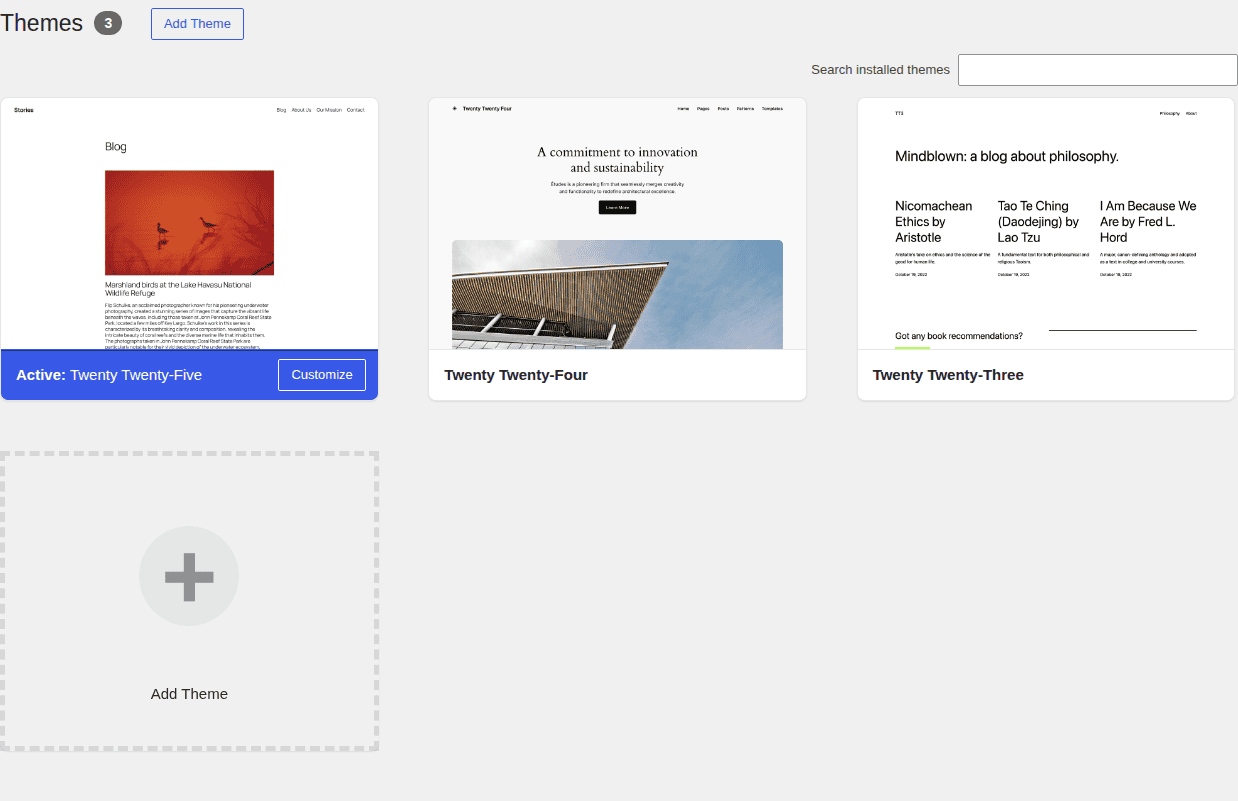
Temporarily isolate the plugin, security tool, cache plugin, or theme most closely related to the failed action, testing one likely component at a time. Run the same action, return the site to its normal state, and reactivate items one by one. The component that makes the error return is a strong lead, but it is not automatic proof of the root cause.
Check PHP and WordPress compatibility
Keep WordPress, PHP, themes, and plugins on maintained versions. Compatibility problems can stop an installation or make an admin action fail, but changing PHP is not a guaranteed direct fix for this message.
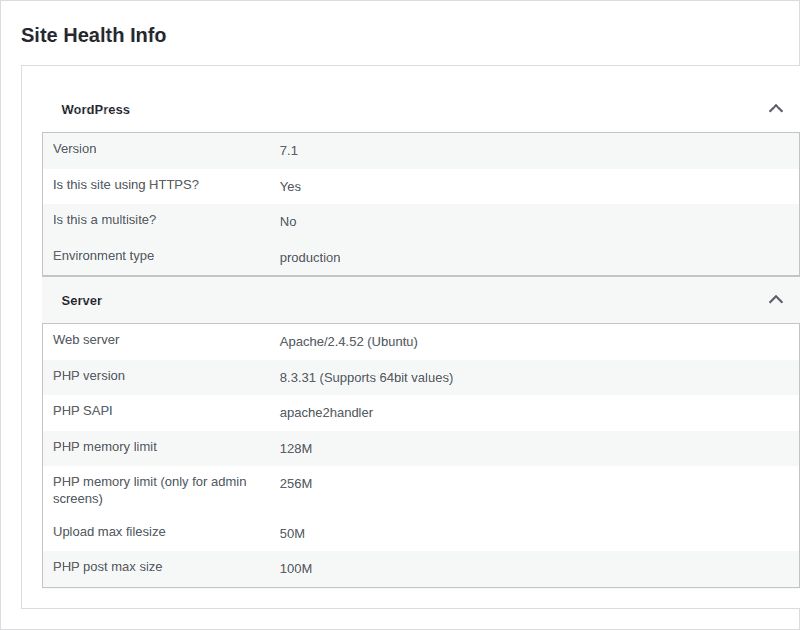
Before changing the PHP version, check it in Tools → Site Health → Info → Server. Review the theme or plugin requirements, make a backup, and use the host’s supported PHP-version control. If the error began immediately after a PHP change, that timing is useful evidence for the host or developer.
Know when your host needs to help
Contact your host when any of these conditions applies:
- A supported edit does not change the Site Health values.
- An .htaccess change produces a 500 response.
- The host controls PHP-FPM or web-application-firewall rules.
- This error remains after the checks above.
Give support the following details:
- The exact message, the action that failed, and the file name and size if this was an upload.
- Record the effective upload, POST, execution-time, input-time, and memory values, plus the PHP version, web server, and PHP SAPI shown in Site Health.
- List the changes you tried and whether each value changed.
- Add the approximate failure time and any related server, security, or cache log entry.
That gives the host a useful starting point instead of asking them to investigate an unexplained “expired” link.
FAQs
What does “The link you followed has expired” mean in WordPress?
The message usually means that WordPress rejected or could not complete an admin request. An upload may exceed the active size or time limits, while an edit, save, or deactivation may involve an old nonce, cached admin page, security rule, or plugin conflict; it usually does not mean that a destination URL has expired.
How do I fix the error when uploading a theme or plugin?
Fix the error when uploading a theme or plugin by checking the package size against Media → Add New and Tools → Site Health → Info → Server. Backup the site first, adjust only the needed host-supported limit, verify it, and retry; if the ZIP still fails, install the unzipped folder through FTP or File Manager.
How do I check the WordPress upload limit?
Check the WordPress upload limit by opening Media → Add New and reading the maximum individual upload size. For the wider request and processing limits, open Tools → Site Health → Info → Server and inspect the server values.
Why did changing php.ini not fix the message?
Changing php.ini may not fix the message because the server may load another file, use .user.ini or PHP-FPM, block local overrides, require a restart, or replace local values through the hosting panel. Check Site Health, then ask the host which file or service controls PHP if the values did not change.
What should I do if the error appears while saving or deactivating something?
If the error appears while saving or deactivating something, refresh the admin page, sign in again, close duplicate tabs, and retry in a private window. Purge relevant admin caches and check security logs; if the error continues, use staging or scoped troubleshooting to isolate a plugin, theme, cache, or security conflict instead of raising upload limits for an action that did not involve an upload.
Is it safe to increase WordPress upload limits?
Increasing an upload limit is safest when you back up first and raise only the value needed for the specific file or request. Verify the effective value after the change, because larger limits can consume more resources and unsupported directives can cause a server error.
What quick fixes should I try first?
Start by noting the failed action, backing up before configuration changes, and refreshing or re-authenticating if no file was involved.
For an upload, check the effective limits; for another admin action, investigate stale pages, caches, security rules, and plugin conflicts one at a time.
Conclusion
The message looks like a broken link, but the useful clue is the action that failed. Check PHP limits for uploads and installations. For edits, saves, and deactivations, check the session, cache, security layer, and plugins. That simple split keeps you from changing settings that cannot affect the problem.
You can troubleshoot this safely by making a backup, changing one supported setting at a time, and confirming the effective result in Site Health. If the evidence does not fit either path, give your host the exact message and the diagnostic details.

Shivani enjoys crafting guides that make every aspect of using WordPress simple and easy to follow. When she's not glued to her laptop, you can find her buried in a good book or occasionally, painting.